Smooth Background Using An Inverse Custom Luminance Mask
This tutorial explains how to create a custom inverse luminance mask from a color image. A custom luminance mask allows you to mix red, green, and blue to emphasize different colors.
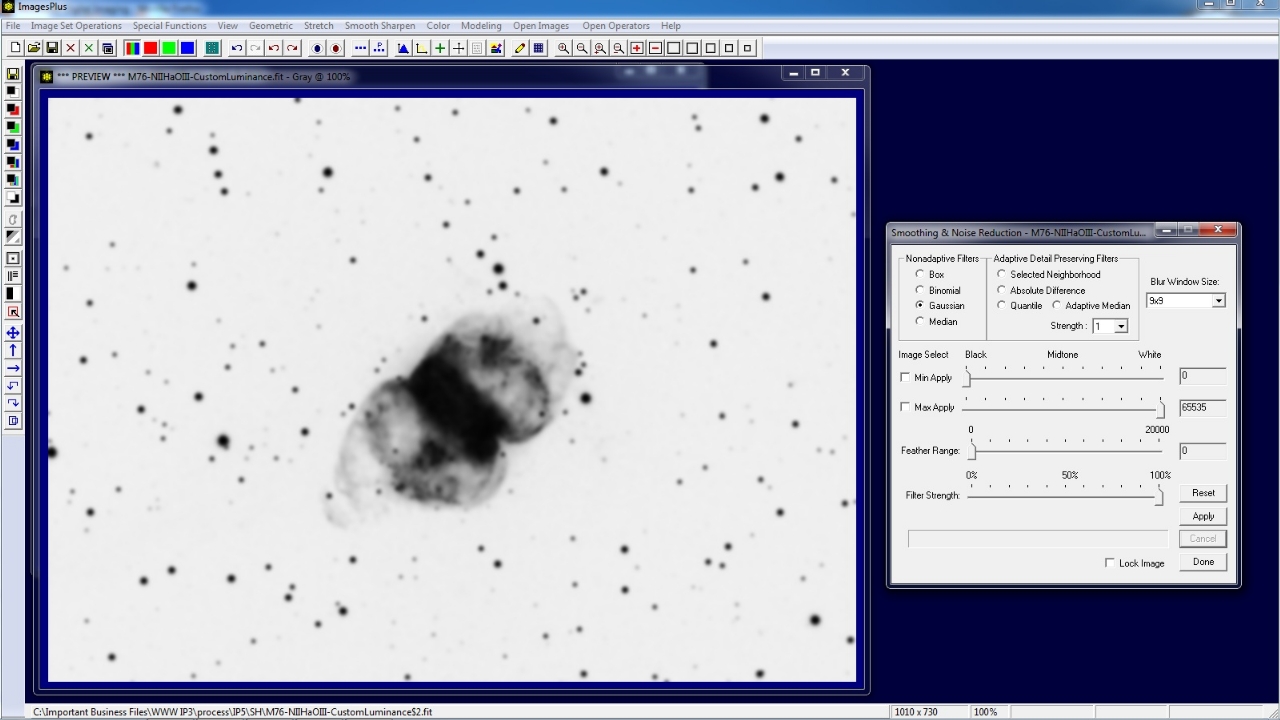
The mask is used with the Smoothing & Noise Reduction tool to apply a Gaussian blur to the background of an image with no change to the midtones and highlights.
Similar steps can be used to apply any stretch, contrast, deconvolution, or color adjustment filter with blend mode, opacity, and mask.
Step 1) Create Custom Inverse Luminance Mask
The above image is the result of using a custom luminance mask to sharpen midtones and highlights with no change to the background.
A luminance mask could be created from the above image but we will modify the luminace mask created in the Sharpen Midtones & Highlights using a Custom Luminance Mask tutorial.
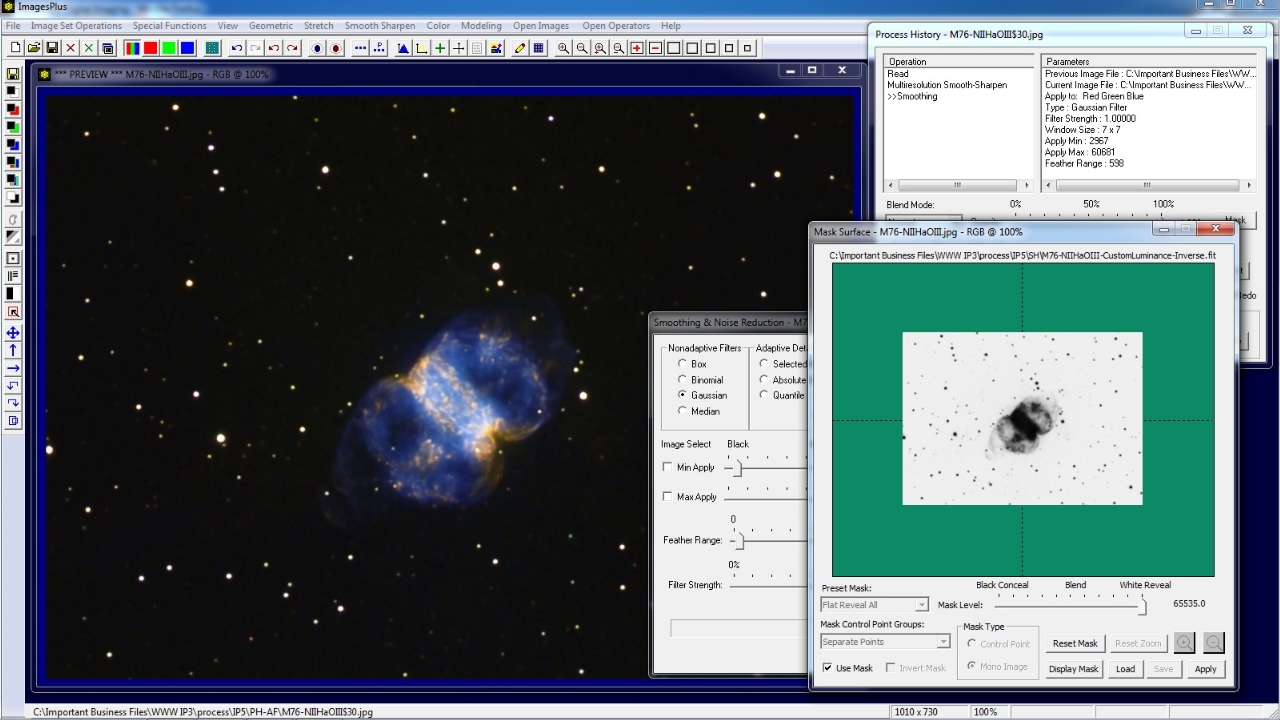
To display the above mask for modification press the Display Mask button on the Mask Surface window. Close the Process History and Mask Surface window. The mask is shown below.
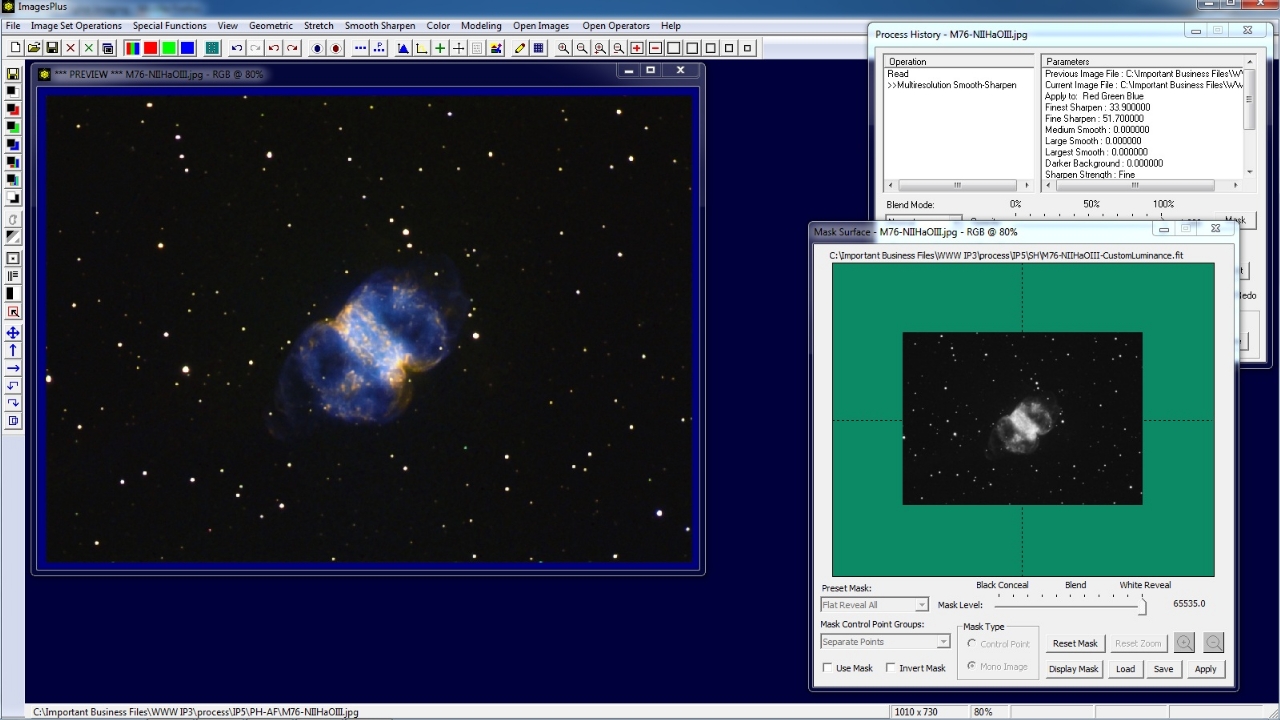 |
Custom luminance mask created from midtone and highlight sharpening ready for modification. The mask can be modified using any filter in ImagesPlus since the mask is an image.
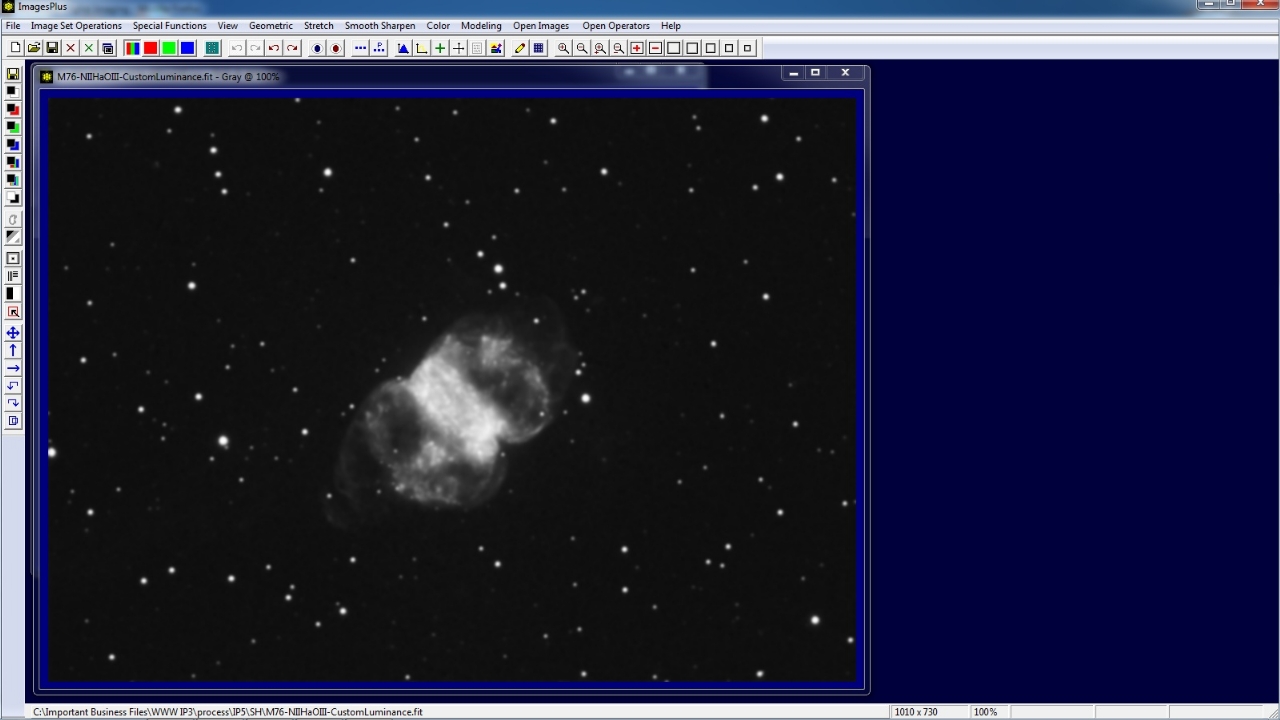 |
Use the Invert Mask toolbar button on the left vertical toolbar to invert the custom luminance mask.
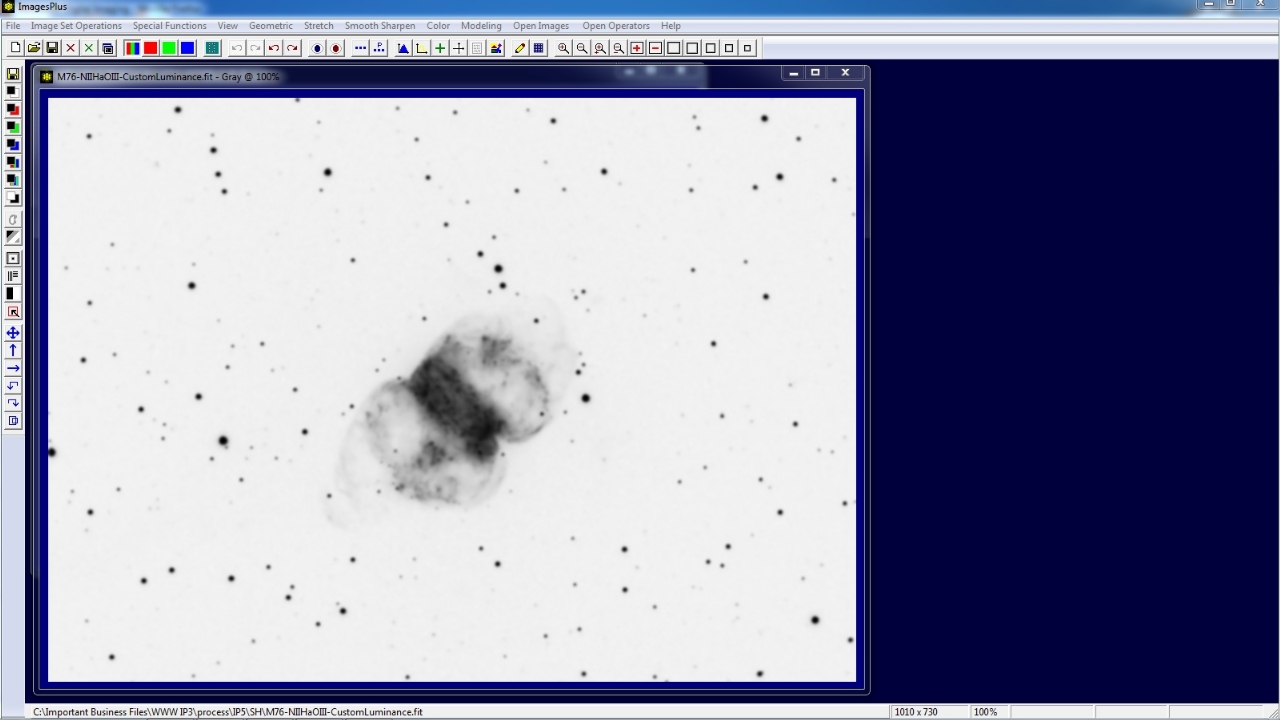 |
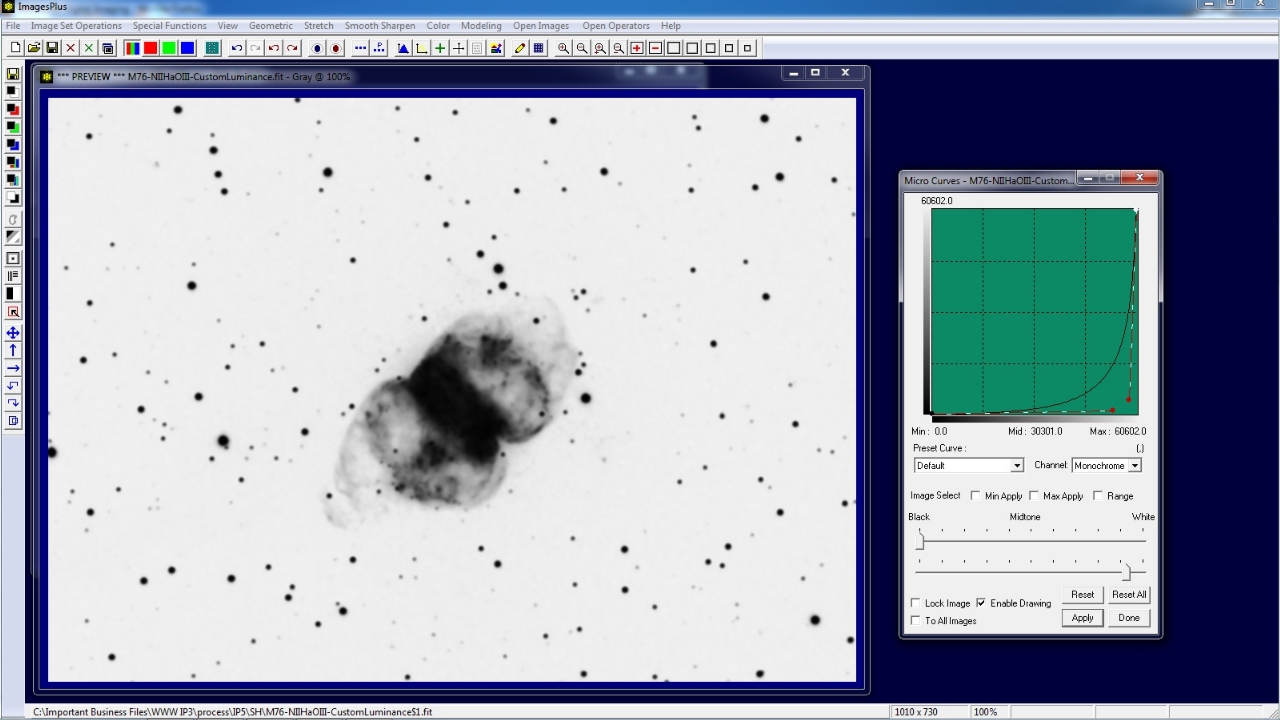
Open Stretch | Micro Curve and reduce the darker areas of the mask. Dark mask area will not be effected by the smoothing function. The brighter the mask area the more smoothing will effect the area when applied to the image.
 |
Open Smooth Sharp | Smoothing & Noise Reduction and apply a Gaussian blur to the mask to help blend the smoothed area into the M76.
 |
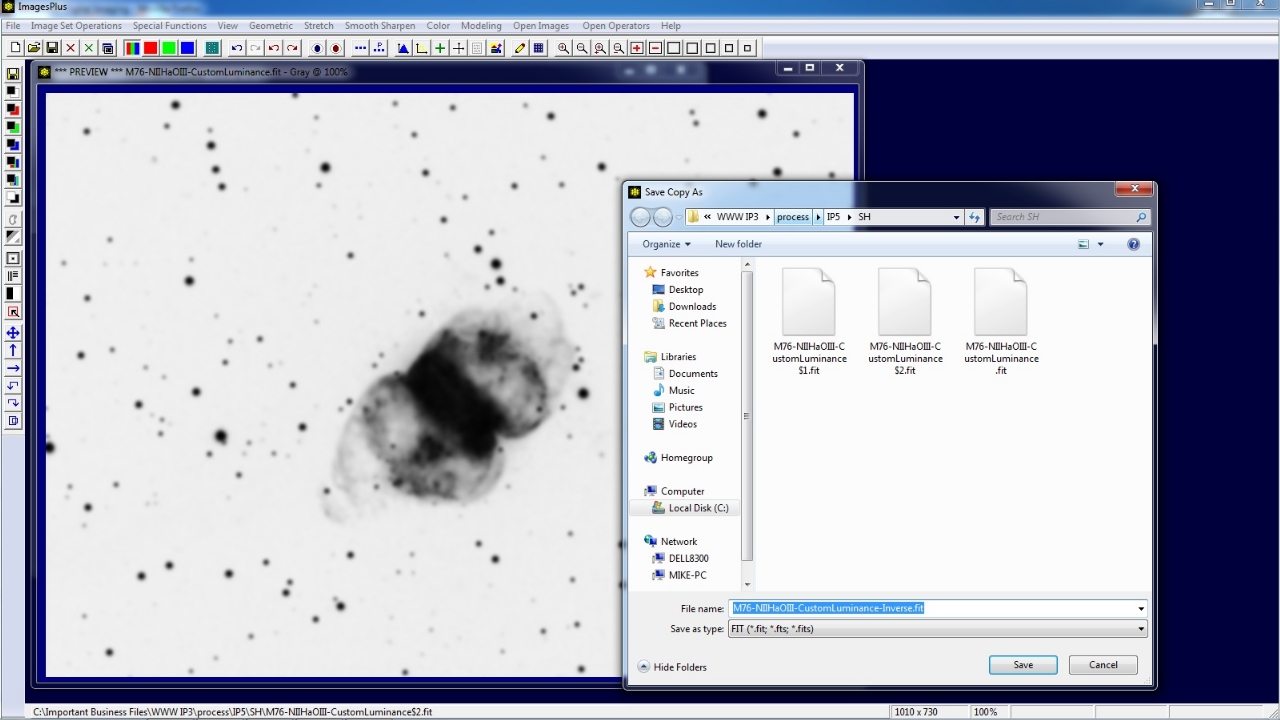
Use the Save As then Copy Mask toolbar button on the left vertical toolbar to name and save the modified inverse custom luminance mask. The mask is now ready to be assigned to a filter using the Process History window.
 |
Step 2) Smooth Background With Inverse Luminance Mask
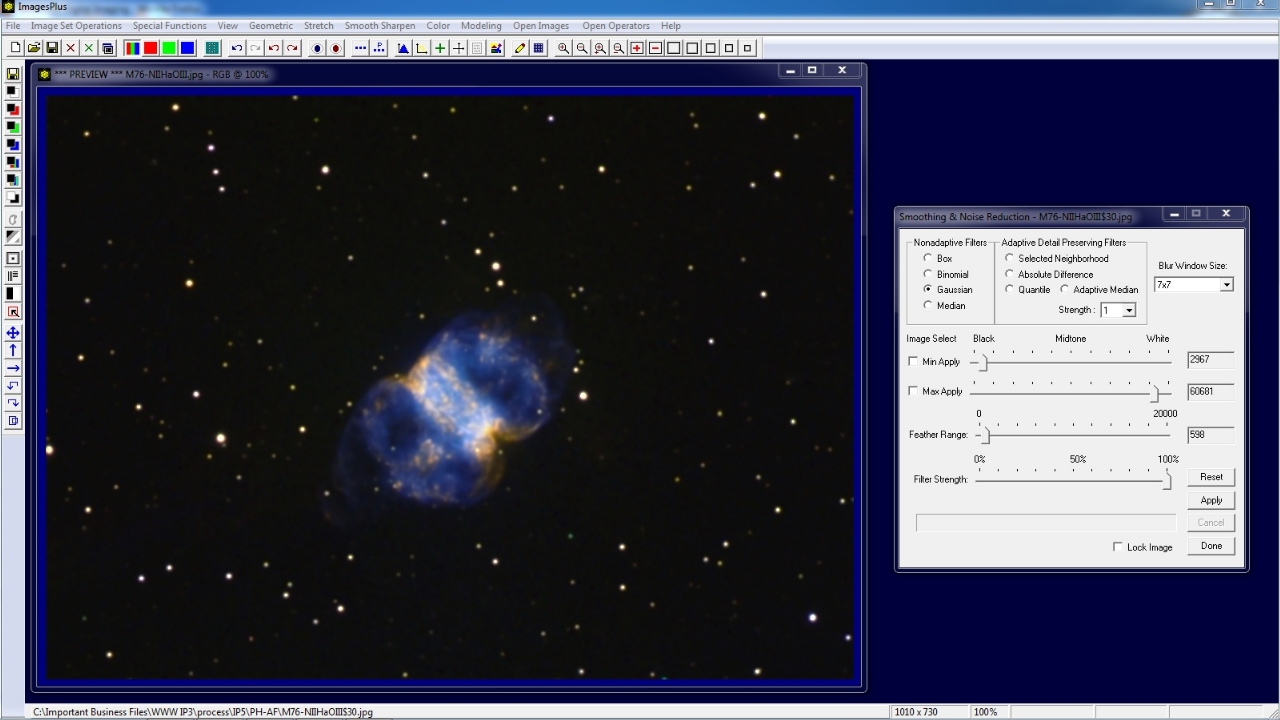
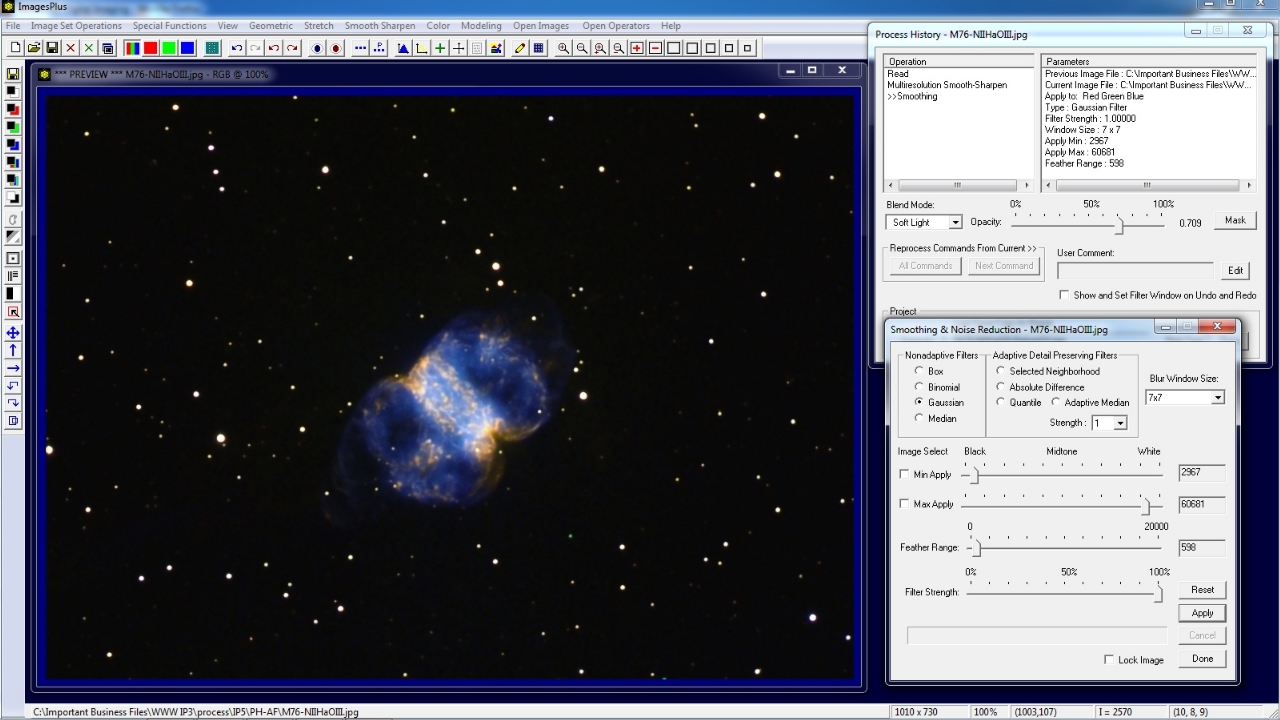
Open Smoothing & Noise Reduction from the Smooth Sharpen main menu. Select Gaussian and set Blur Window Size to 7x7 for mild smoothing and apply to M76. Since a mask is not assigned to the Gaussian blur the entire image is smoothed.
 |
Open the Process Histiory window and with Smoothing as the current command pointed to by >> in the Operation list press the Mask button.
The Mask Surface window is displayed and set to the default all white control point mask. Right click on the white mask area and select Paste. Since the last mask saved was the inverted custom luminance mask created in step 1 above it is assigned to the Smoothing tool. Note that you can also right click on the mask area and select Copy to copy a mask to a different filter of the same image or different image.
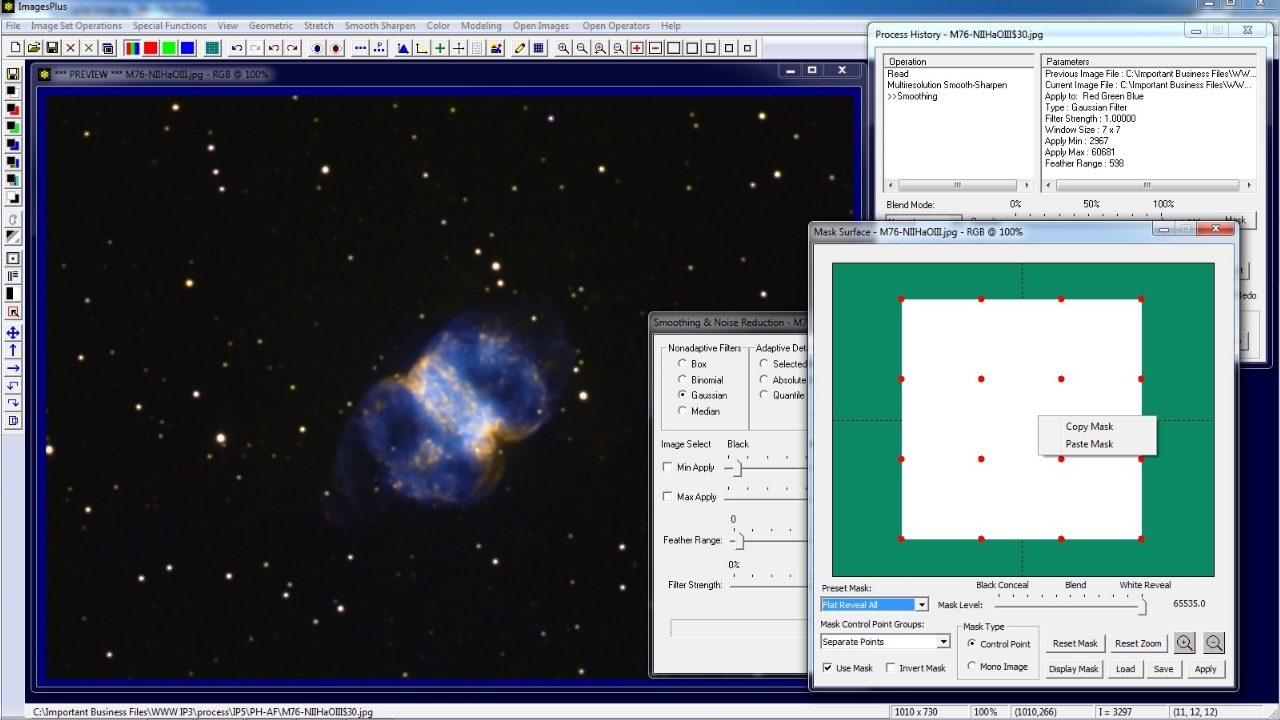 |
The inverted custom luminance mask is assigned to Smoothing & Noise Reduction and controls where smoothing is appled. Brighter mask areas get more smoothing then darker mask areas.
 |
Step 3) Adjust Blend Mode & Opacity
With Smoothing as the current command pointed to by >> in the Process History Operation list set blend mode to Soft Light to increase contrast. Reduce opacity from 1.0 to 0.709 to blend the smooothed image with the previous image.
 |
M76 before mask controlled background smoothing.
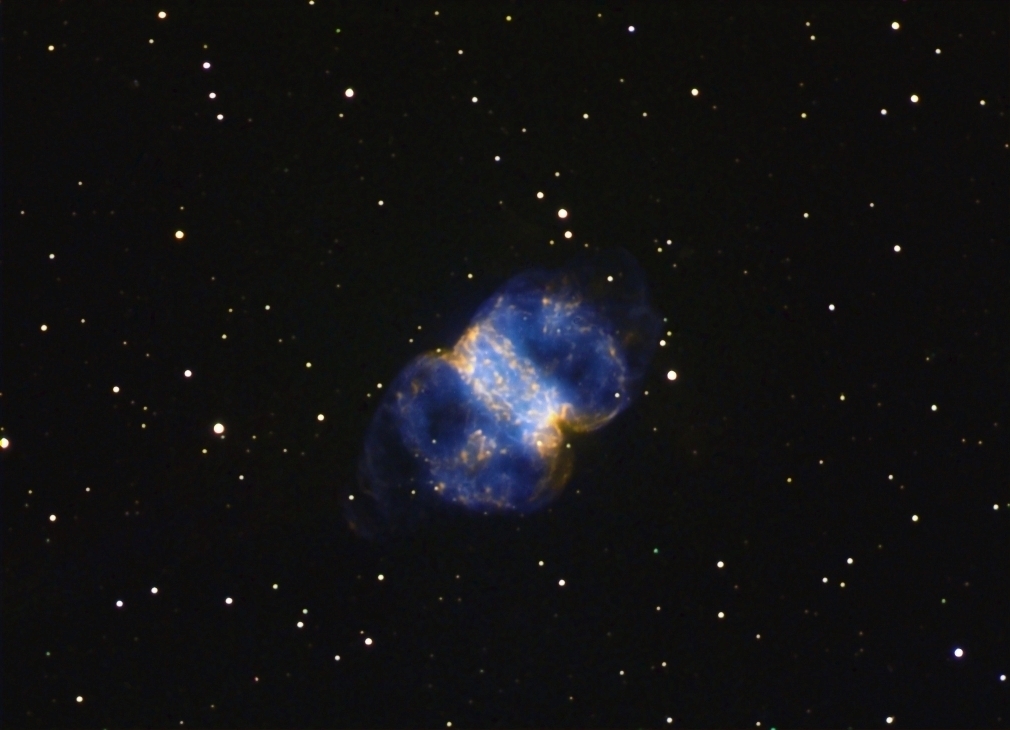 |
M76 after mask controlled background smoothing.
 |
Copyright © 2012 MLUnsold Digital Imaging. All Rights Reserved.