The Process History layers can be used to apply a sequence of stretch, smooth, sharpen, deconvolution, or color adjustment filters with optional blend mode, opacity, and mask to a color or monochrome image.
Process History layers make applying filters and masks to the same image simple and direct. Undo and Redo can be applied to the image and the filter, blend mode, opacity, and mask modified. The filter sequence and masks can be saved and loaded using a project file.
Each image layer and mask used by the Combine Image & Mosaic layer tool can have its own unique process history layers.
This tutorial explains the general steps for sharpening midtones and highlights followed by background smoothing then star size reduction. First a custom luminance mask is created and used with Multiresolution (wavelets) to sharpen an image. The luminance mask is then inverted and used to smooth the background with a Gaussian blur.
Blend mode and opacity are used to blend the sharpened midtone highlights and smoothed background with the initial image. The last step shows how to create a star mask and use it to reduce star size without any effect to non stellar detail. Detailed instructions are available as a link for each general step shown below..
Similar steps can be used to apply any stretch, contrast, deconvolution, or color adjustment filter with blend mode, opacity, and mask.
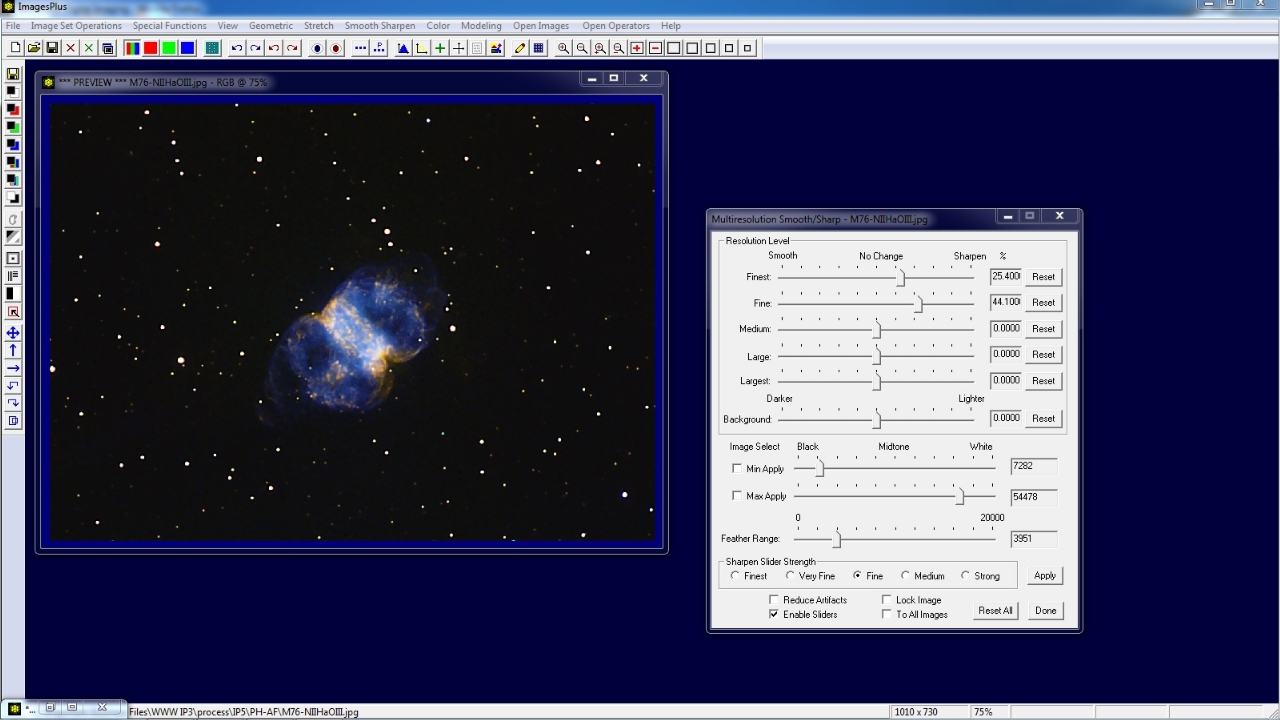
Step 1) Create Custom Luminance Mask & Sharpen Highlights - Detailed Instructions
First apply the sharpening filter to the image. M76 is sharpened but the stars have dark haloes and the background has become grainy. A custom luminance mask
will allow sharpening of M76 and stars without dark haloes and leave the background unchanged.
 |
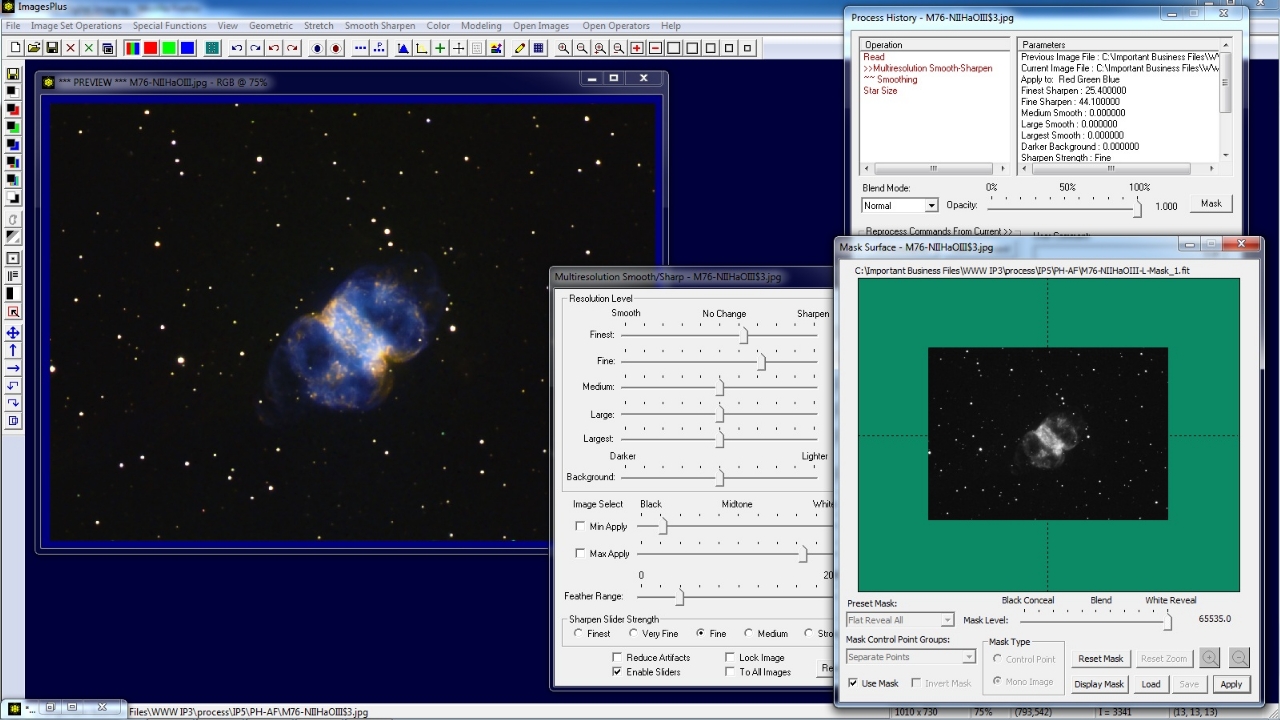
After the sharpening filter is applied to the image open the Process History window and the mask button will be enabled. Create and save the custom luminance mask image. Press the Mask button on Process History and assign the custom luminance mask. The mask will correct star haloes and only allow sharpening of the bright areas of the image
since lighter mask areas reveal the sharpened layer and darker mask areas block the sharpened layer and reveal the layer below which is the image before sharpening.
 |
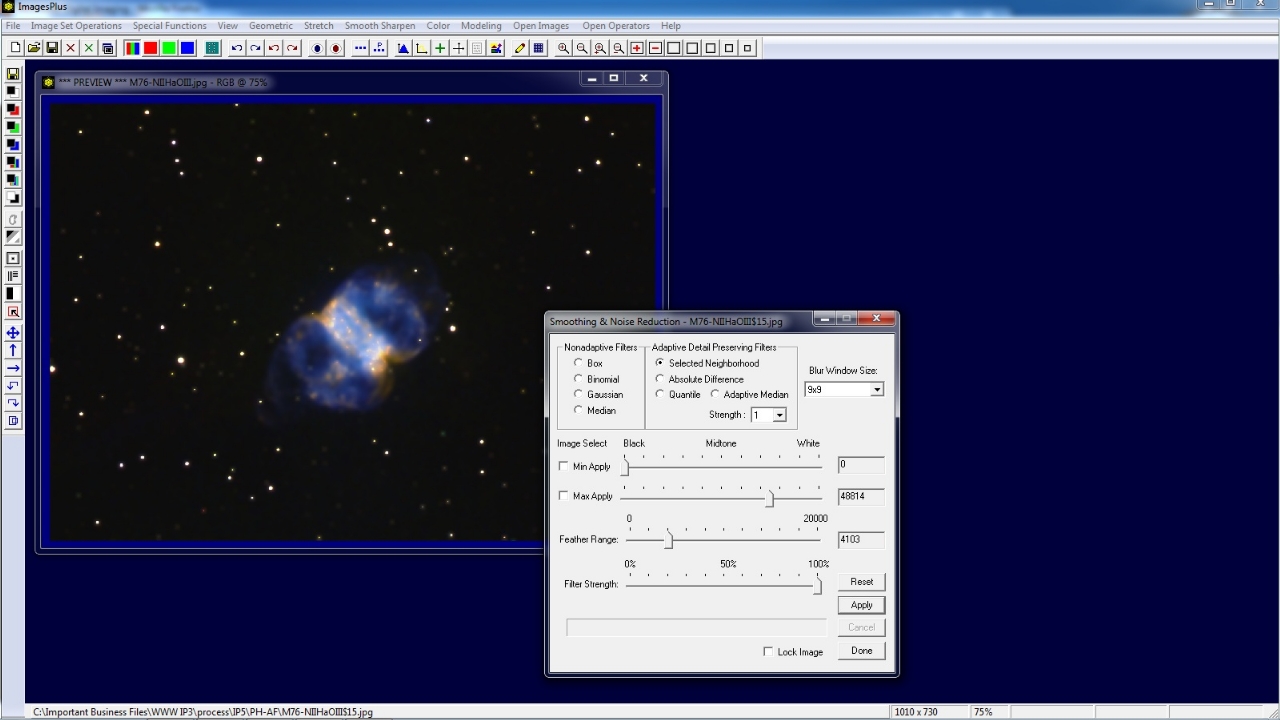
Step 2) Invert Custom Luminance Mask & Smooth Background - Detailed Instructions
Apply the Gaussian smoothing filter to the image. The background is smoothed but M76 and the stars are also smoothed. A custom inverse luminance mask will allow smoothing of only the background with no change to stars and M76.
 |
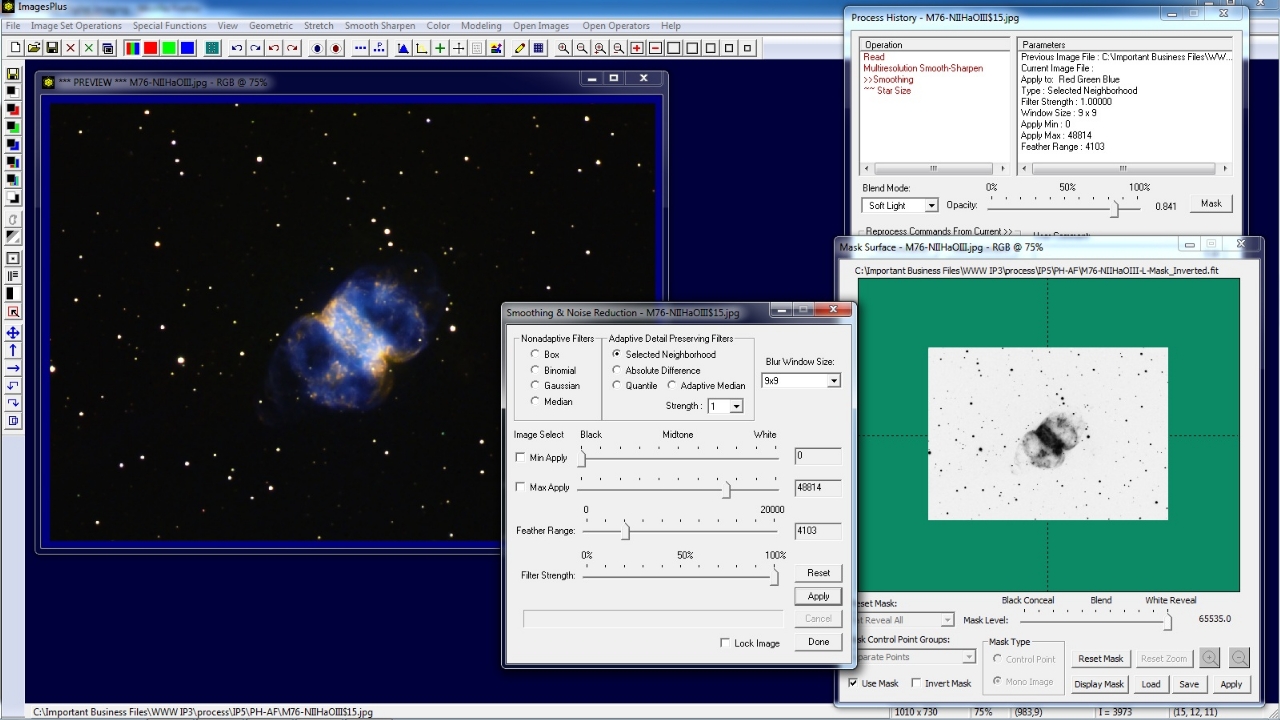
Invert the custom lumiance mask that ws used to sharpen the midtones and highlights then apply it to the smoothing filter using the Process History Mask button. Since the background is all white and the star and M76 are black in the mask only the background is smoothed. Blend mode
is set to Soft Light to increase contrast and opacity is set to 0.841 to blend the smoothed background image layer with the previous sharp midtone highlight image layer.
 |
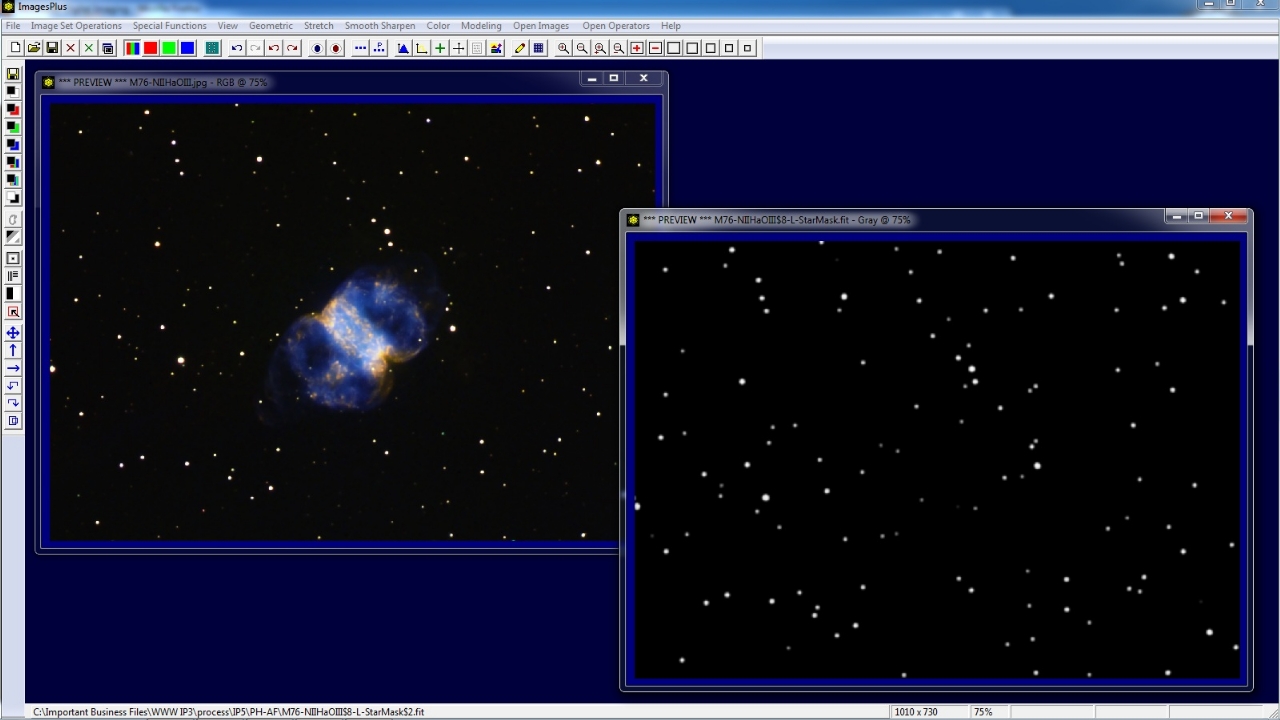
Step 3) Create Star Mask & Reduce Star Size - Detailed Instructions
A star mask is created from the sharpened midtone highlight and smoothed background image.
 |
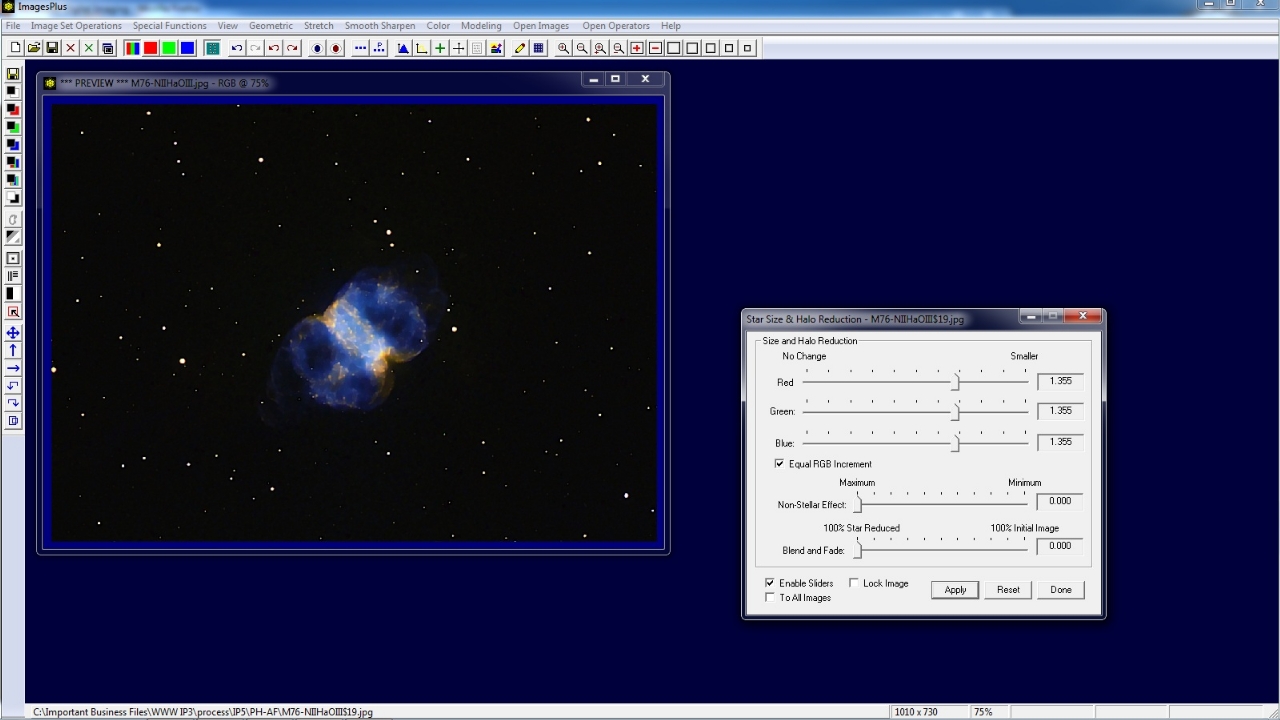
The Special Functions | Star Size & Halo tool is applied to the image. Star size is reduced but M76 is also effected. A star mask can be used to allow star size reduction with no change to M76.
 |
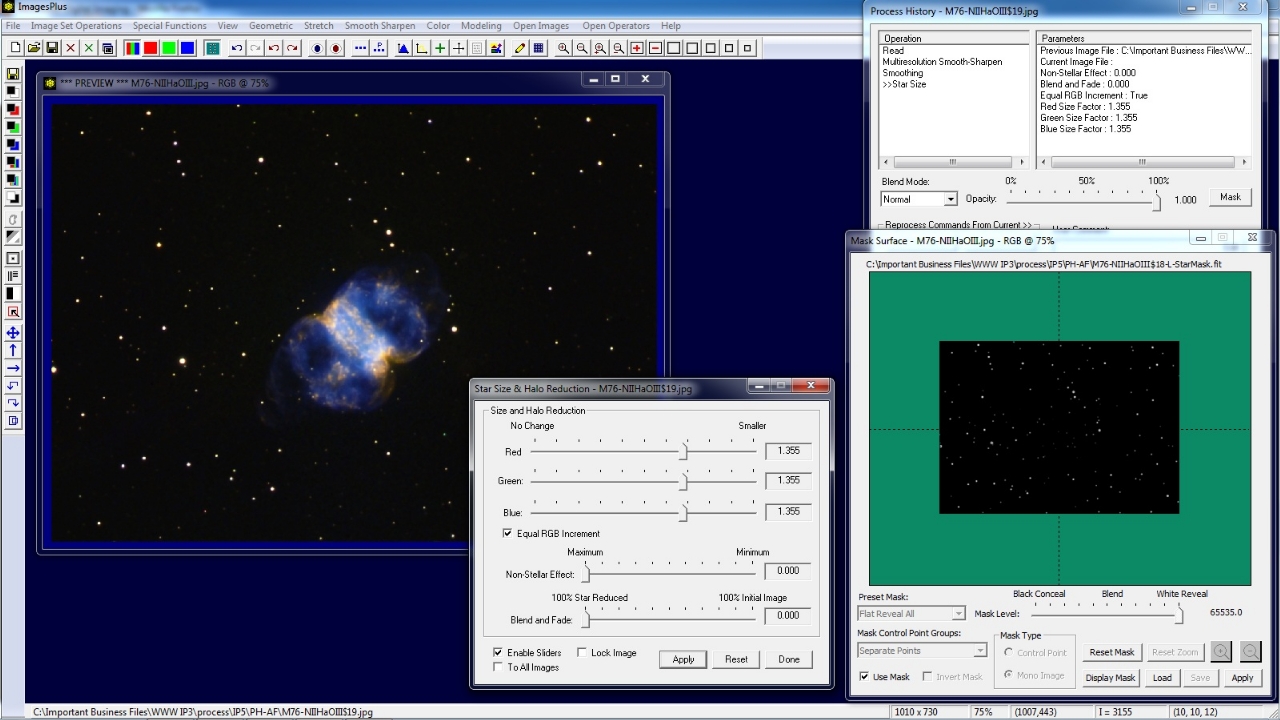
The star mask is assigned to the Star Size & Halo tool using the Process History Mask button. With the mask star size is reduced but M76 and the background are unchanged.
 |
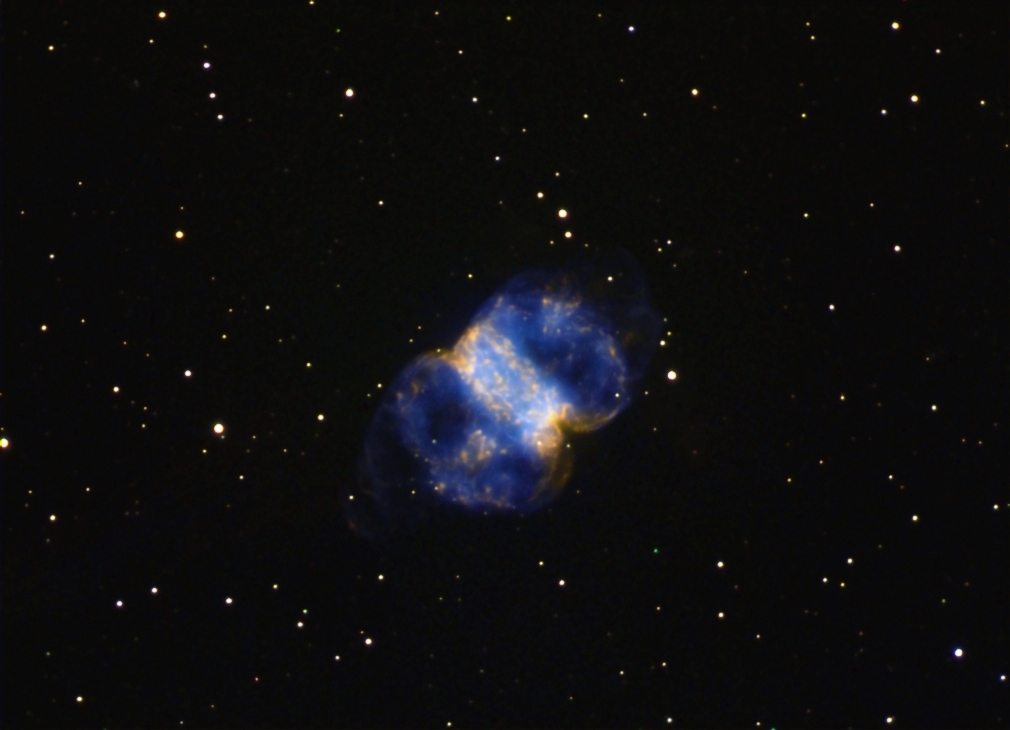
M76 before midtone highlight shapened, smoothed background, and reduced star size.
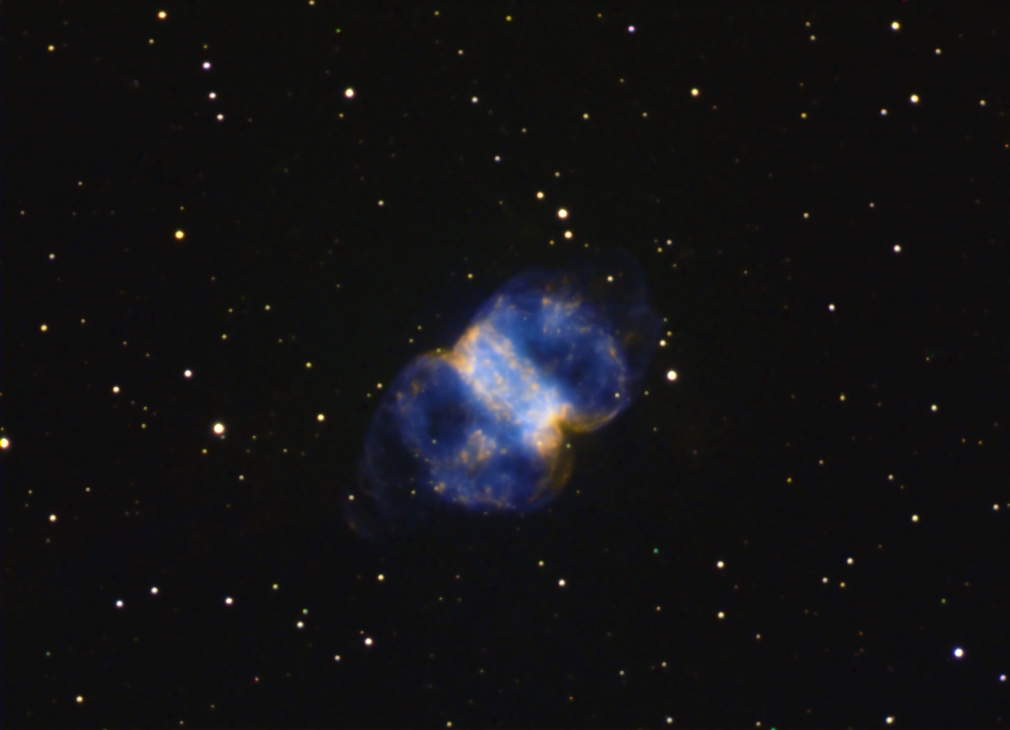 |
M76 after mask controlled midtone highlight shapening, background smoothing, and star size reduction.
 |
Copyright © 2012 MLUnsold Digital Imaging. All Rights Reserved.