High Pass Contrast Enhancement with Star Mask
This tutorial explains how to use a high pass filter to enhance contrast. A star mask is created and used with the High Pass Filter tool to enhance constrast of a nebula and maintain star size and color.
Similar steps can be used to create and use a star mask with any stretch, smooth, sharpen, contrast, deconvolution, or color adjustment filter.
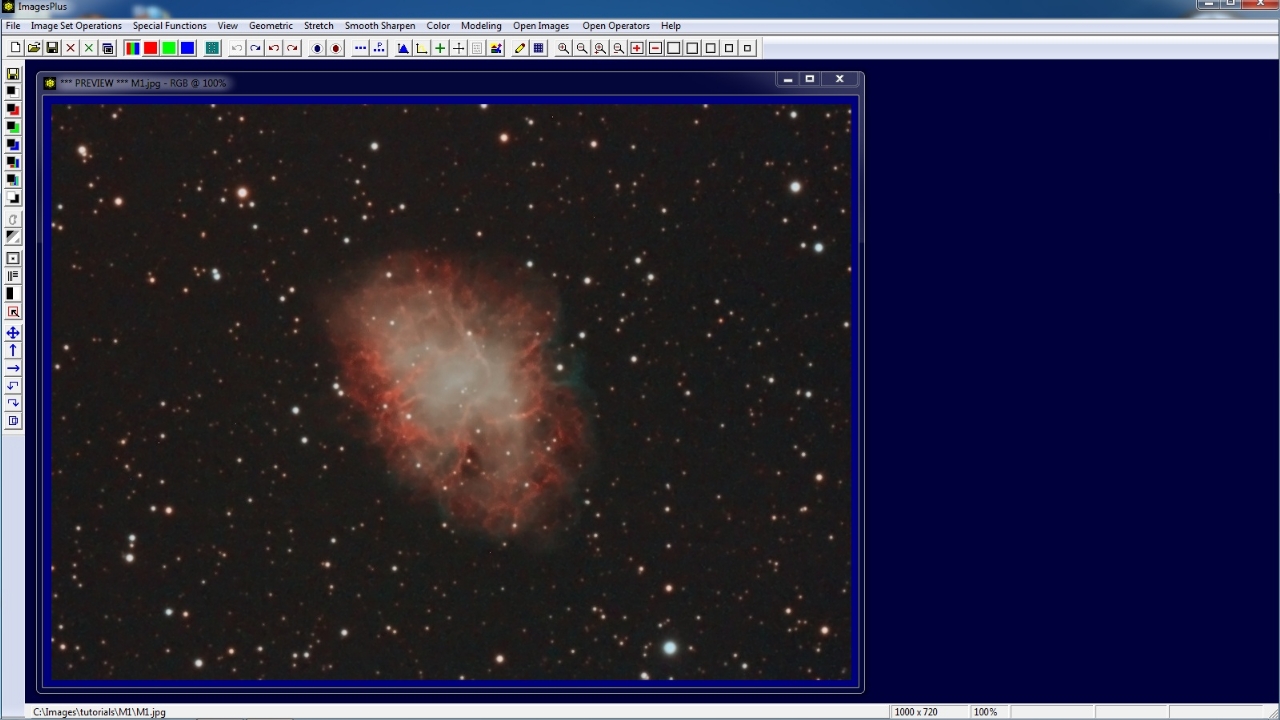
Step 1) Initial Image
Initial image of M1 with low contrast.
 |
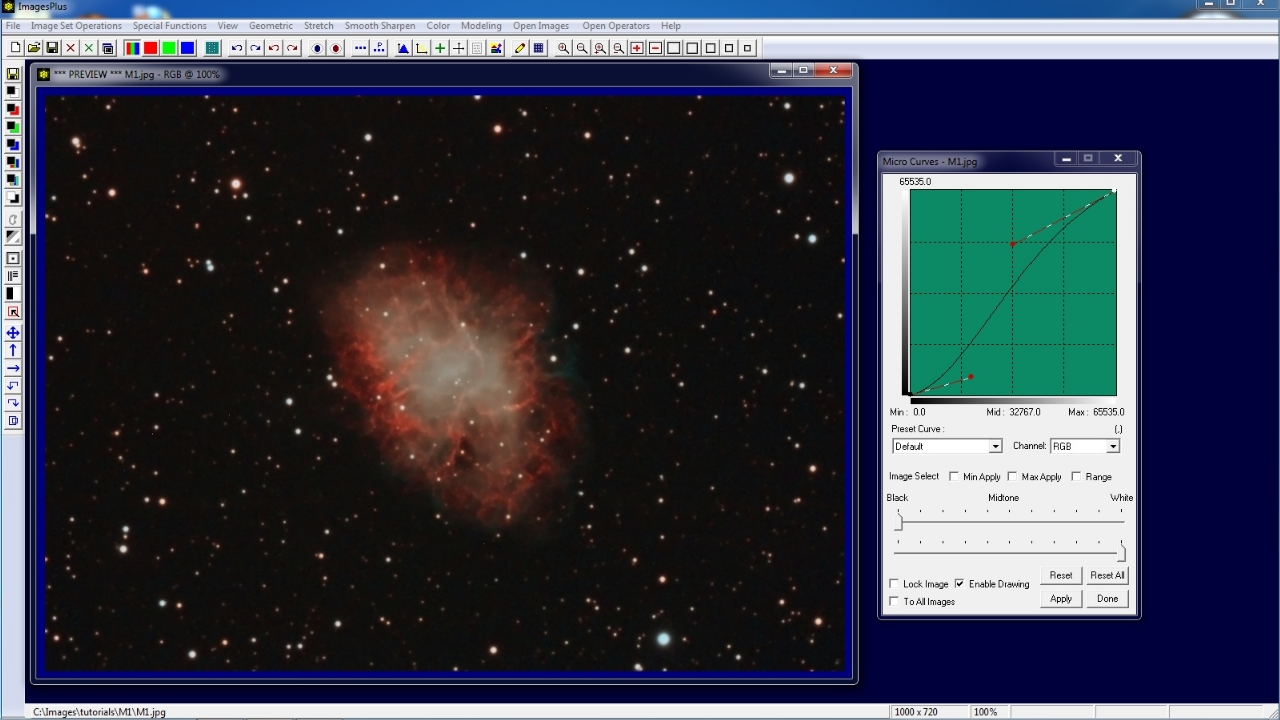
Step 2) Reduce Background
Stretch | Micro Curve is used to reduce the backgound and improve contrast.
 |
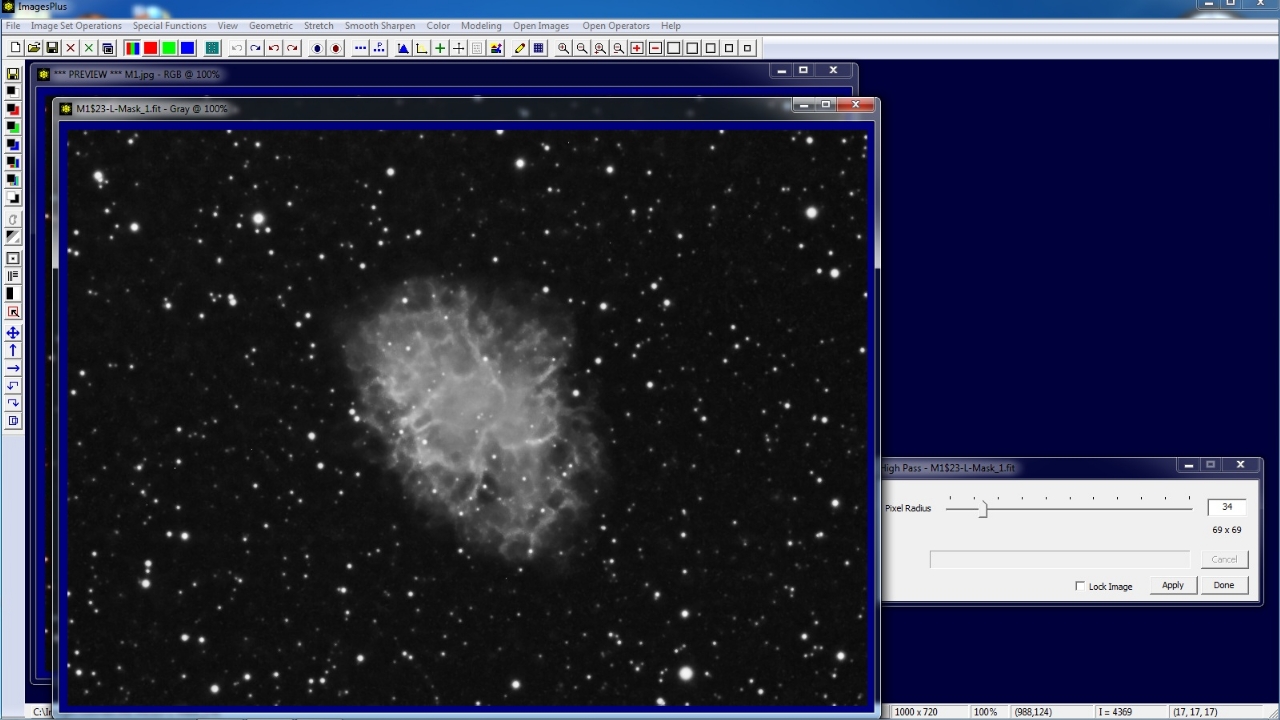
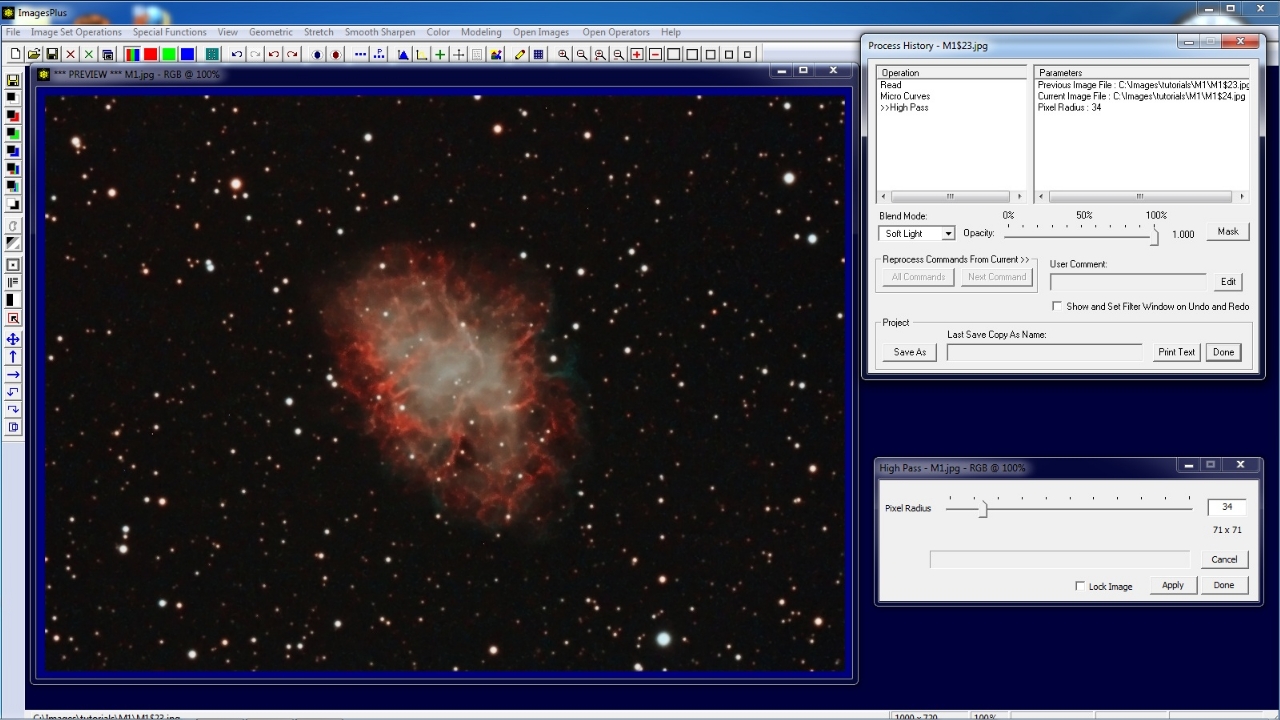
Step 3) Apply High Pass Filter
Use the High Pass Filter button on the left vertical toolbar to open the High Pass Filter tool. Adjust pixel radius until M1 appears in the gray high pass image.
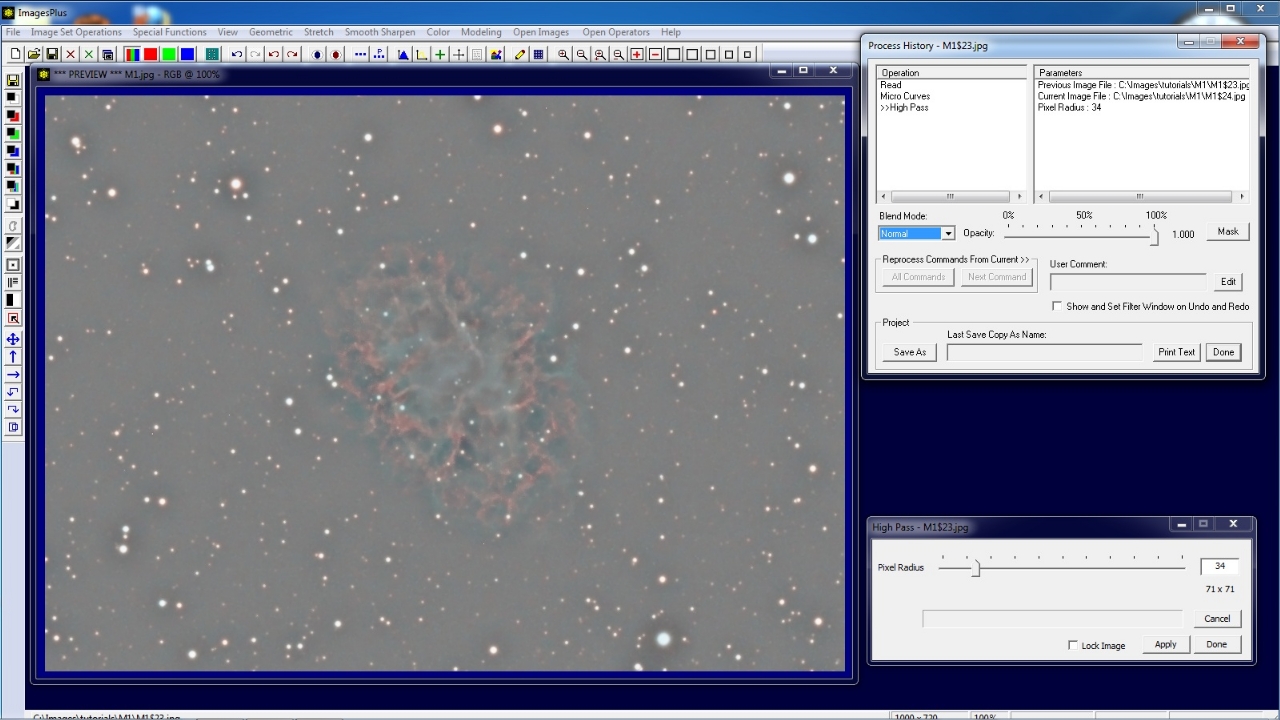 |
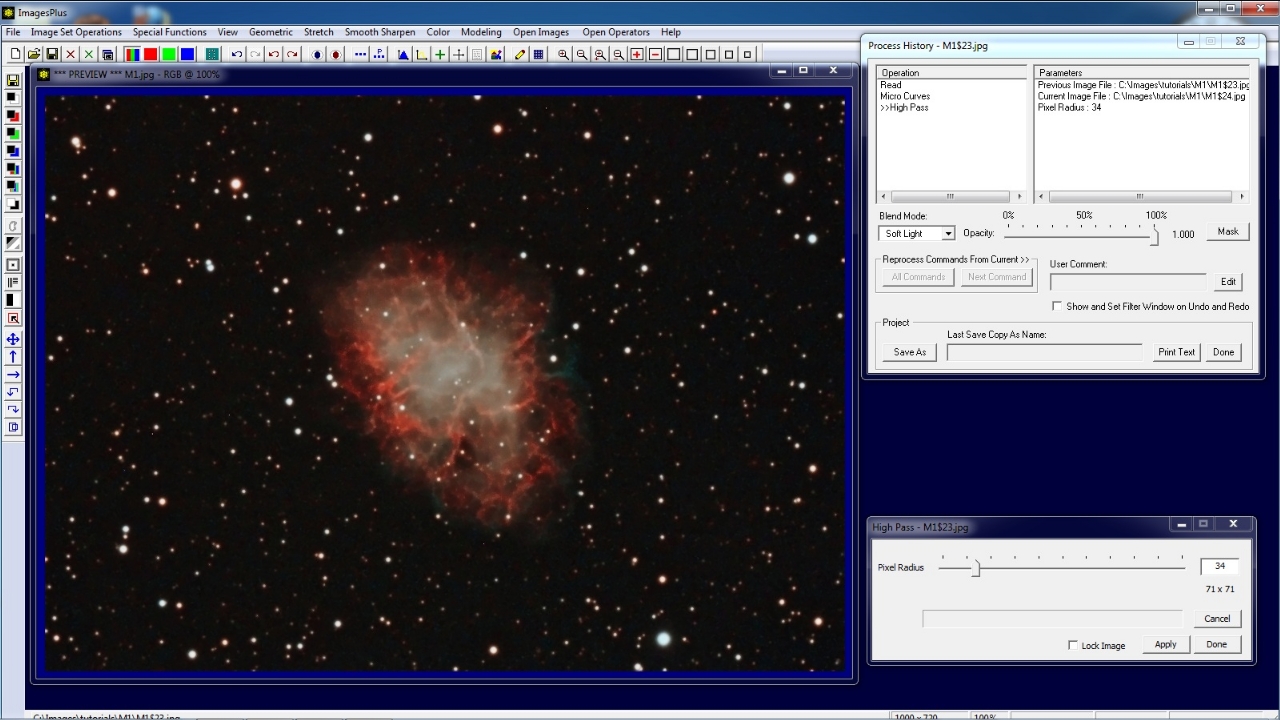
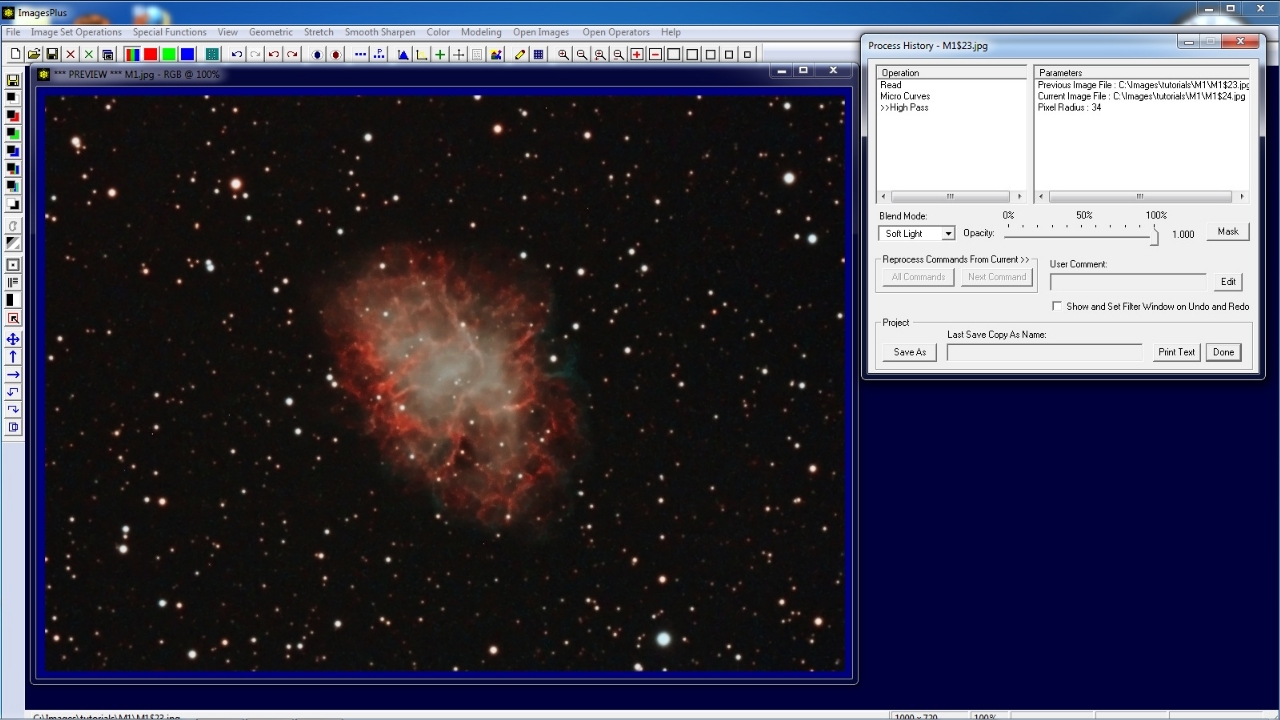
Open the Process Histiory window using the button on the top horizontal toolbar. With High Pass as the current command pointed to by >> in the Operation list set blend mode to Soft Light. Soft Light blends the gray high pass image with the initial image.
Adjust pixel radius on the high pass filter to fine tune contrast enhancement. A star mask could be used as shown in steps 4 and 5 to reduce contrast enhancement of stars.
 |
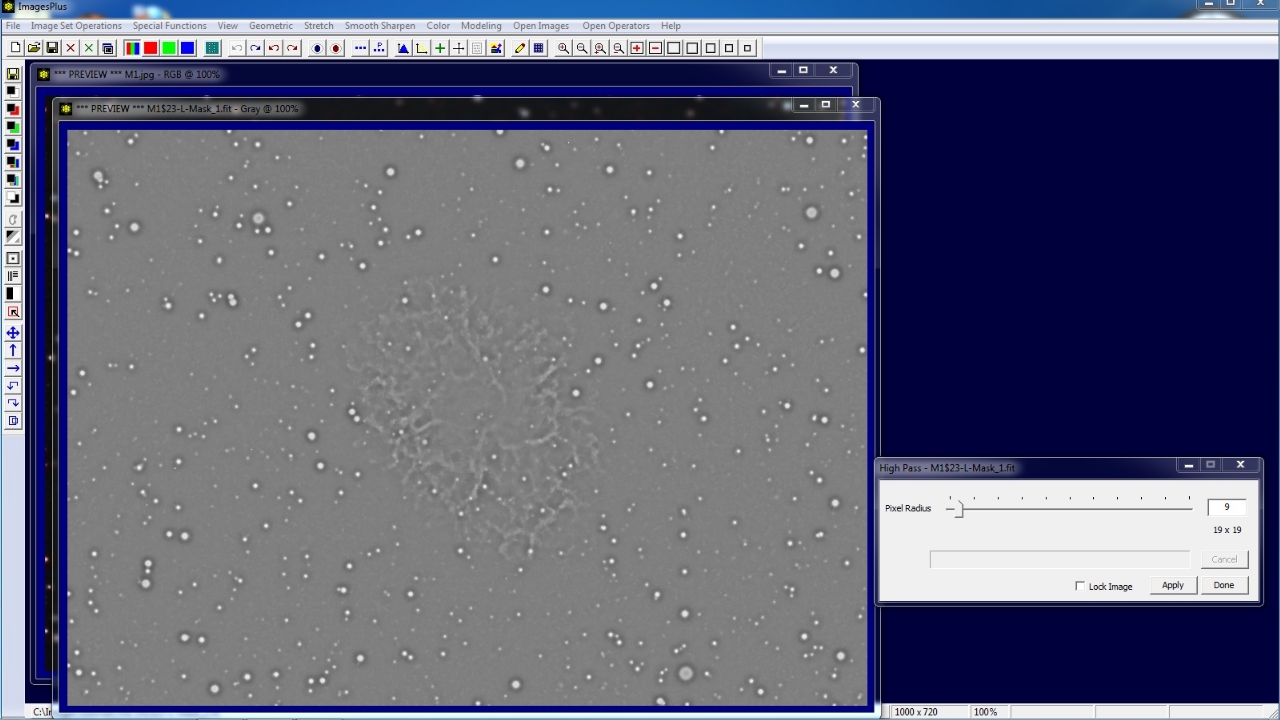
Step 4) Create Inverse Star Mask
Minimize the Process History window. Apply the Luminance Mask button on the left vertical toolbar to the high pass image of M1 to create a mask.
 |
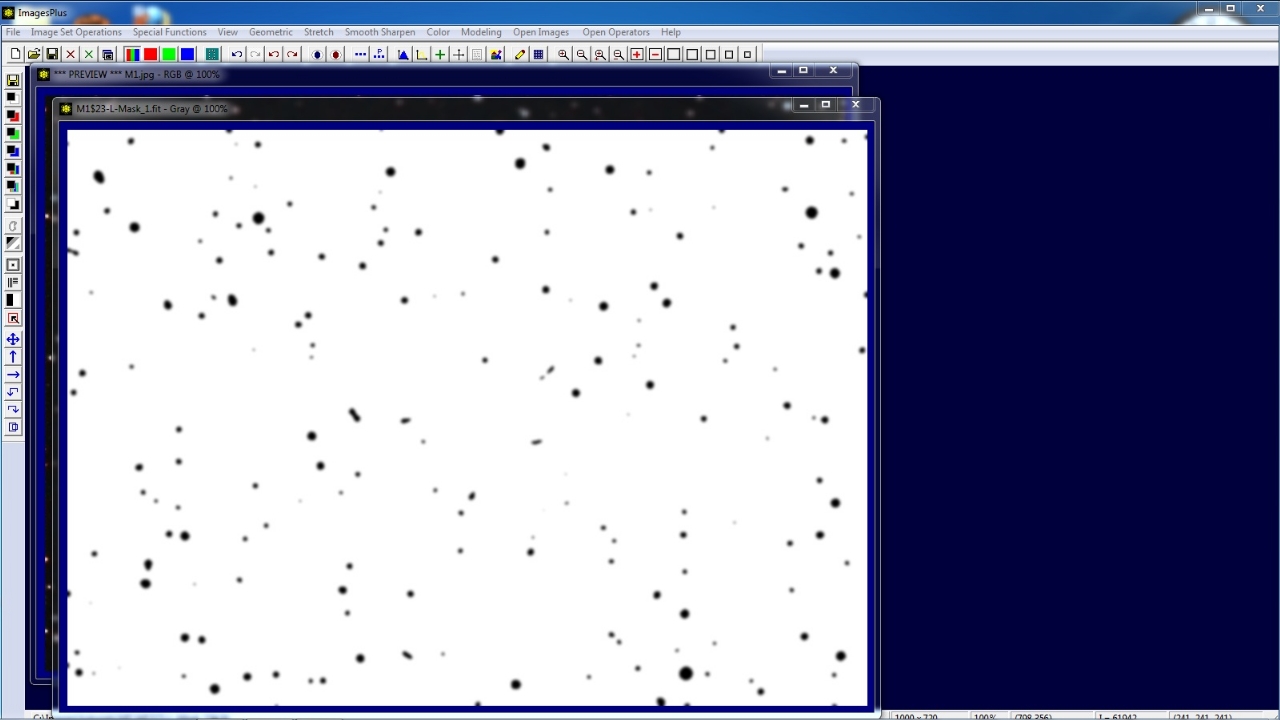
Apply a high pass filter to the mask with large enough radius so that larger stars are visible. In this example radius is set to 9 pixels or 19 x 19 blur window size.
 |
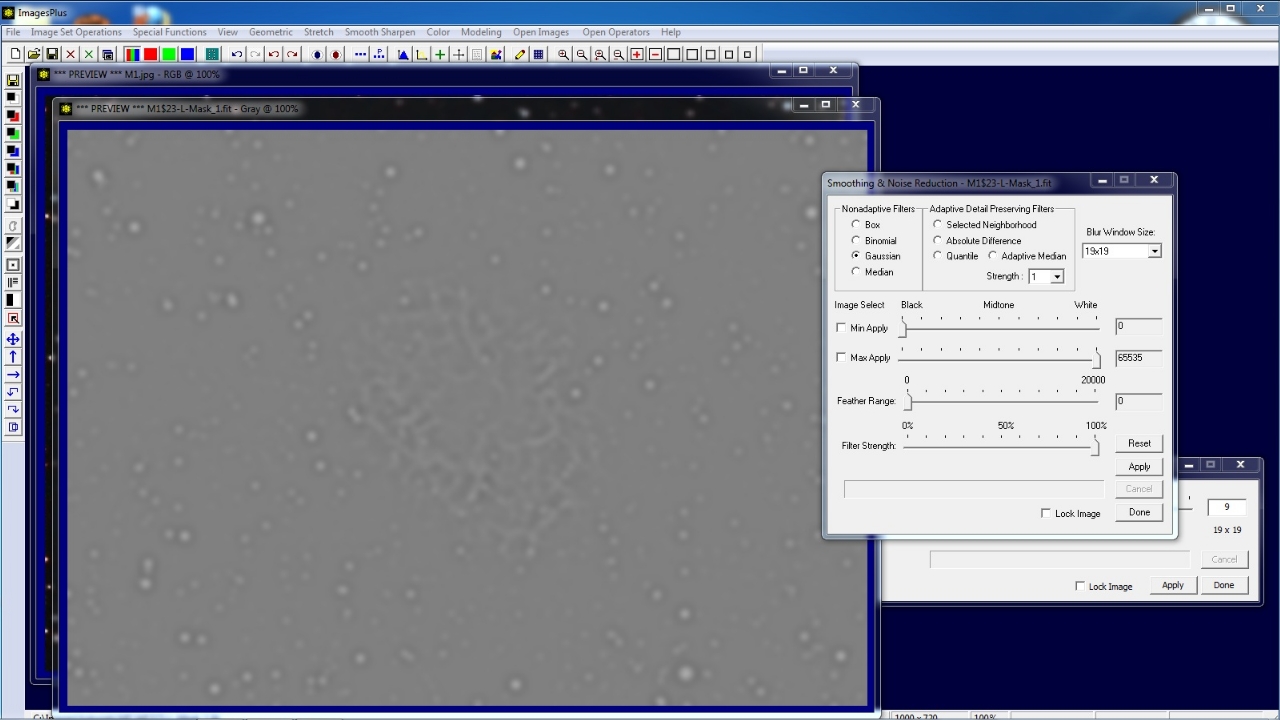
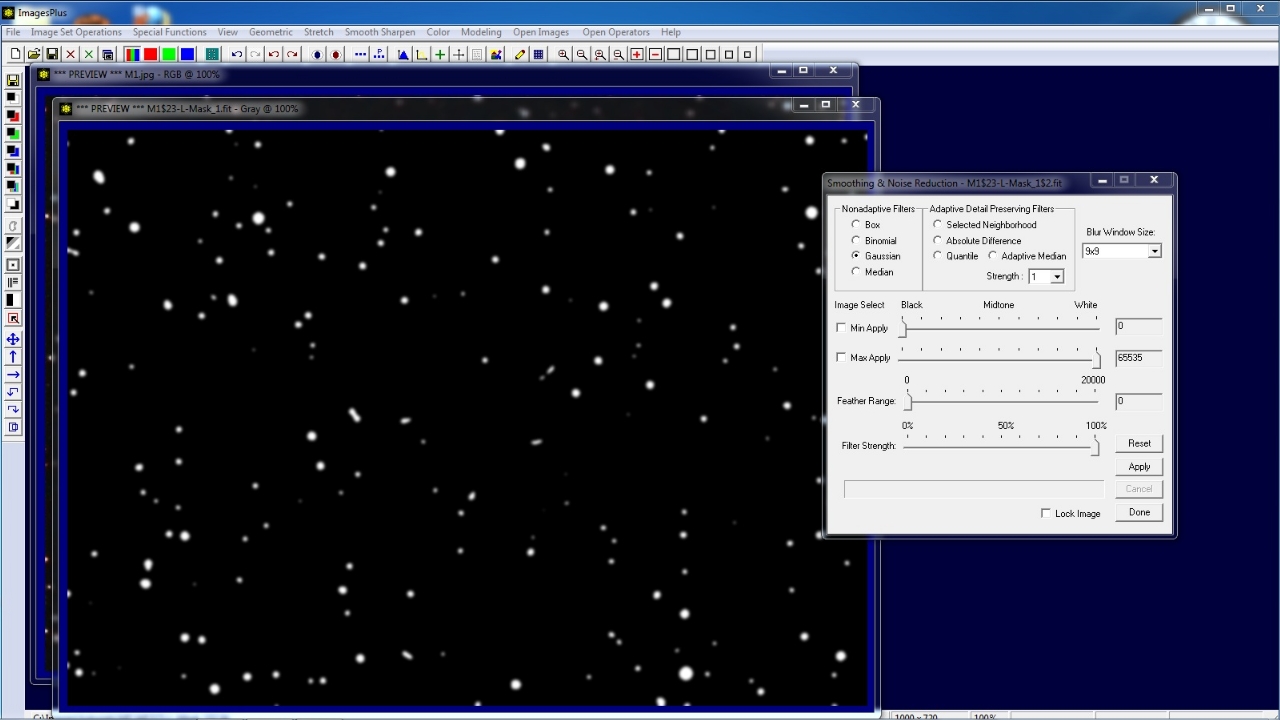
Use Smooth Sharpen | Smoothing & Noise Reduction to apply a Gaussian blur with the same radius as used with the high pass filter.
So blur window size is set to 19 x 19.
 |
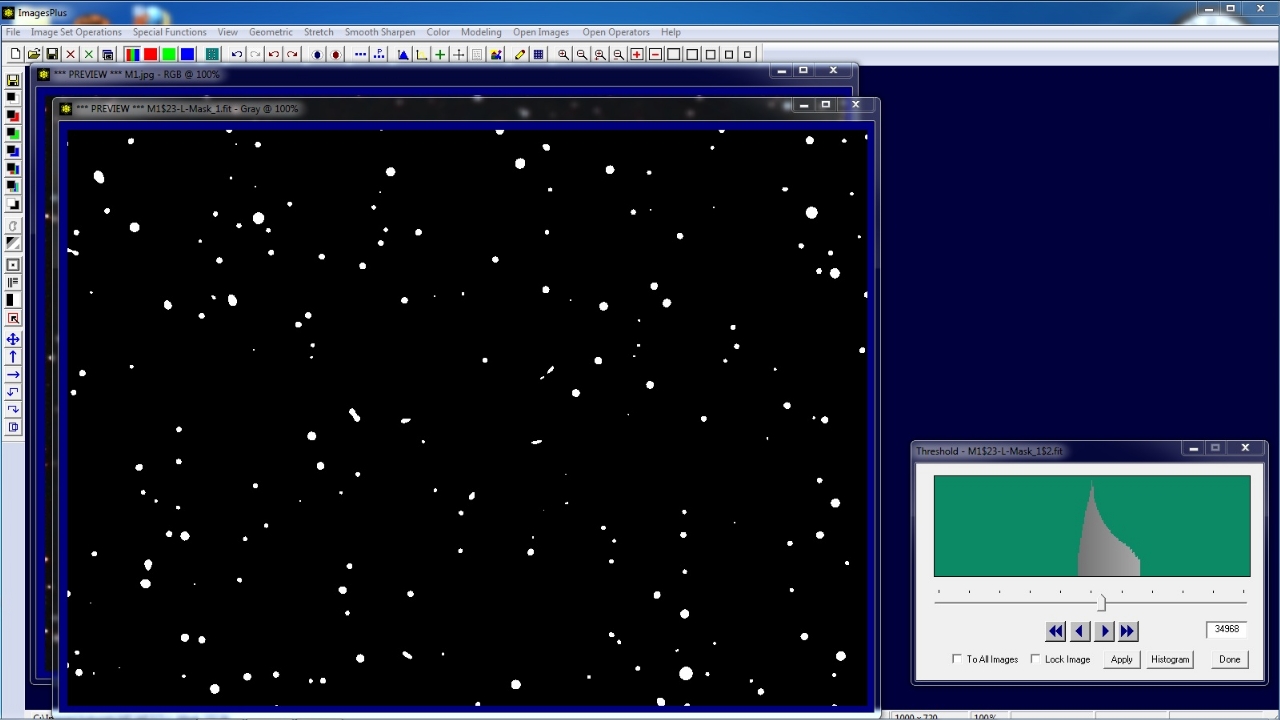
Open the Threshold tool using the left vertical toolbar and apply to mask. Adjust threshold level so that only larger stars are visible.
 |
Apply a mild Gaussian blur to smooth the mask.
 |
Apply the Inverse Mask tool using the button on the left vertical toolbar to the smoothed threashold star mask to create an inverse star mask.
 |
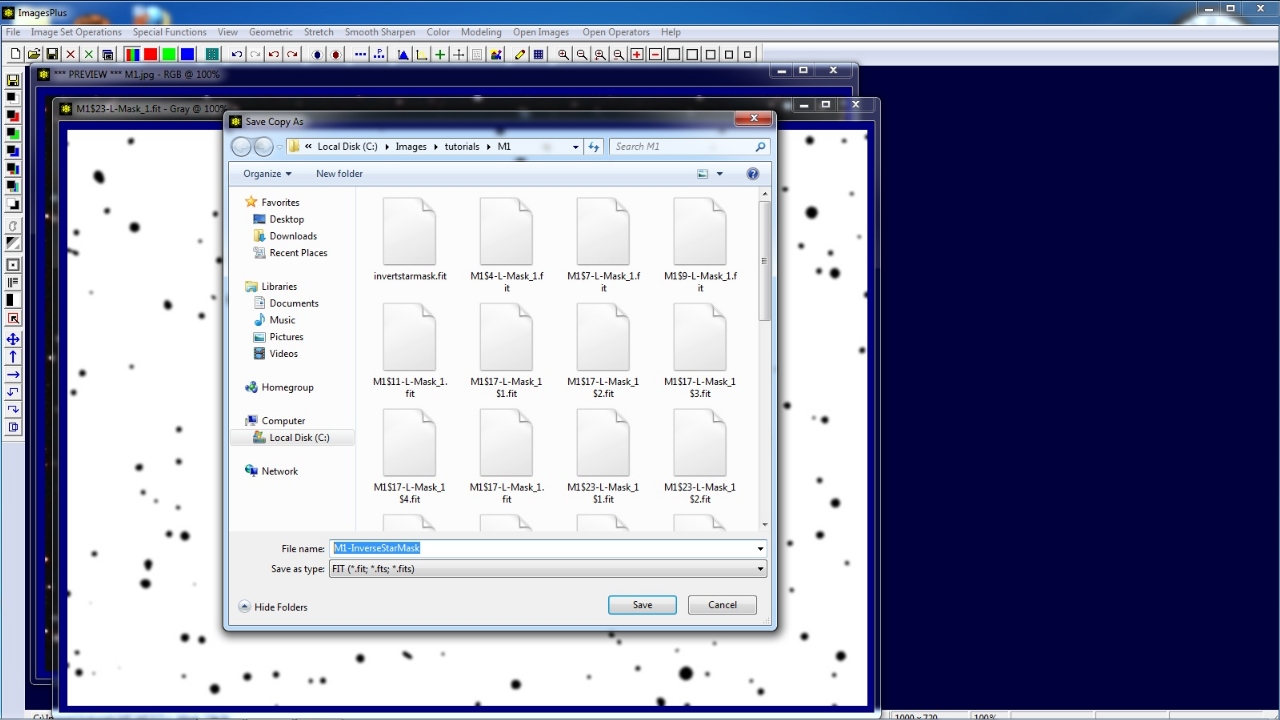
Use the Save As then Copy Mask toolbar button on the left vertical toolbar to name and save the background mask. The mask is now ready to be assigned to a filter using the Process History window.
 |
Step 5) Assign Inverse Star Mask to High Pass Filter
Restore or open the Process History window.
 |
Double click on High Pass in the operation list on the Process History window to display and set the High Pass filter parameters.
 |
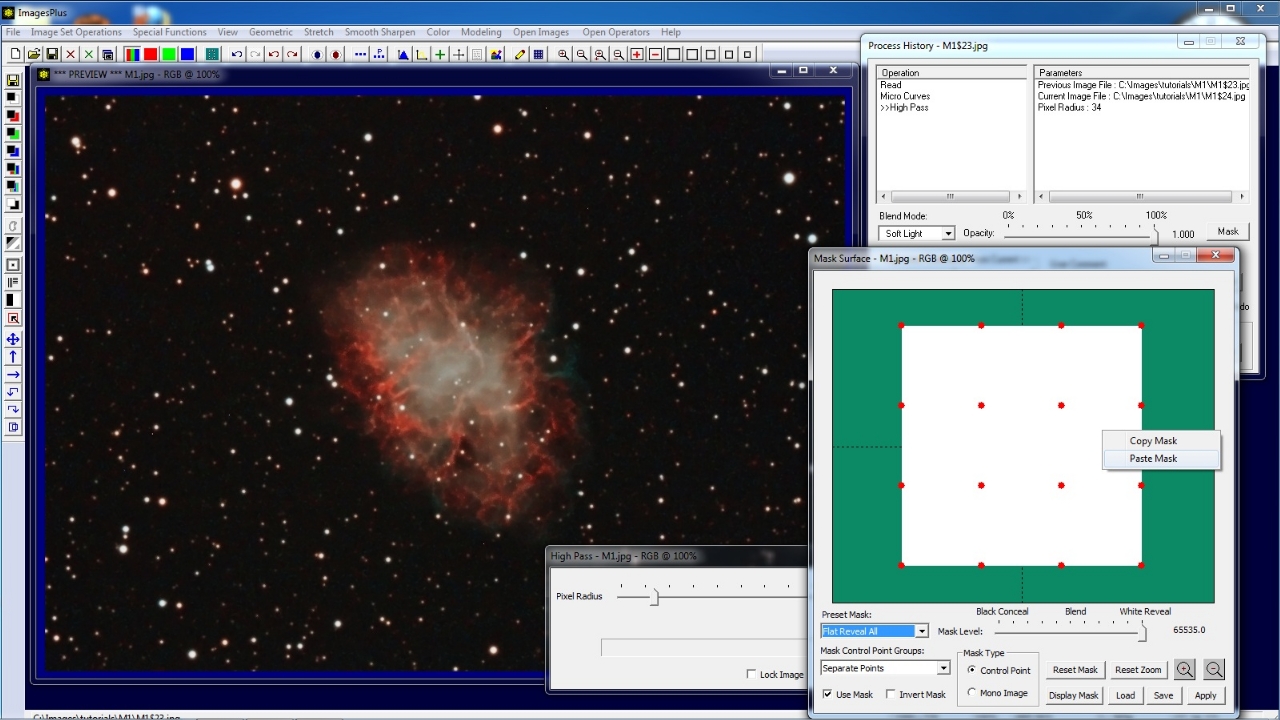
With High Pass as the current command pointed to by >> in the Process History Operation list press the Mask button on the Process History window. The Mask Surface window is displayed and set to the default all white control point mask. Right click on the white mask area and select Paste.
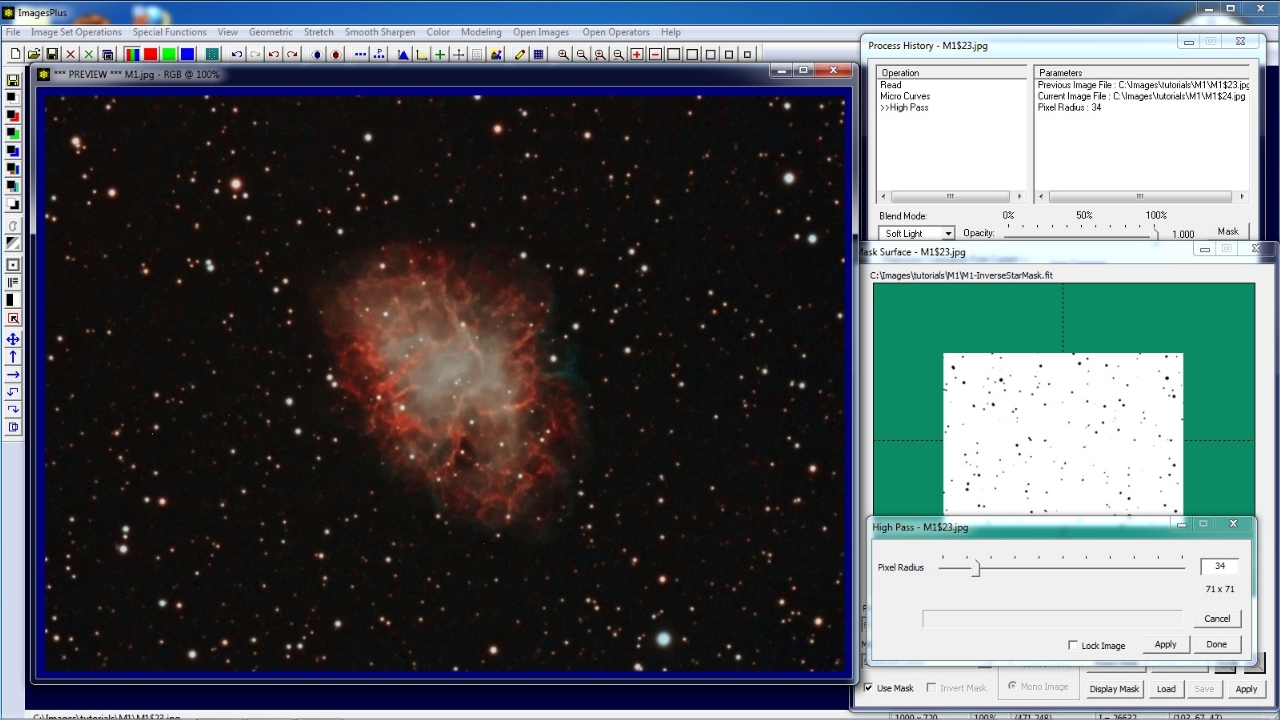
Since the last mask saved was the inverse star mask it is assigned to the High Pass tool. Note that you can also right click on the mask area and select Copy to copy a mask to a different filter of the same image or different image.
 |
M1 with inverse star mask controlled high pass contrast enhancement. Stars retain their size and color when high pass contrast enhancement is used with an inverse star mask.
 |
Copyright © 2012 MLUnsold Digital Imaging. All Rights Reserved.