Deconvolution using an Edge Mask
This tutorial explains how to create an edge mask of Jupiter and use it to control limb artifacts from deconvolution.
Similar steps can be used to apply any stretch, contrast, deconvolution, or color adjustment filter with blend mode, opacity, and mask.
Step 1) Apply Deconvolution
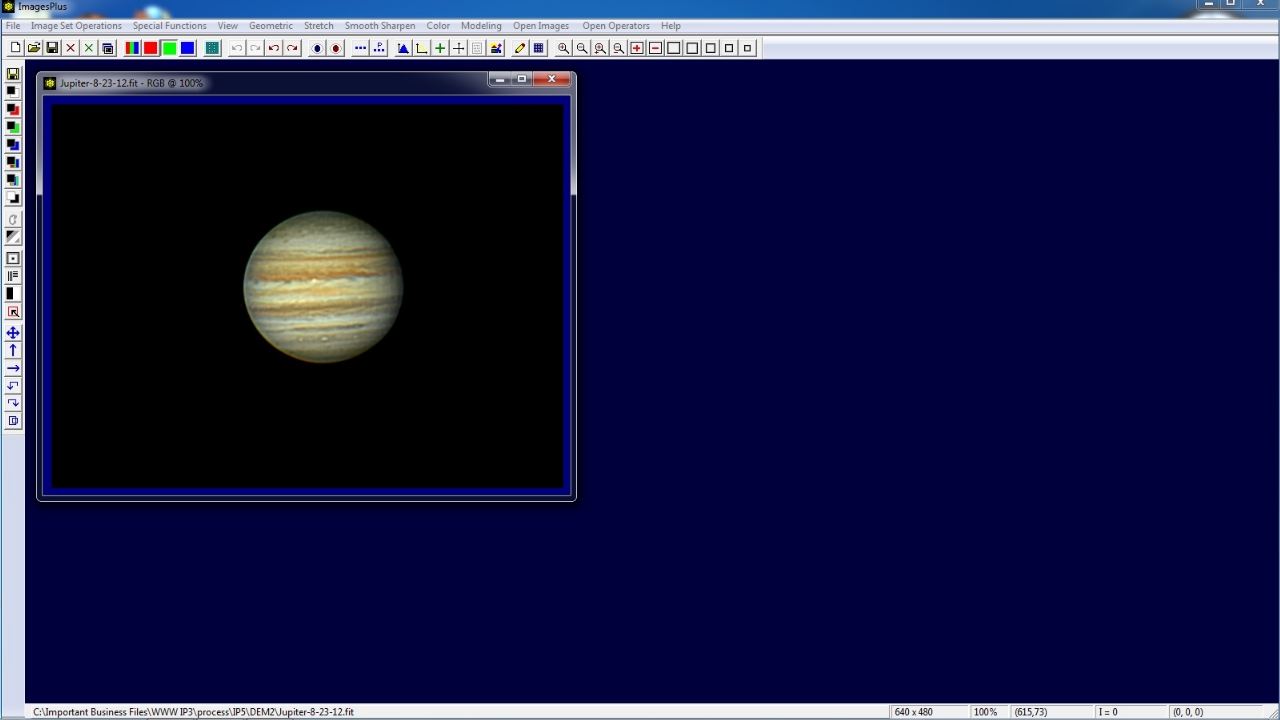
Initial image of Jupiter. Van Cittert deconvolution will be applied since the image has little noise.
 |
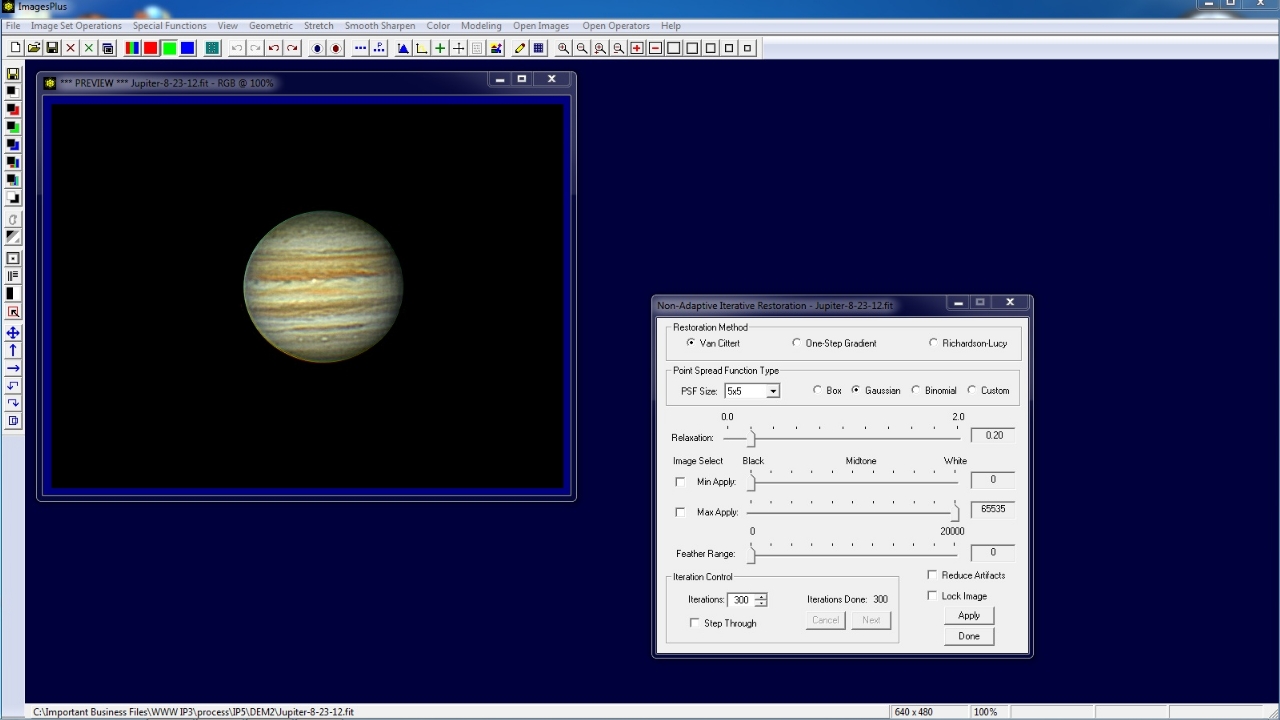
300 iterations of Van Cittert deconvolution with 5x5 Gaussian point spread function is applied. Jupiter's belts are sharper but the left edge of Jupiter is now too bright.
An edge mask will be used to apply deconvolution to the interior of Jupiter's disk and leave the edge of Jupiter unchanged.
 |
Step 2) Create & Use Edge Mask
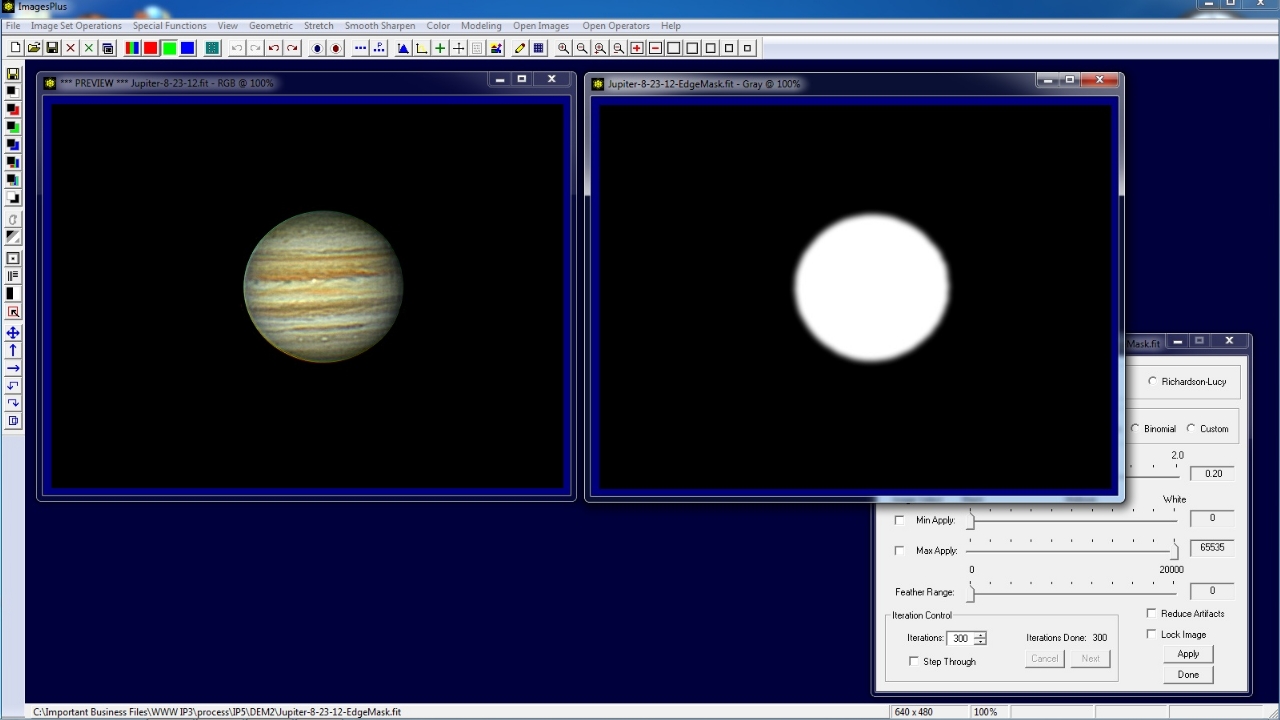
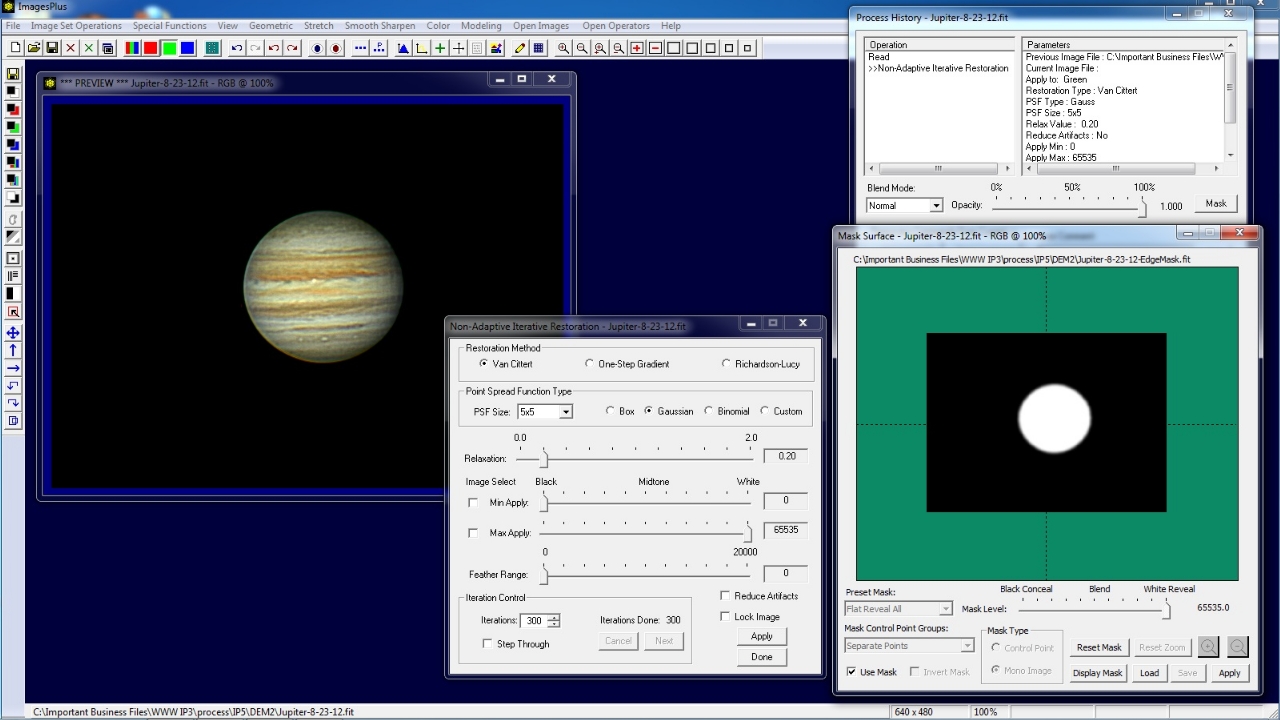
The edge mask of Jupiter on right is created as shown by the Mask Painting tutorial.
 |
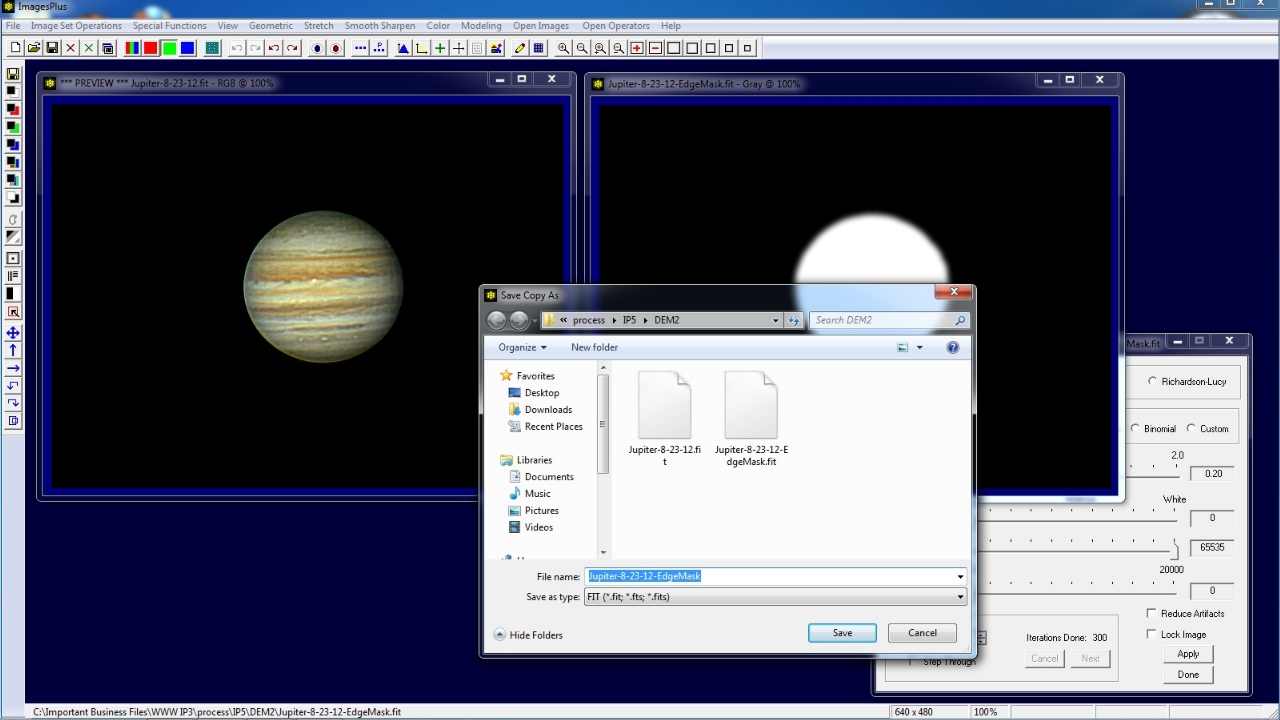
Use the Save As then Copy Mask toolbar button on the left vertical toolbar to name and save the Jupiter edge mask. The mask is now ready to be assigned to a filter using the Process History window.
 |
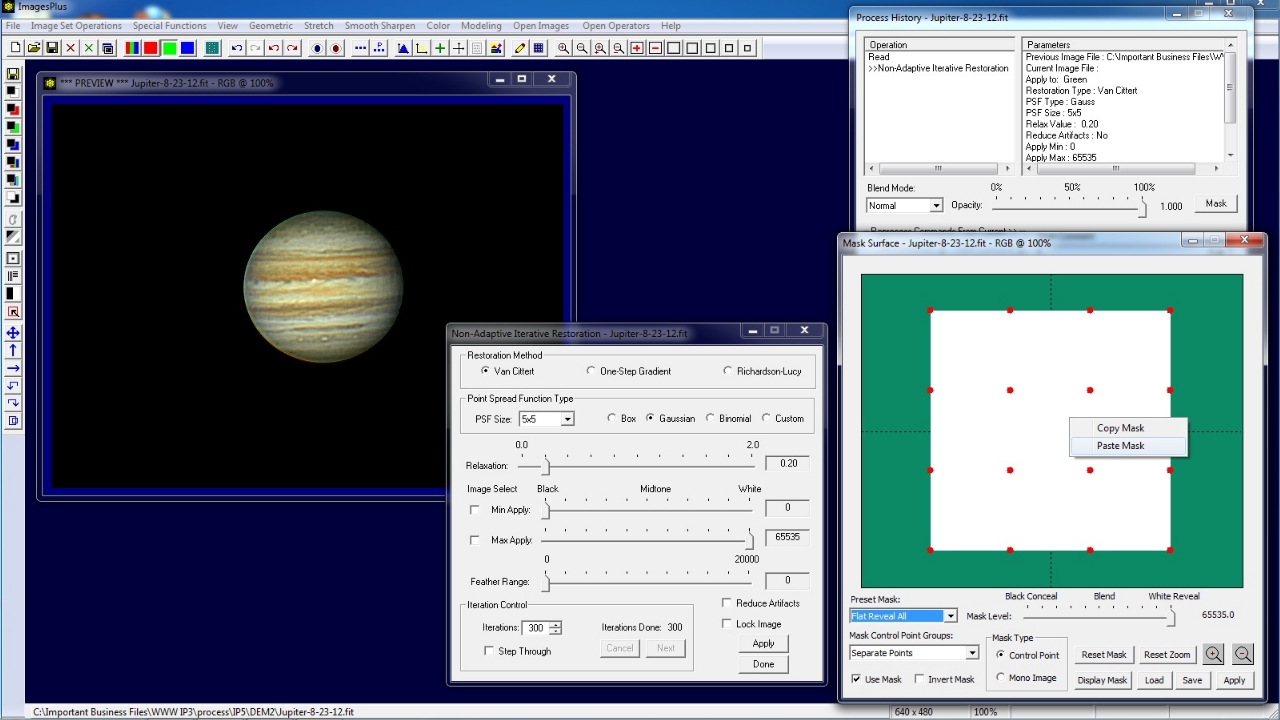
Open the Process Histiory window and with Non-Adaptive Iterative Restoration as the current command pointed to by >> in the Operation list press the Mask button. The Mask Surface window is displayed and set to the default all white control point mask.
Right click on the white mask area and select Paste. Since the last mask saved was the Jupiter edge mask it is assigned to the Non-Adaptive Iterative Restoration tool.
Note that you can also right click on the mask area and select Copy to copy a mask to a different filter of the same image or different image.
 |
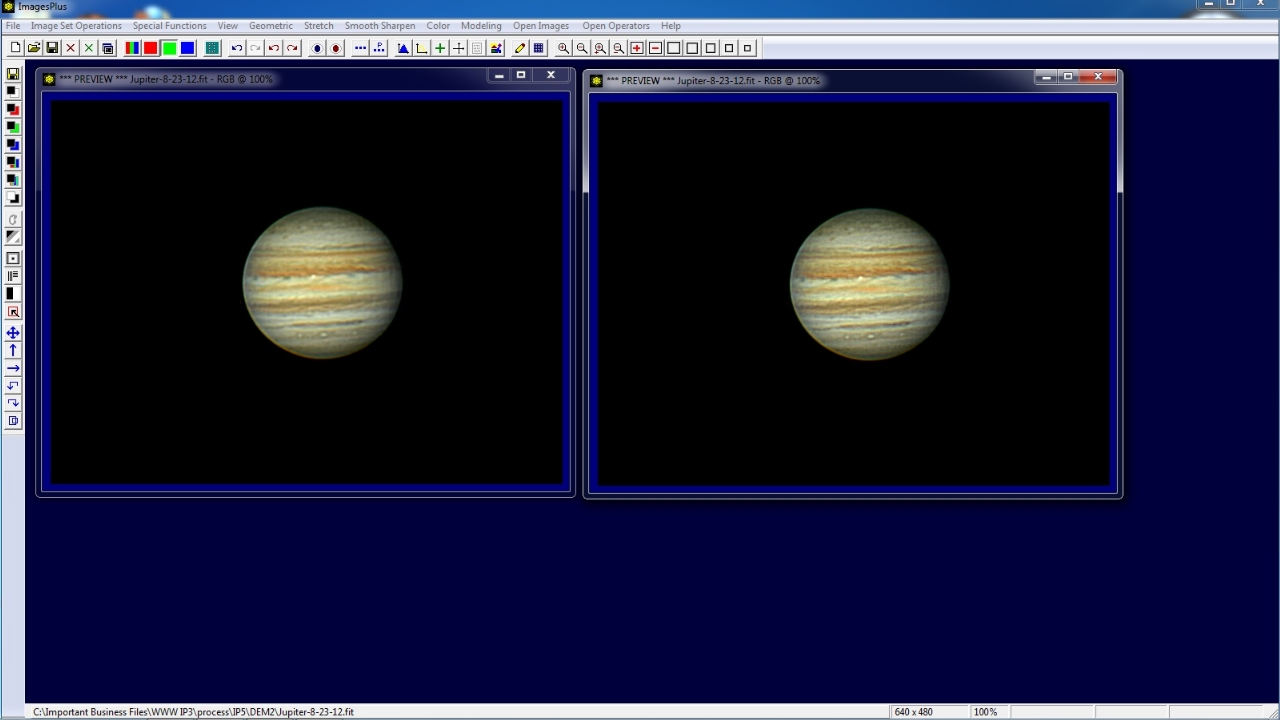
Fine adjust the Non-Adaptive Iterative Restoration (deconvolution) tool with the edge mask to emphasize detail with no edge defects on Jupiter's limb.
 |
Jupiter before deconvolution on left and with edge mask controlled deconvolution on right.
 |
Copyright © 2012 MLUnsold Digital Imaging. All Rights Reserved.