Description of the Initial Image Data
- C14 HD with F2 Hyperstar and QSI 583ws were used with Astronomik 12nm Ha and OIII filters to collect images.
- 20 x 3 minute Ha and OIII 16 bit FITS images were captured along with Ha and OIII sky flats.
- The Ha and OIII image sets were processed as separate sets using dark, flat, and bias calibration followed by normalized, aligned, and excluded min max average combine as shown by the CCD Automatic Image Set Processing example.
- The stacked Ha and OIII images were aligned using Image Set Operations | Align TSR as shown by the Align Stacked Components examlple.
- The stacked and aligned Ha and OIII images are used as a starting point in the steps below.
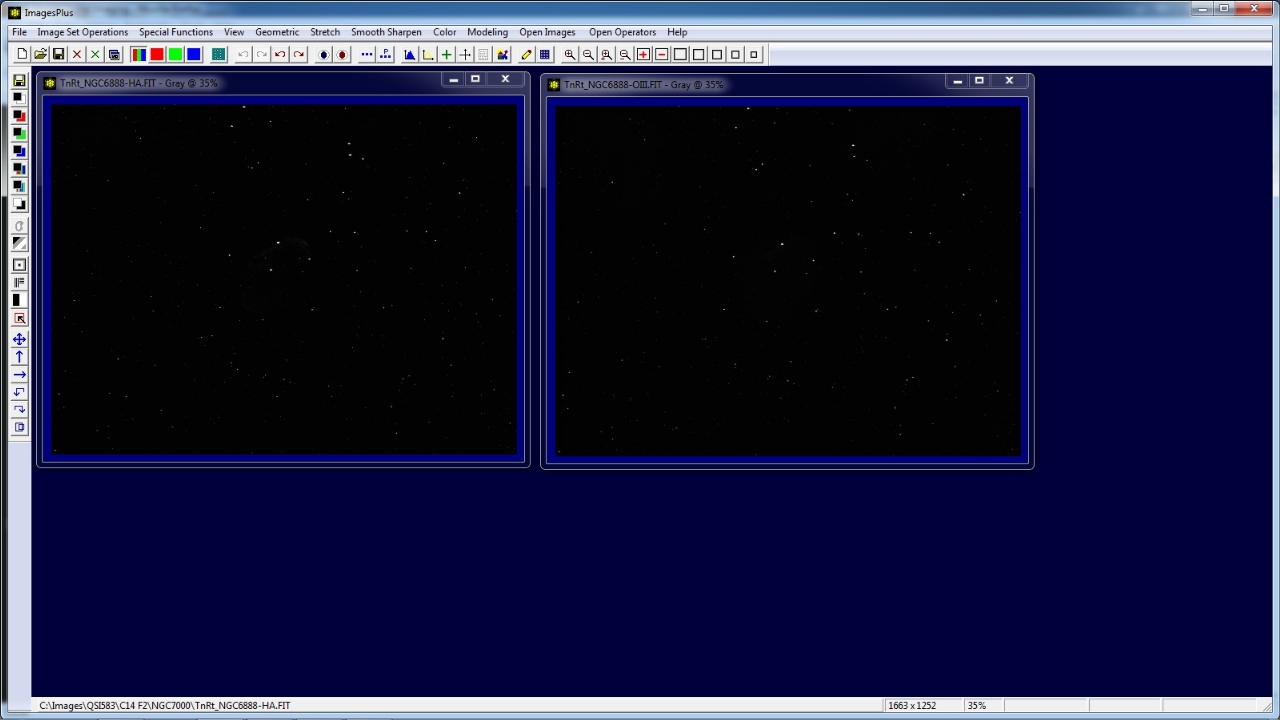
Step 1 - Open Initial Stacked and Aligned Ha and OIII
Initial stacked images are usually very dark and need brightness increase.
 |
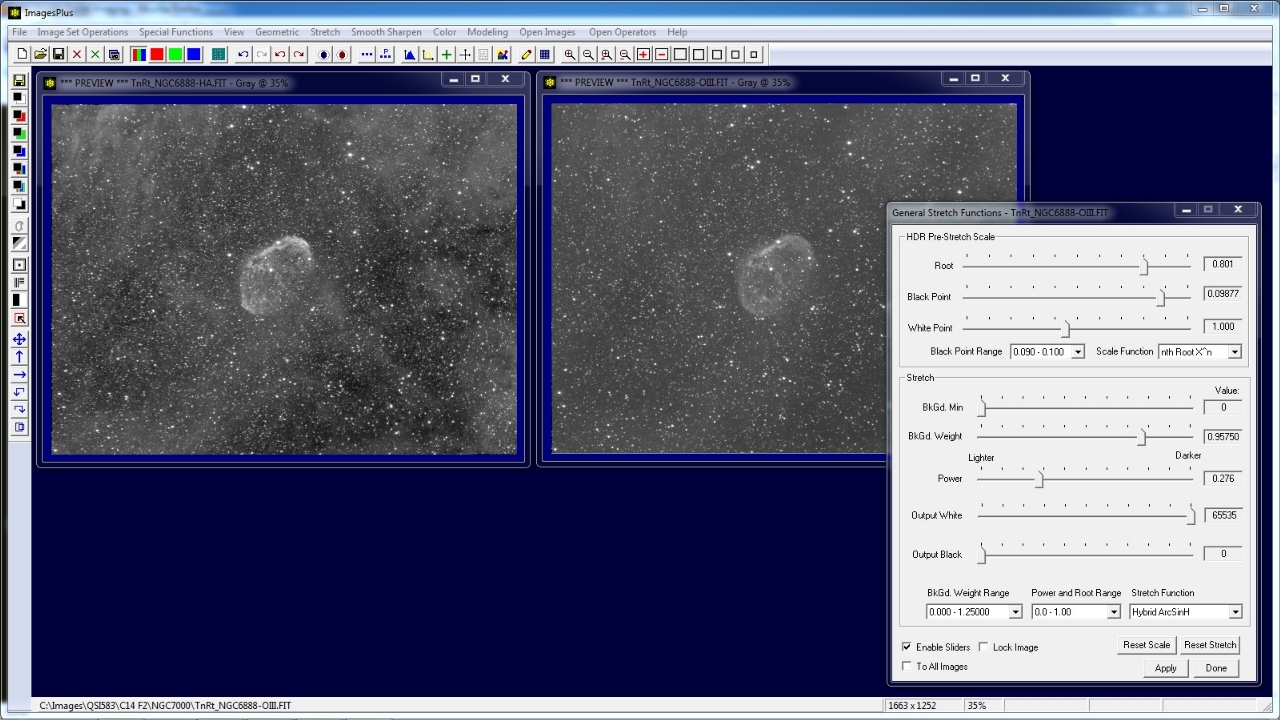
Step 2 - HDR ArcSin Brightness Stretch
The same HDR ArcSin brightness stretch is appled to Ha and OIII.
 |
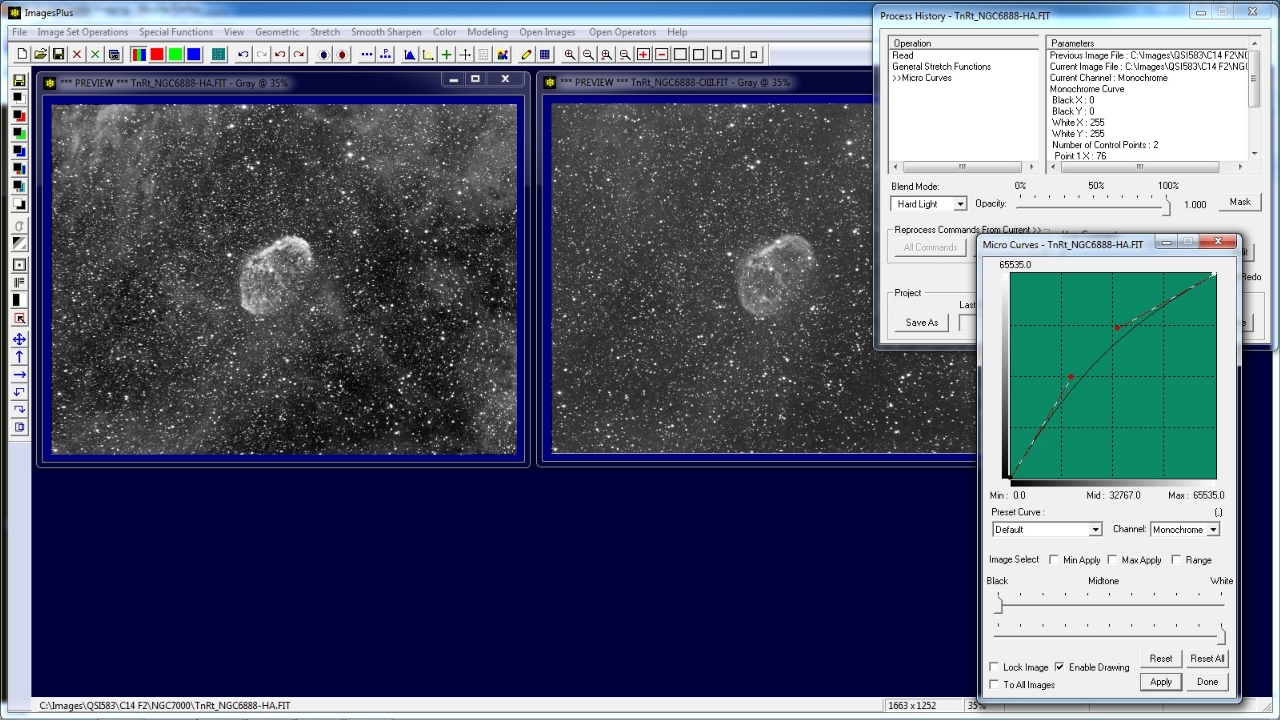
Step 3 - Mild Brightness Increase with Hard Light Contrast Increase
- Mild Micro Curve brightness increase with hard light blending mode set on the Process History Window.
- Hard light blending mode increases contrast.
Same Micro Curve with hard light blending mode applied to Ha and OIII.
 |
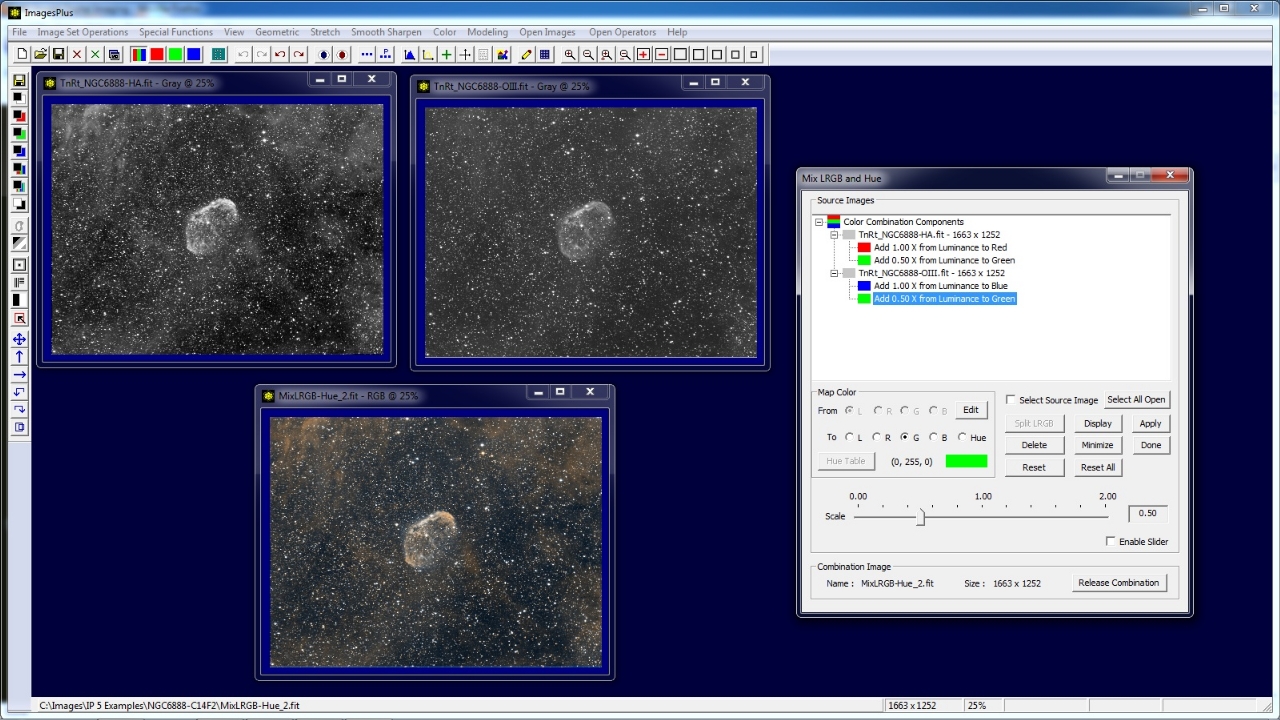
Step 4 - Build a Color Image from Ha and OIII
- Color | Mix LRGB & Hue is used to assign Ha and OIII to red, green, and blue.
- 100% Ha is assigned to red.
- 50% of Ha and 50% of OIII or the average of Ha and OIII is assigned to green.
- 100% OIII is assigned to blue.
Mix LRGB & Hue is used to build the color image by assigning (R, G, B) = (Ha, (Ha+OIII)/2, OIII).
 |
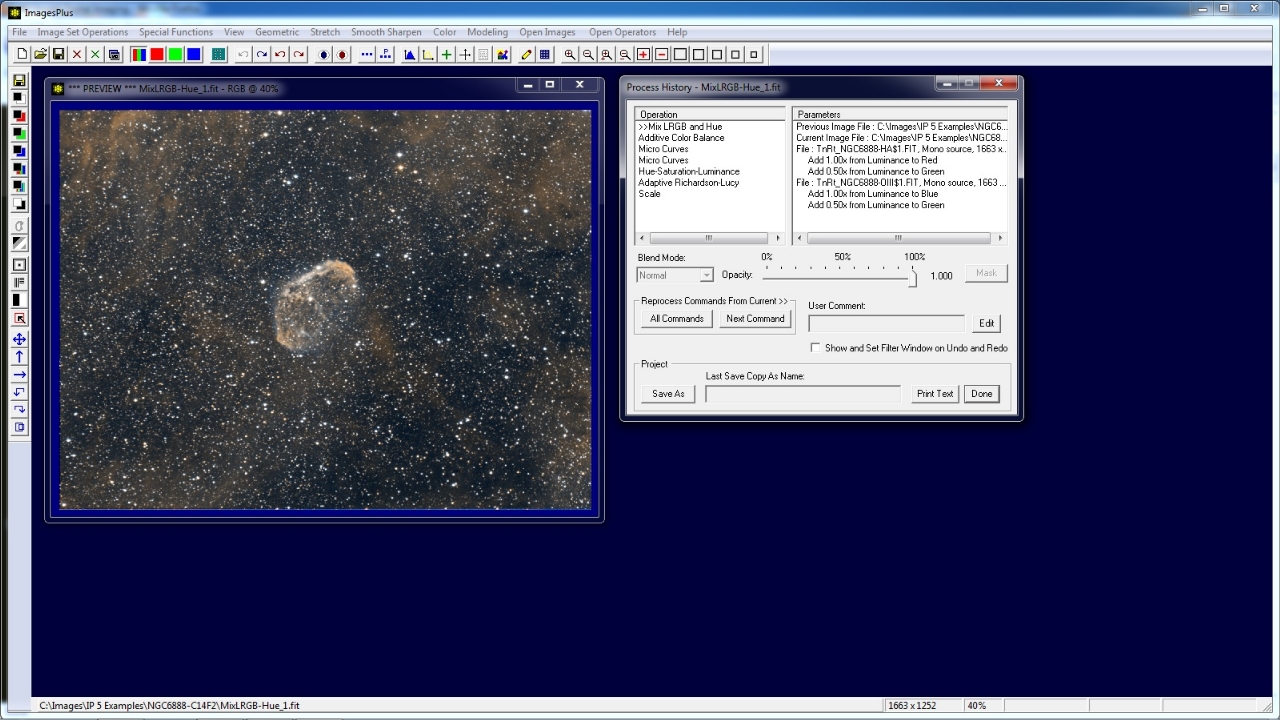
Step 5 - Initial Color Image
Initial color image (Ha, (Ha+OIII)/2, OIII) ready to enhance.
 |
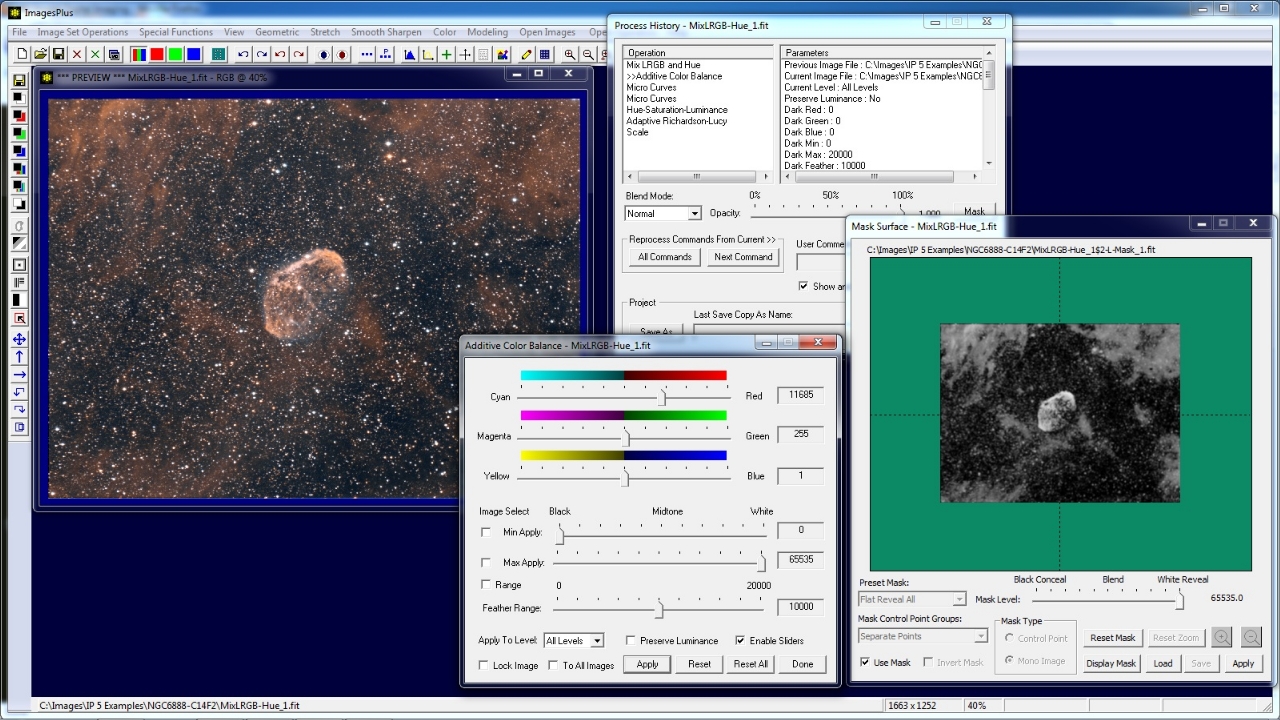
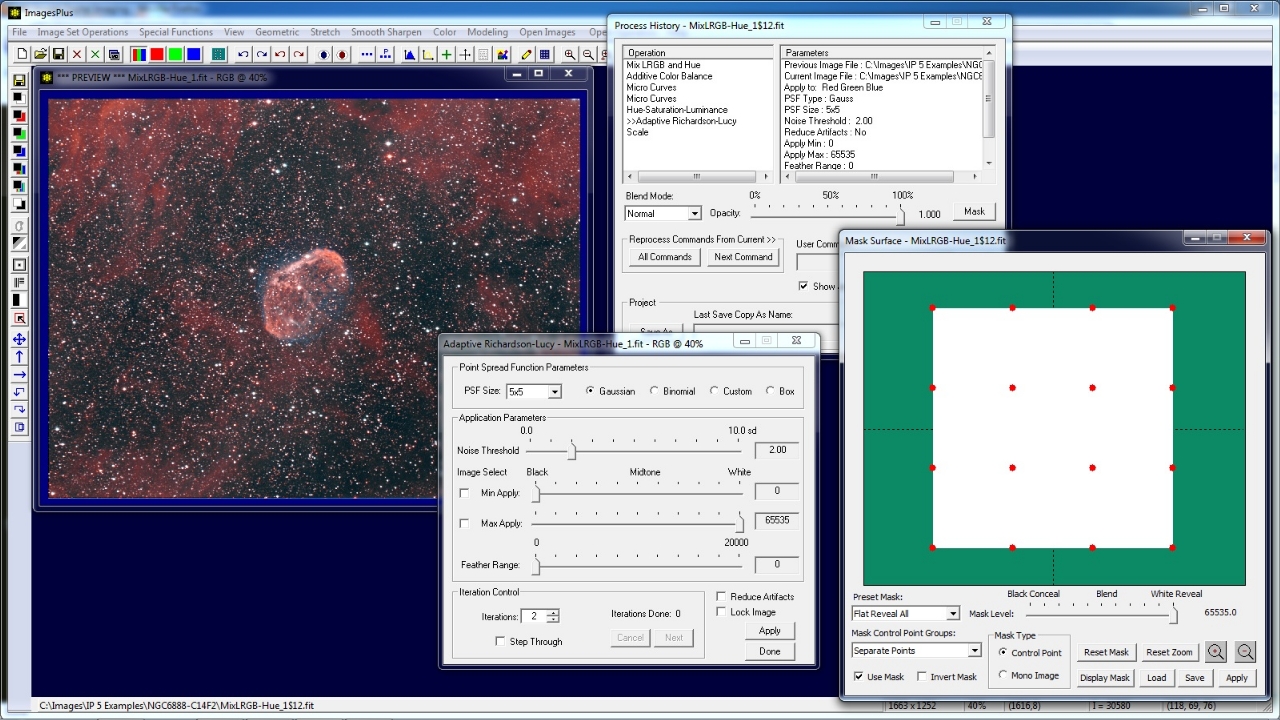
Step 6 - Increase Red Using a Selective Color Mask
- The Selective Color Mask tool was used to create a grayscale mask of the red image areas.
- A smoothed version of the color mask is shown by the Mask Surface window.
- The selective red color mask is assigned to Color | Add Color Balance with normal blending mode.
- Additive Color balance is set to increase only red.
Red areas increased using the Additive Color Balance tool with normal blend mode and selective color mask.
 |
Step 7 - Increase Red with Micro Curve & Selective Color Mask
Red is increased using a micro curve with normal blend mode and same selective color mask used in step 6.
 |
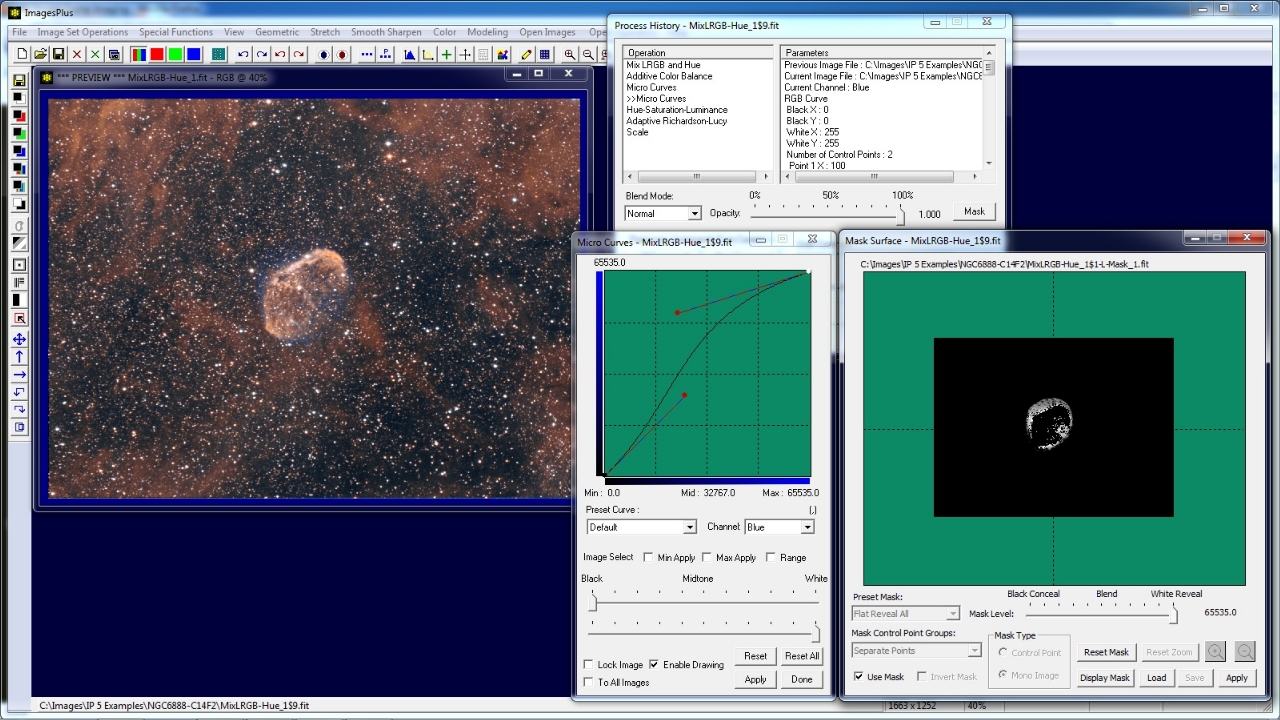
Step 8 - Increase Blue with Micro Curve & Selective Color Mask
- The Selective Color Mask tool was used to create a grayscale mask of the blue image areas.
- The mask is smoothed and painted on until just NGC 6888 remains.
- The selective blue color mask is assigned to Stretch | Micro Curve with normal blending mode.
Blue is increased using a micro curve with normal blend mode and blue selective color mask
 |
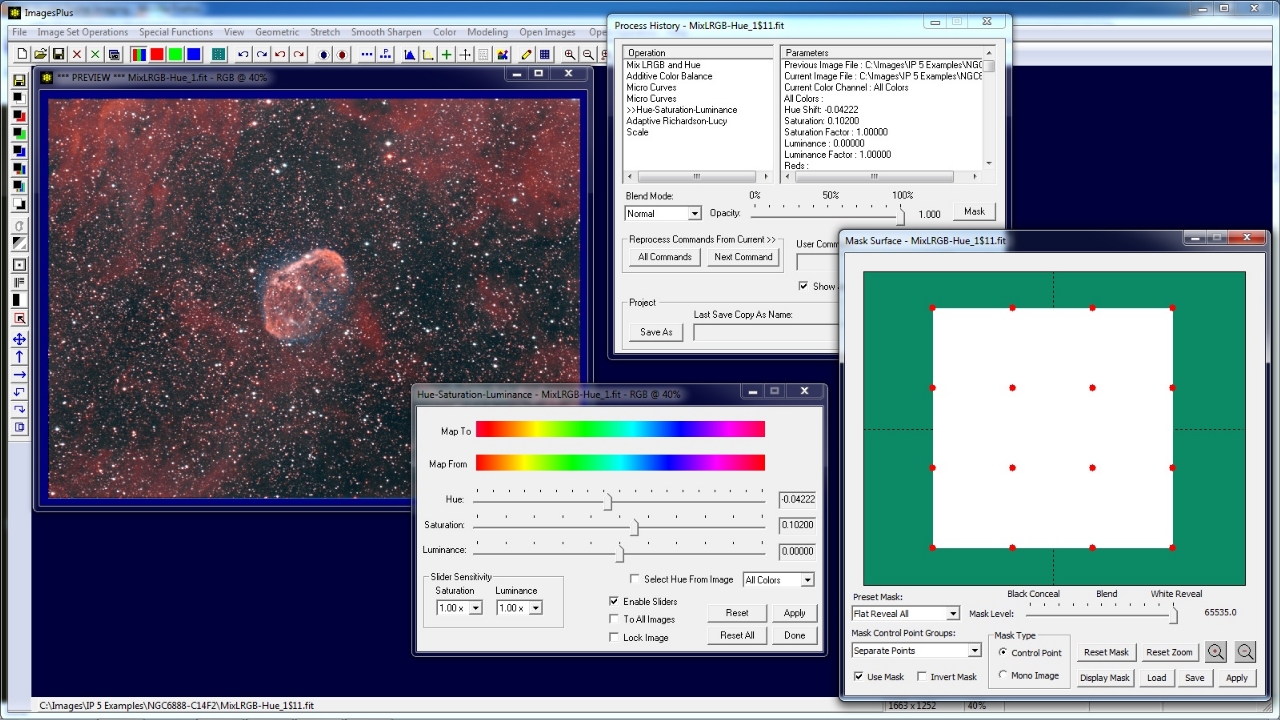
Step 9 - Shift Hue to Red & Increase Satruation
Color | Hue, Saturation, & Luminance is used with no mask and normal blend mode to shift color towards red and increase saturation.
 |
Step 10 - Mild Richardson-Lucy Deconvolution
Two iterations of Richardson-Lucy deconvolution with normal blend mode and no mask is applied to sharpen the image.
 |
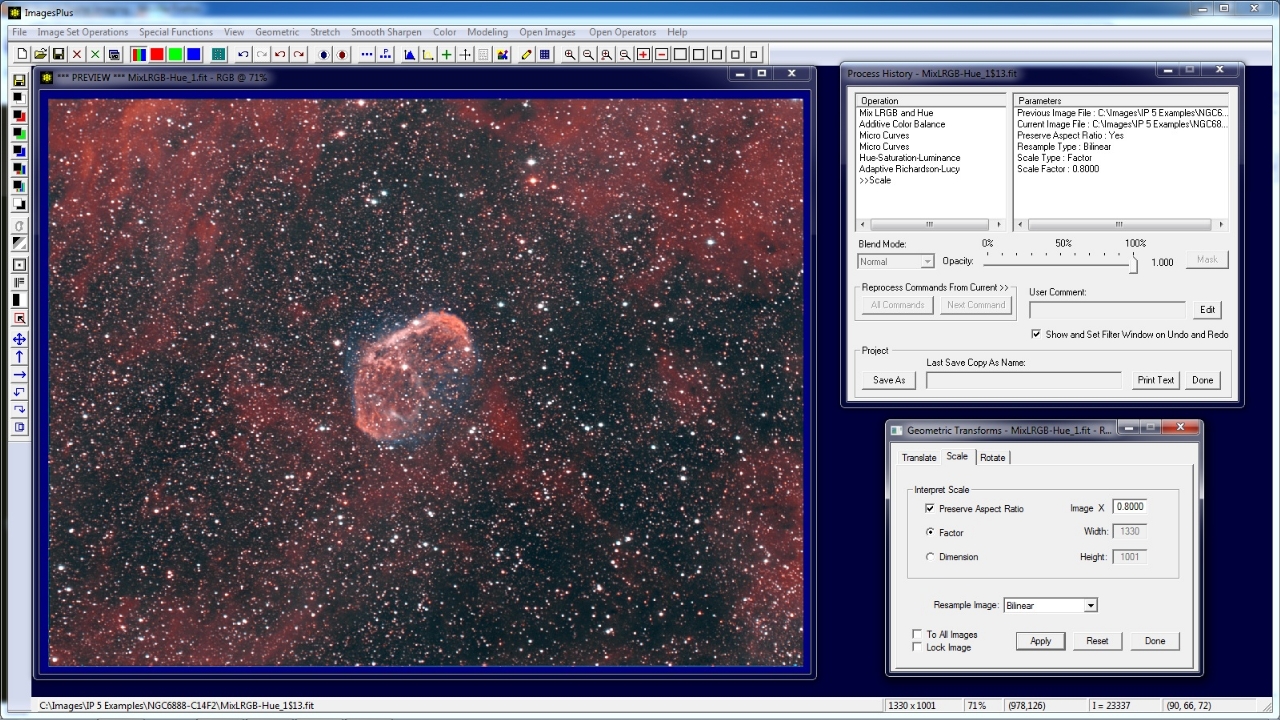
Step 11 - Scale Image for Display
Geometric | Geometric Transforms | Scale is used to reduce the size of the image to 80% for display. Resample using bicubic or bilinear options.
 |
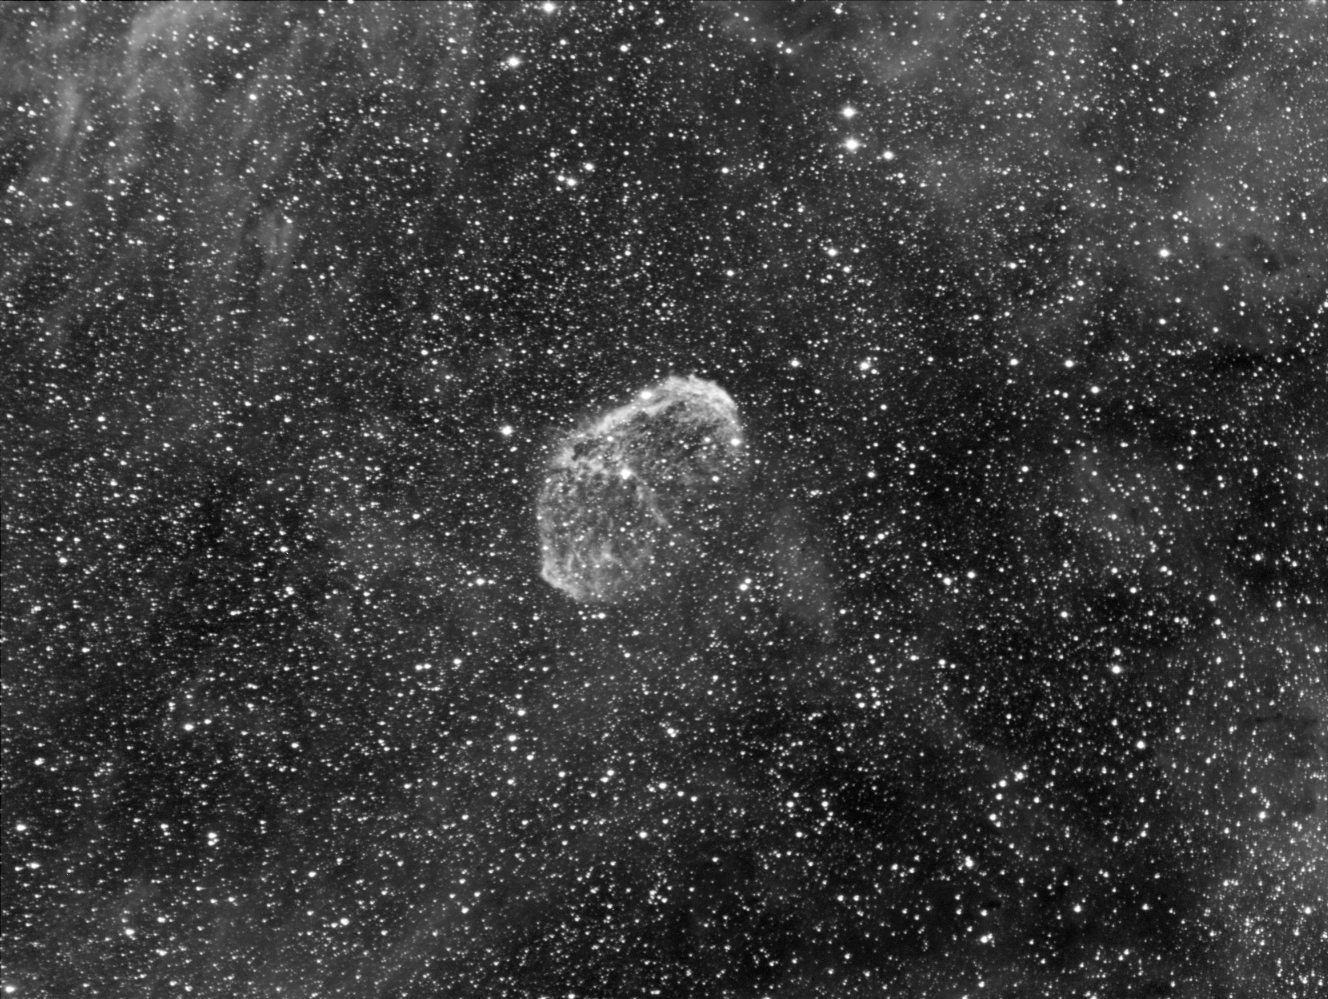
Final 20 x 3 minute Ha image.
 |
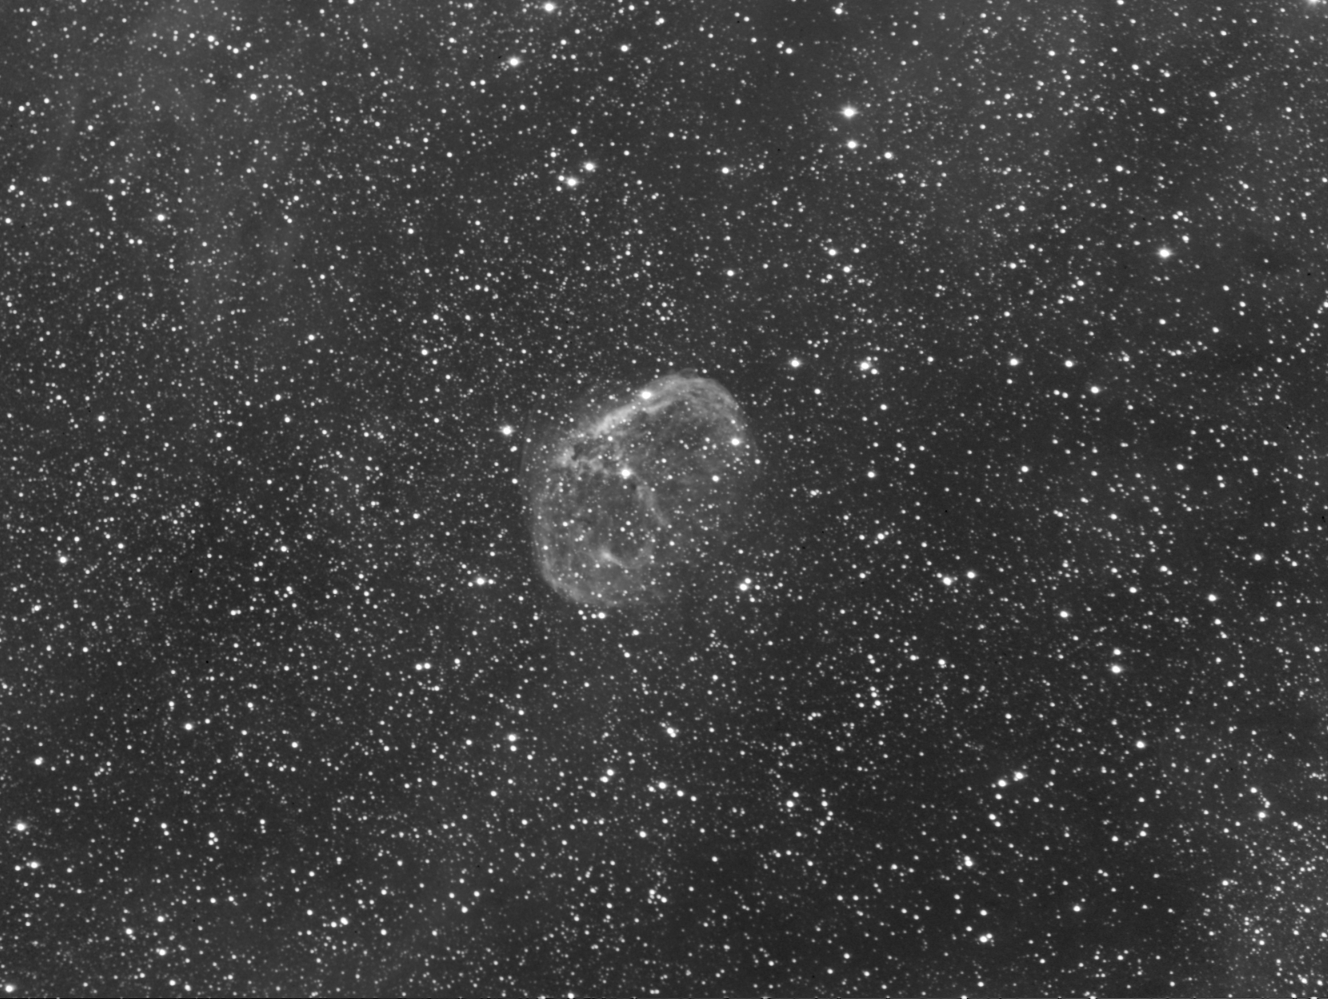
Final 20 x 3 minute OIII image.
 |
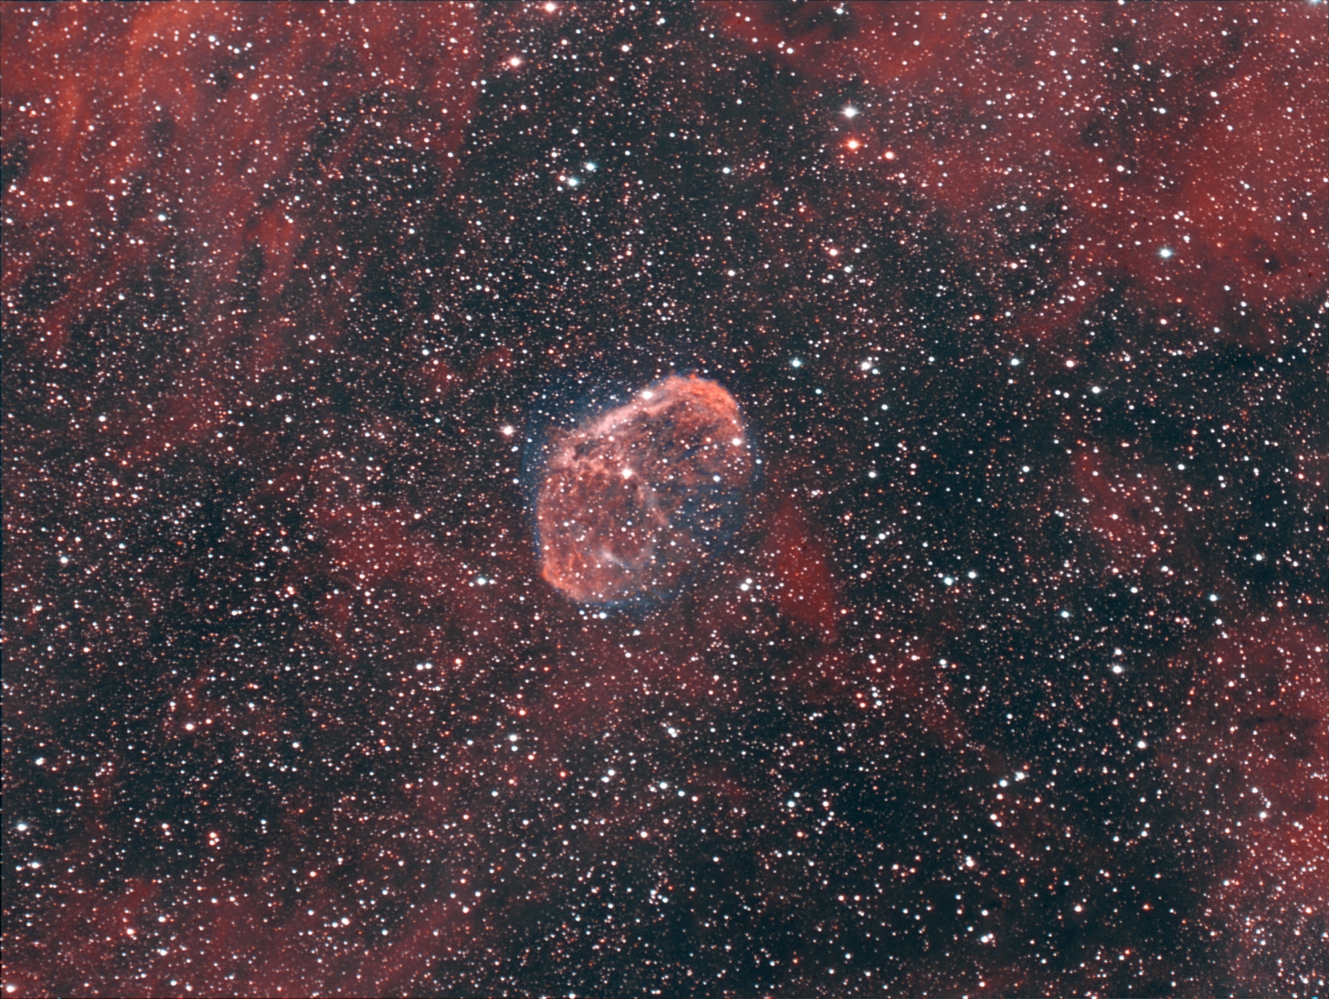
Final Color Image from Ha and OIII.
 |
Copyright © 2012 MLUnsold Digital Imaging. All Rights Reserved.