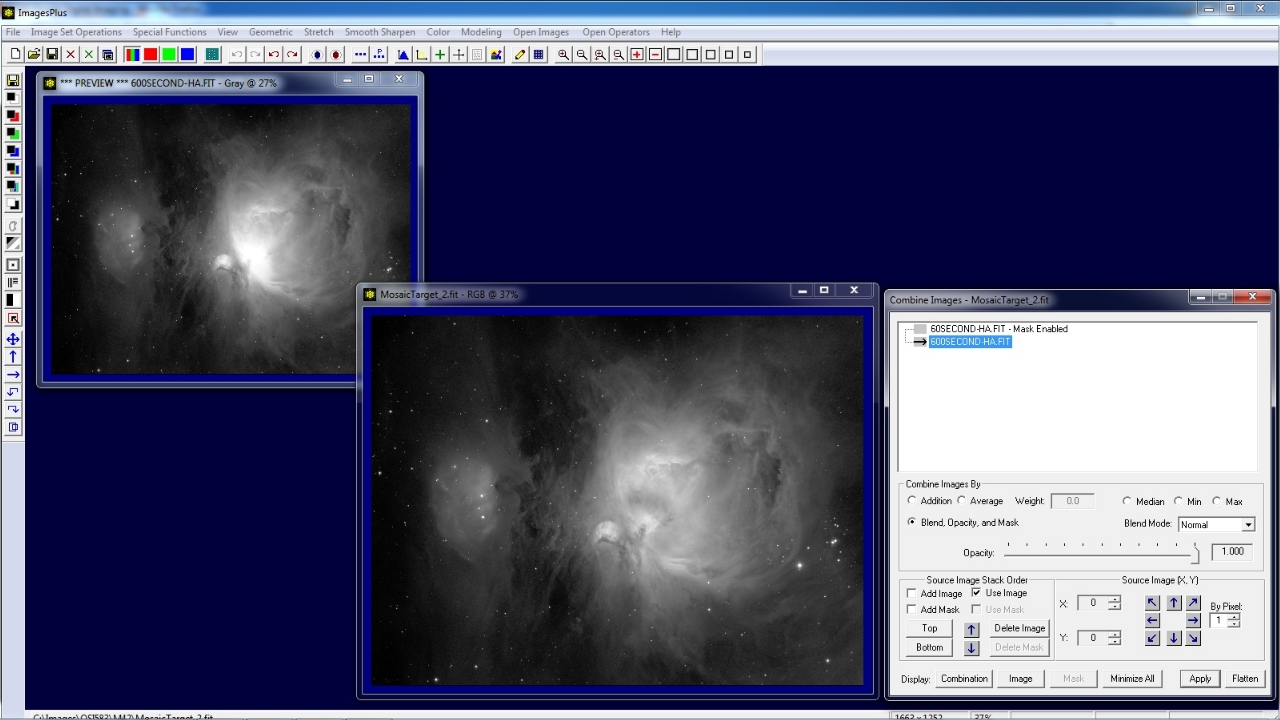
Step 4) Image Window Management
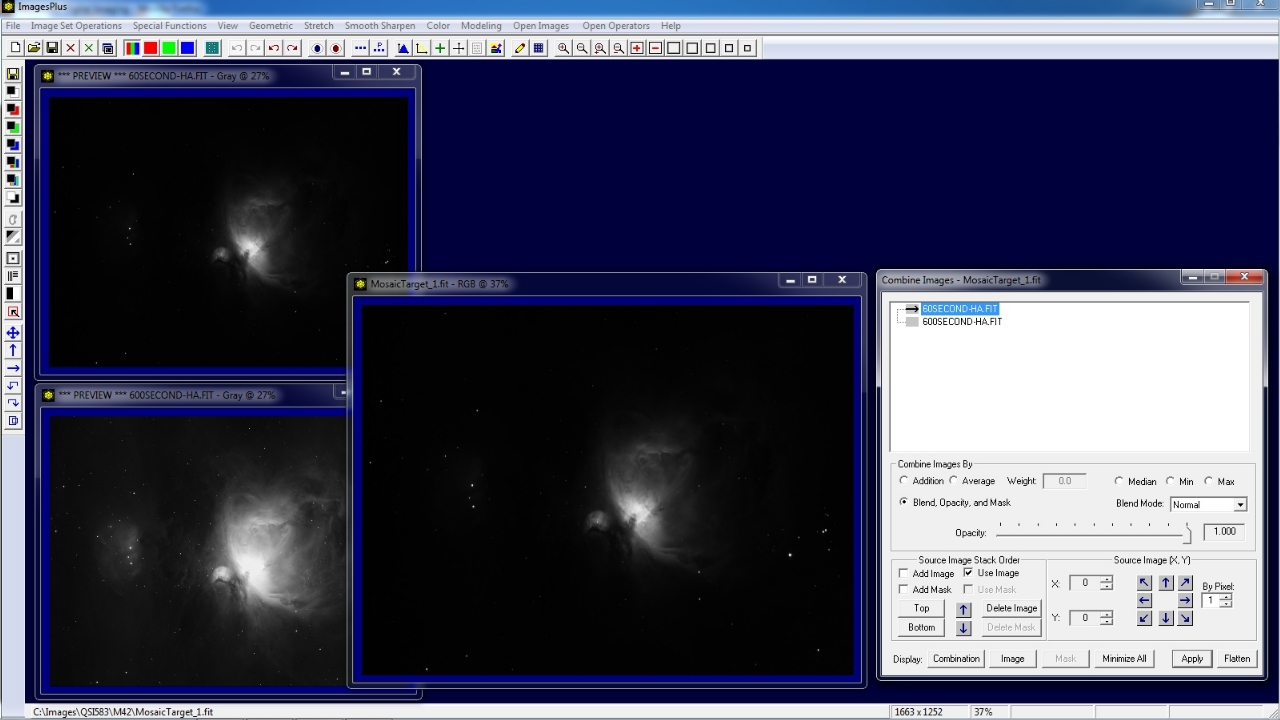
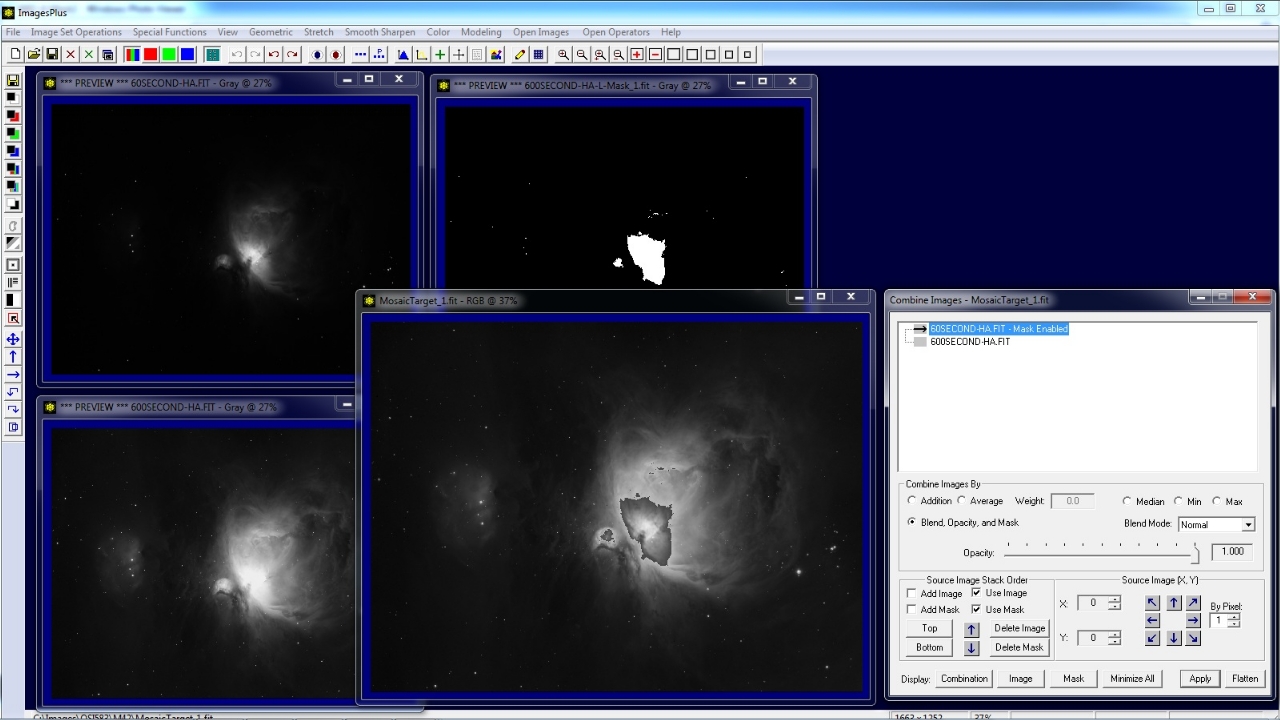
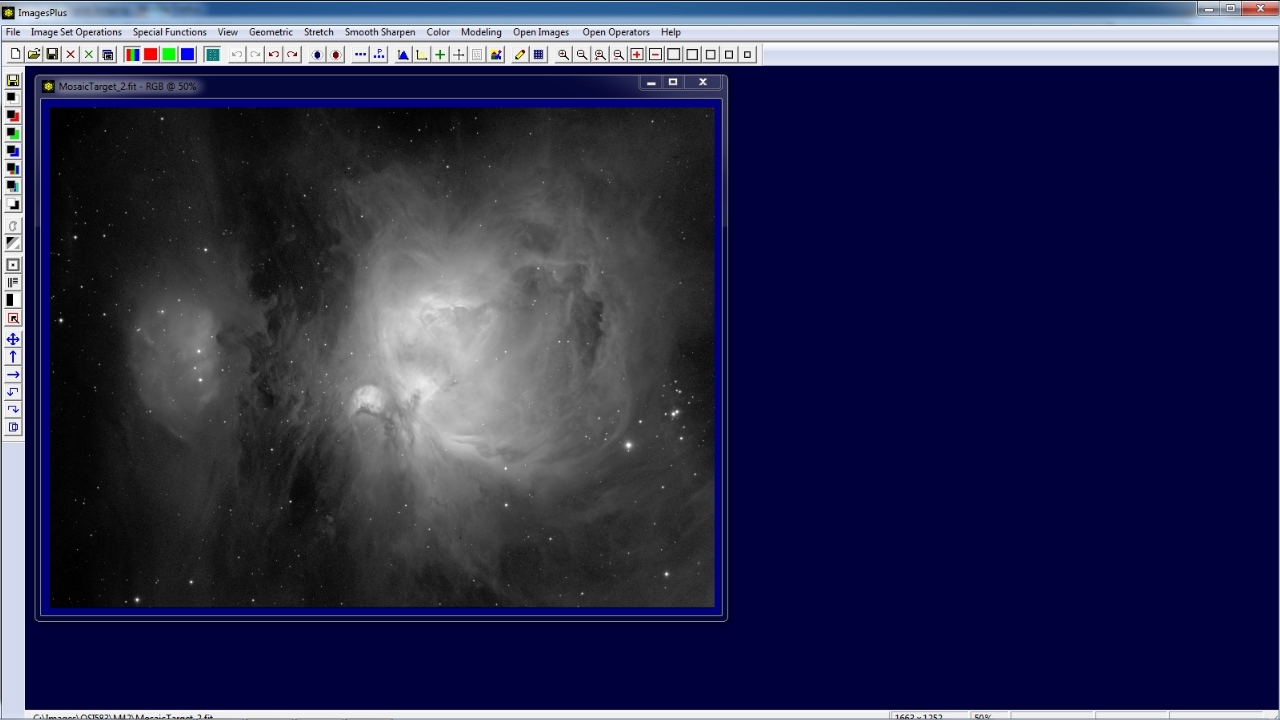
The Combine Image & Mosaic tool can be used to manage the display of the composite image and all image layers and their masks. The Open Images | Stack option can be used to move all images to the upper left corner of the computer screen and place them on top of each other.
Use the Combination button on Combine Image & Mosaic to display and active the composite image window. Select an image layer in the layer tree of Combine Image & Mosaic then press the Image or Mask button to display and active the image or mask window.
Each image layer and mask can have its own unique Process History layered filter list.
 |
The image layers and mask are placed at the top left corner of the computer screen. The composite image was moved to lower center and display set to 37% using the + toolbar button.
 |
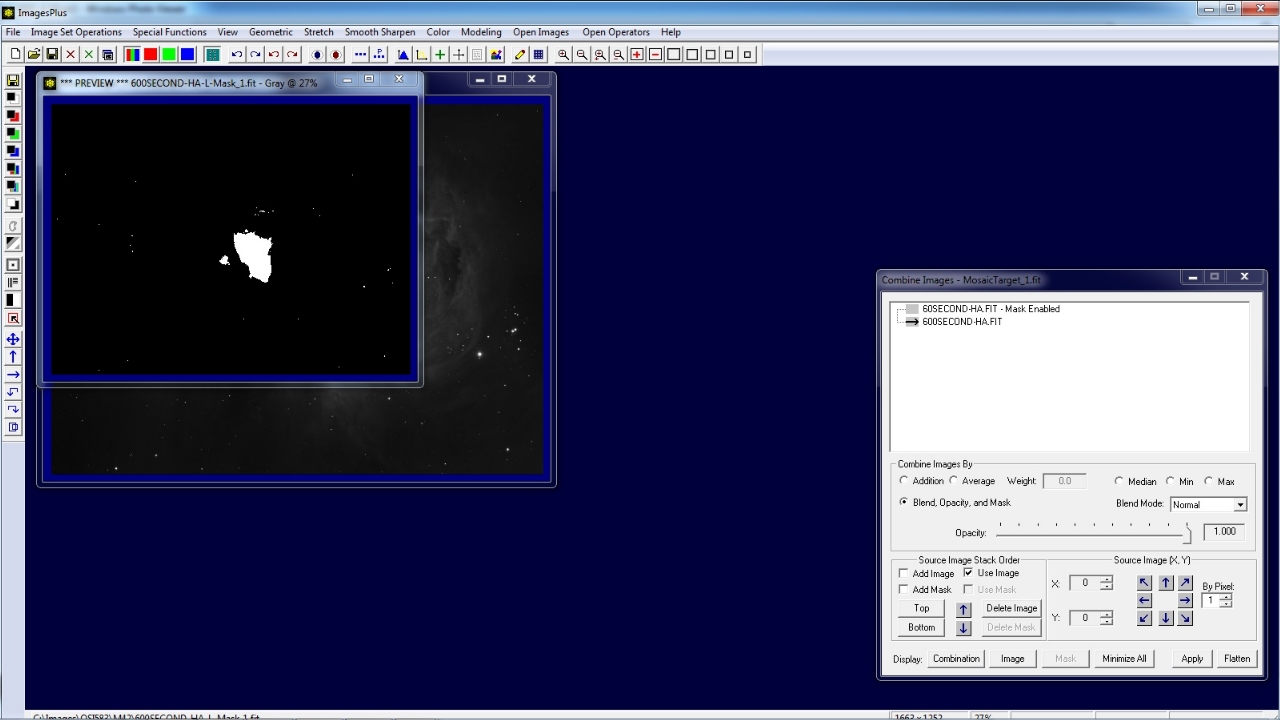
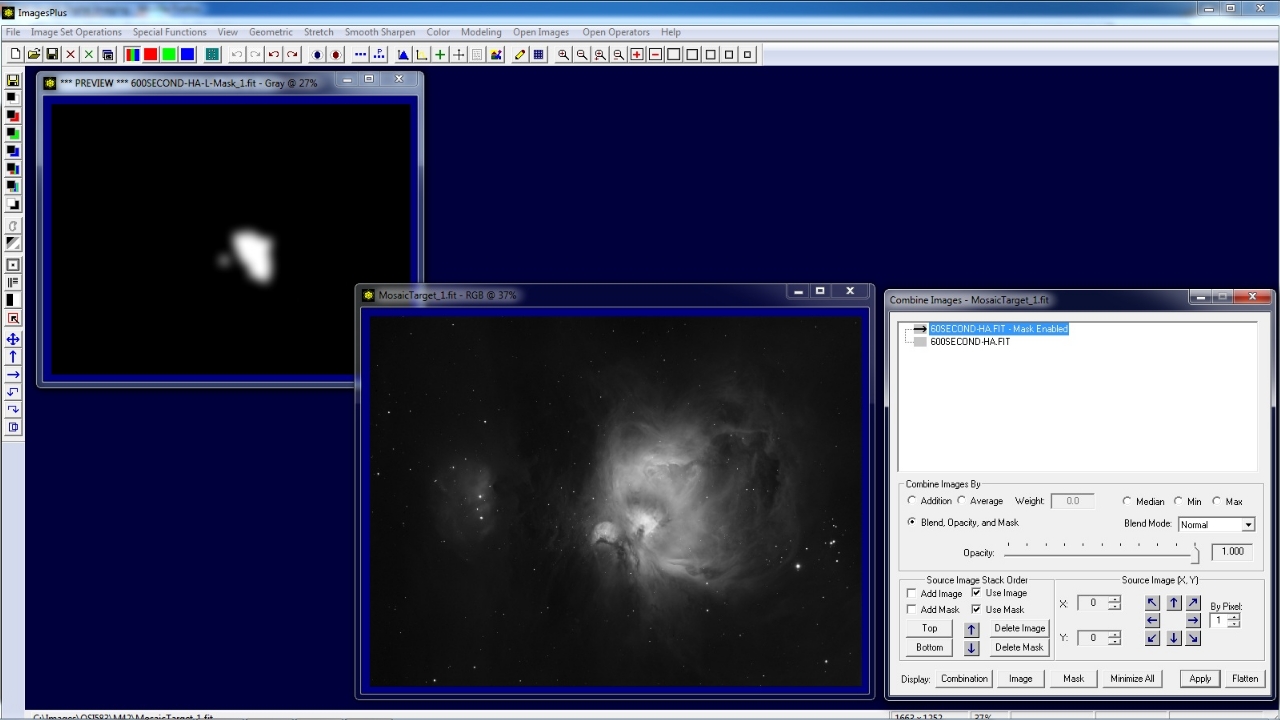
Step 5) Paint On Mask to Remove Stars
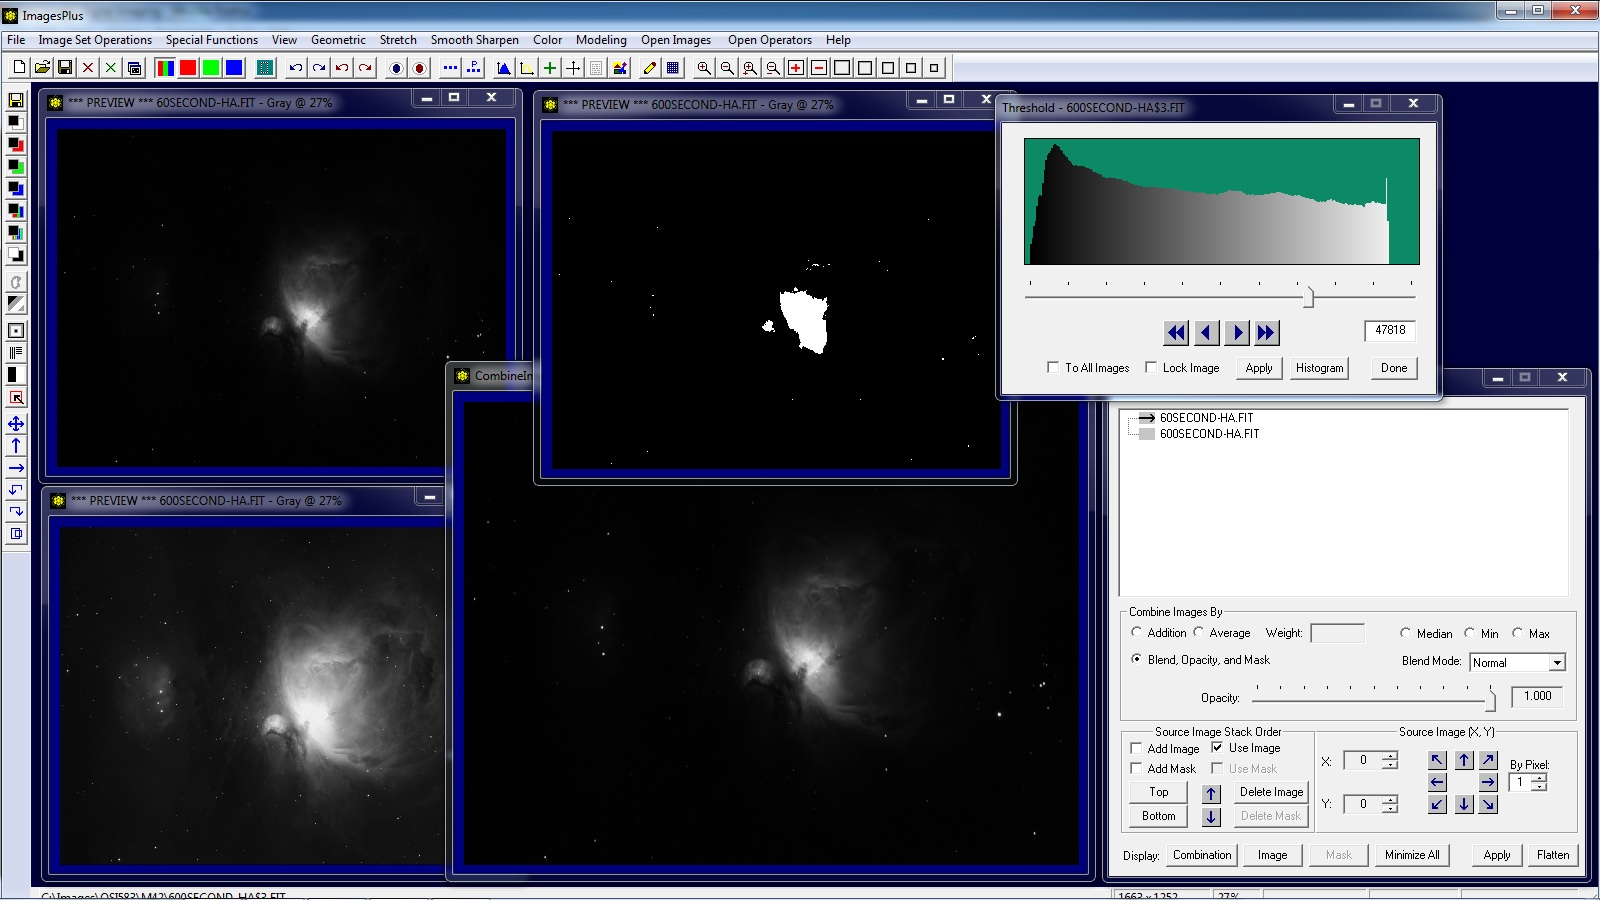
Only the bright core of M42 is blended in the composite so bright stars in the mask need to be removed. Select the top image layer in the layer tree then press the Mask button on Combine Image & Mosaic to make the mask the active image window.
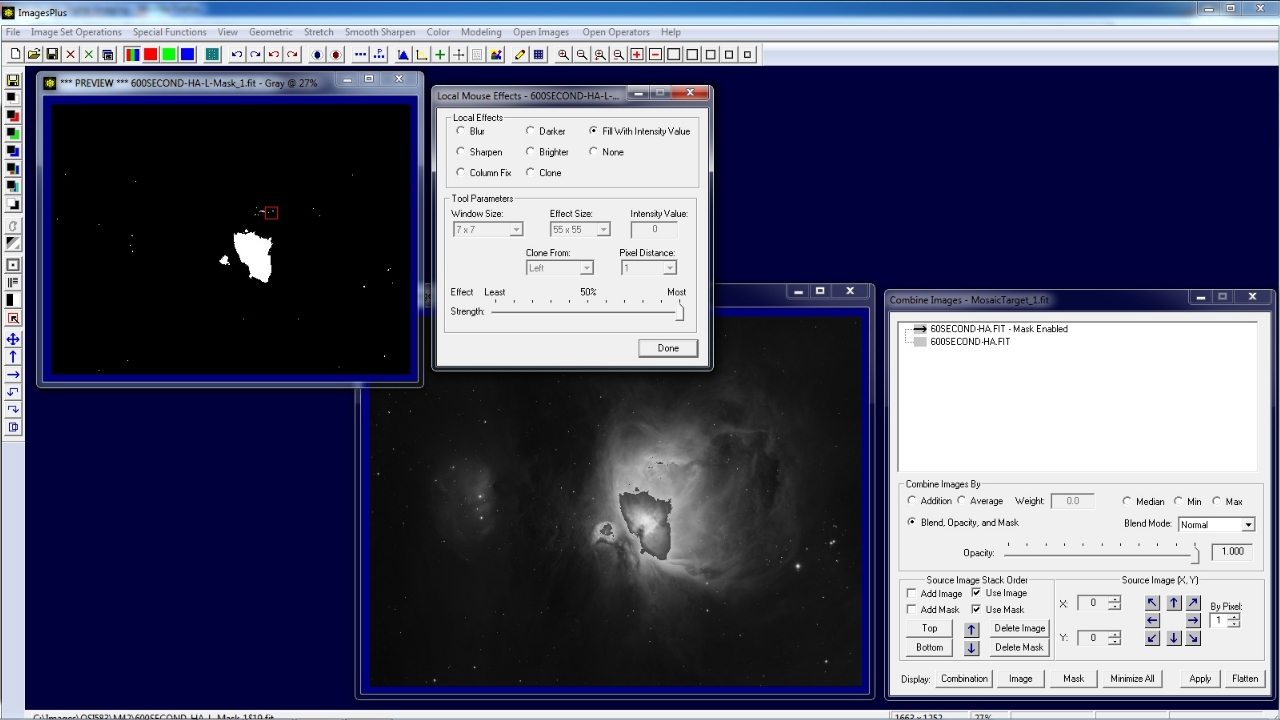
Use the Local Smooth, Sharpen, Clone, Column Fix, & Paint button on the left vertical toolbar to open the paint tool.
Select the Fill With Intensity option and set intensity to 0. Use a large effect size 55 x 55 in this case and shown by the red rectangle when the mouse pointer is over an image to remove all white areas of the mask except the core.
 |
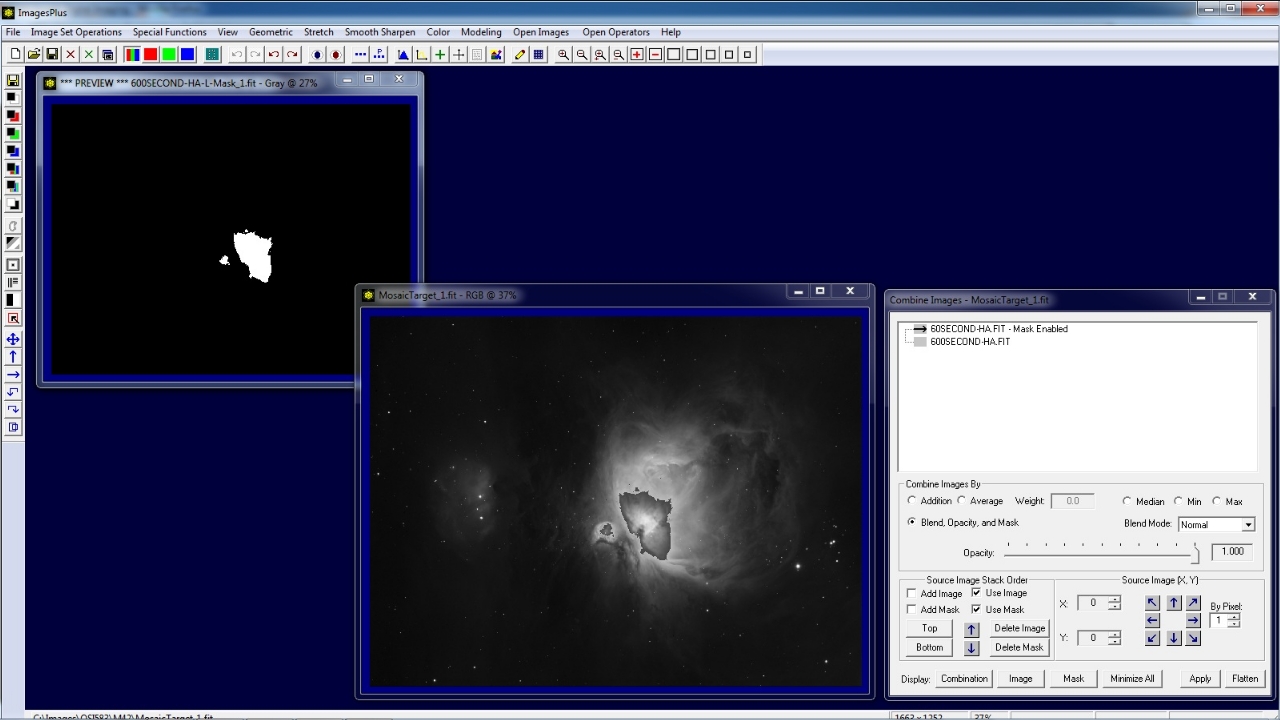
Mask with all stars removed top left. Press the Apply button on Combine Image & Mosaic to rebuild and display the composite image lower center.
 |
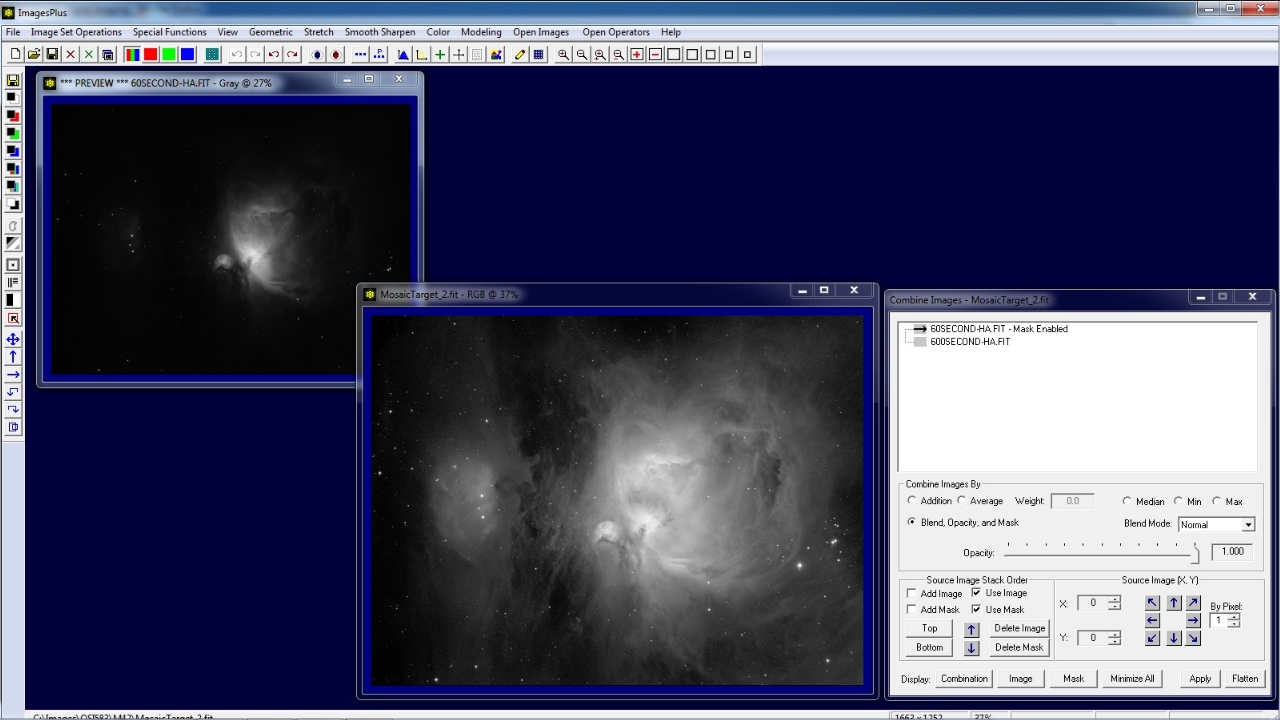
Step 6) Smooth Mask for a Better Blend
Open the smoothing tool using the left vertical tool bar and apply a strong Gaussian blur to the mask. In this case a blur window size of 101 x 101 is used to smooth the edges of the mask.
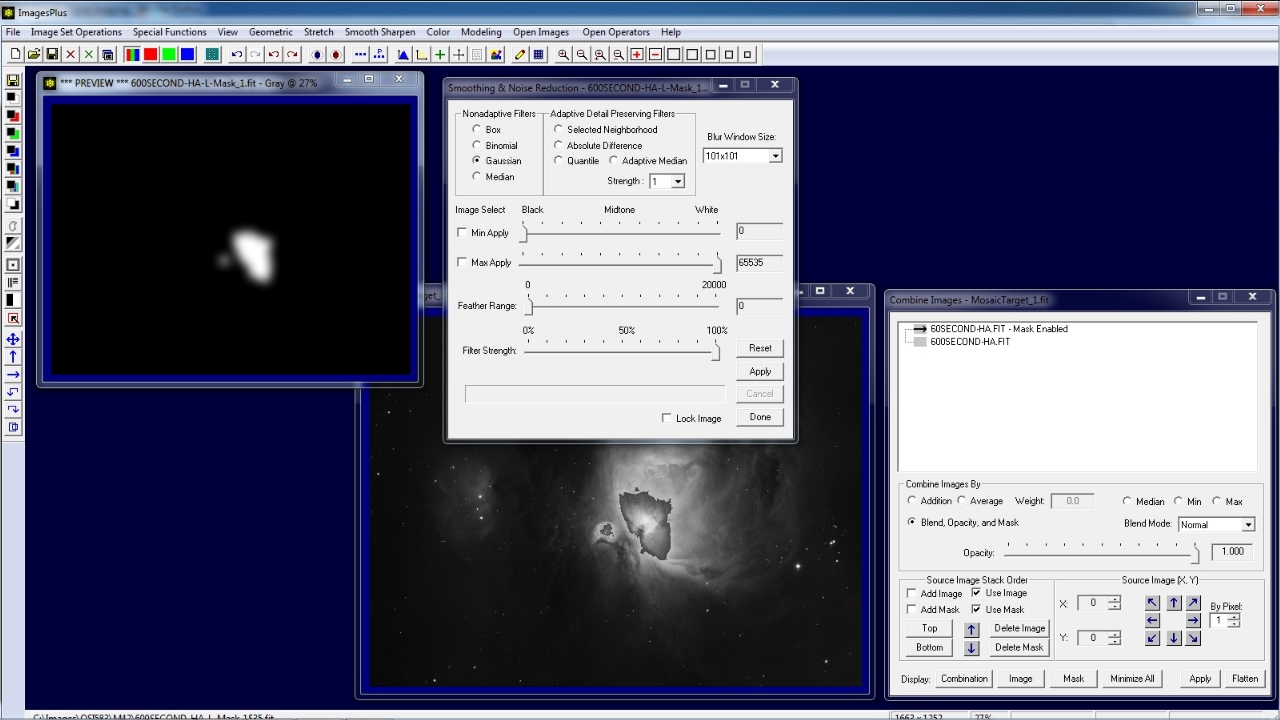 |
Mask with smoothed edge top left. Press the Apply button on Combine Image & Mosaic to rebuild and display the composite image lower center. Note the smooth transition of the core from the 60 second exposure with the outer area of the 600 second exposure.
 |
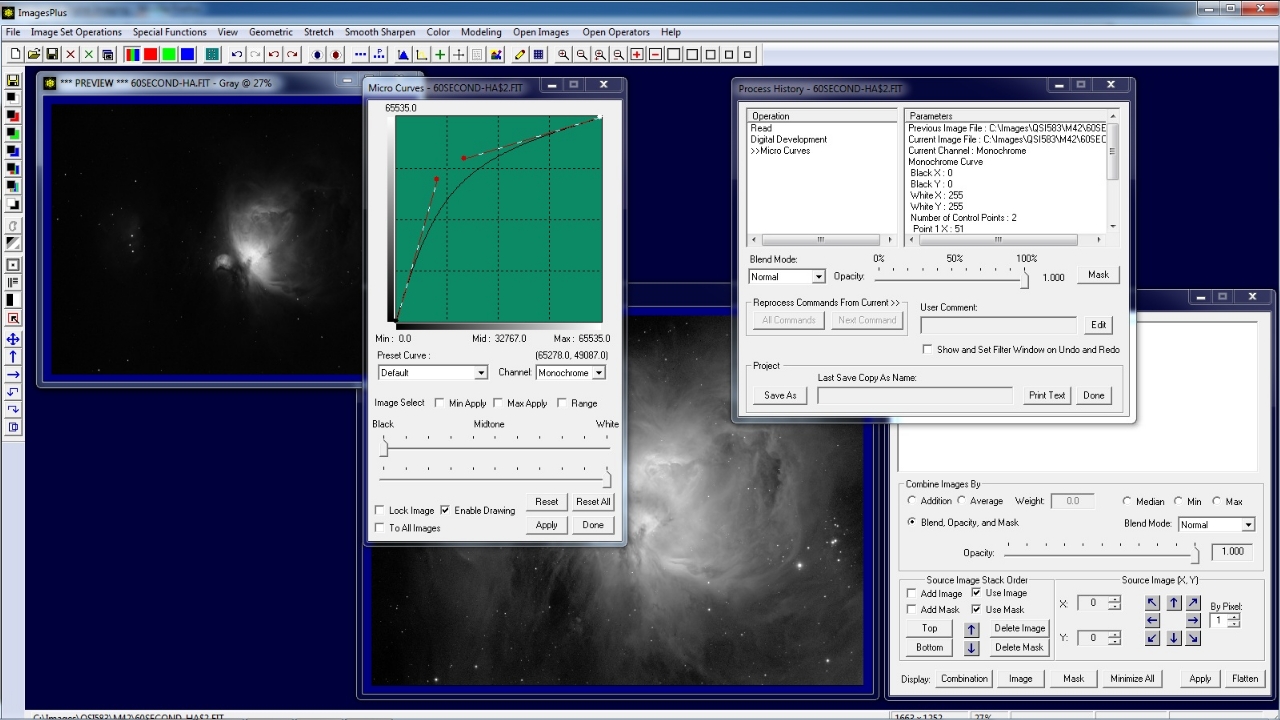
Step 7) Increase Core Brightness of 60 Second Exposure to Match 600 Second Exposure
Select the top 60 second layer in the layer tree then press the Image button to active and display the image.
Apply Stretch | Micro Curve to the 60 second exposure to increase its core brightness.
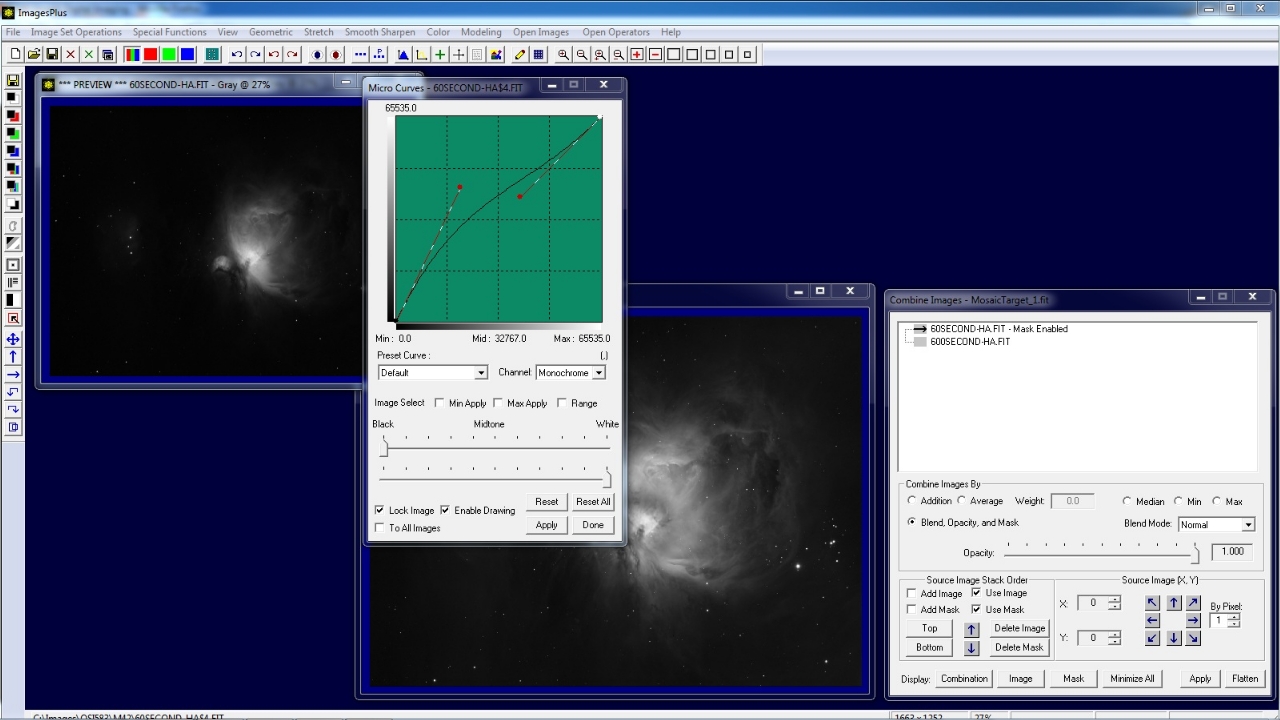 |
60 second exposure with increased core brightness top left. Press the Apply button on Combine Image & Mosaic to rebuild and display the composite image lower center. Note the better match of the brighter core of the composite image with the fainter outer area.
 |
Step 8) Increase Faint Outer Area Brightness of 600 Second Expsoure
Select the bottom 600 second layer in the layer tree then press the Image button to active and display the image.
Apply Stretch | Histogram Contrast Stretch to the 600 second exposure to increase its brightness.
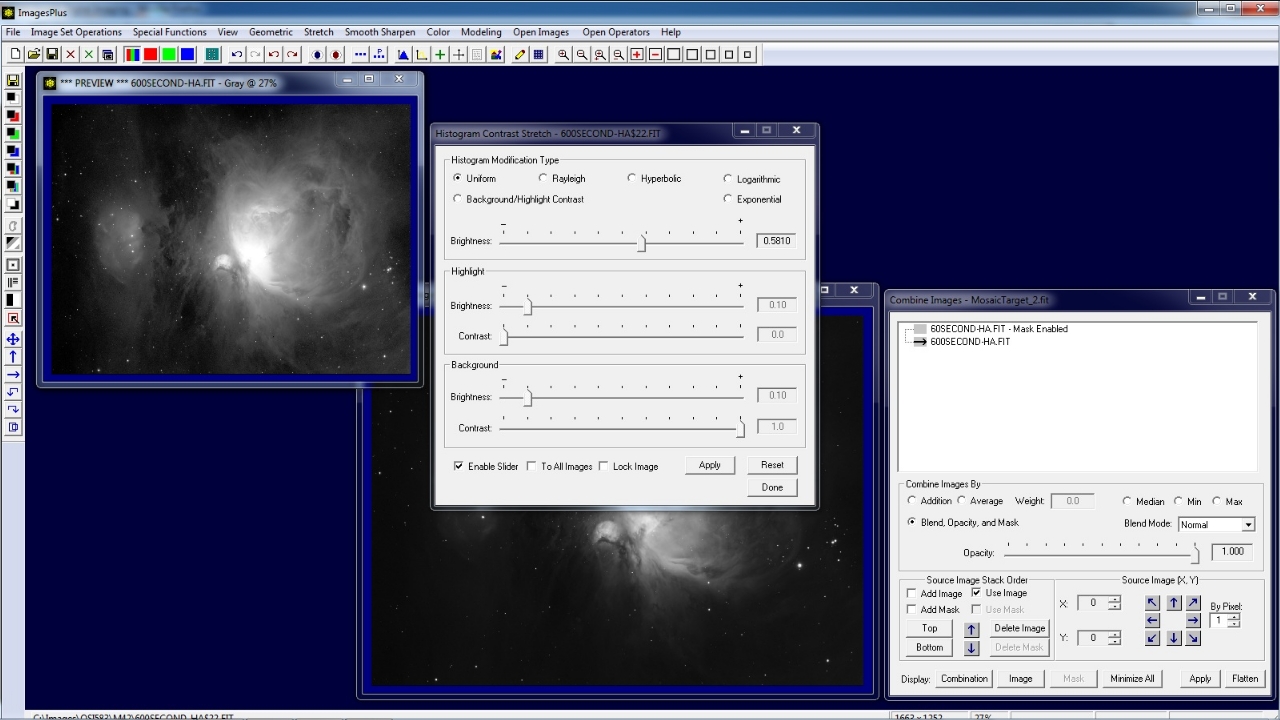 |
60 second exposure with increased brightness top left. Press the Apply button on Combine Image & Mosaic to rebuild and display the composite image lower center.
 |
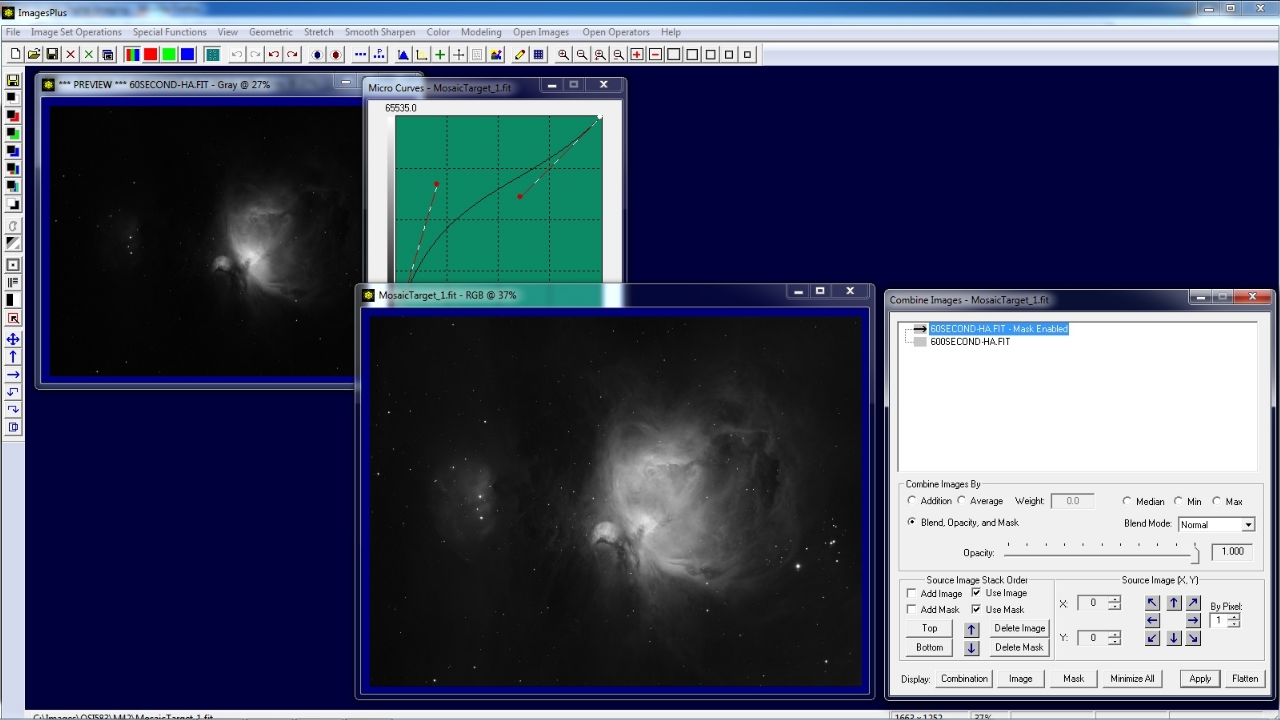
Step 9) Adjust Core Brightness of 60 Second Exposure to Match Brighter 600 Second Exposure
Select the top 60 second layer in the layer tree then press the Image button to active and disaply the image.
Apply Stretch | Micro Curve to the 60 second exposure to increase its core brightness.
 |
60 second exposure with increased core brightness top left. Press the Apply button on Combine Image & Mosaic to rebuild and display the composite image lower center. Note the better match of the brighter core of the composite image with the fainter outer area.
 |
Step 10) Adjust the Opacity of the Masked 60 Second Exposure to Match Brighter 600 Second Exposure
The top 60 second layer uses normal blend mode with a mask to blend the core with the outer area of the 600 second layer below. Adjust the opacity of the top 60 second layer to fine tune the blend. In the case opacity of the top layer is set to 0.820.
 |
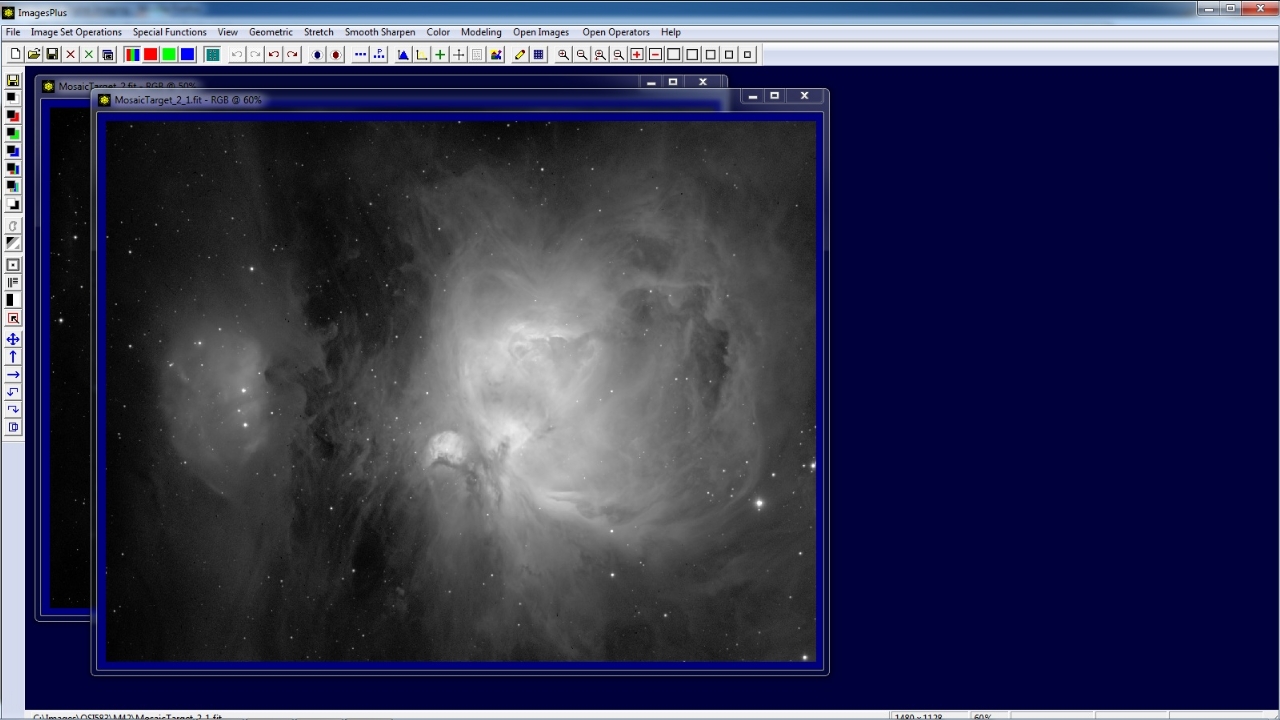
Step 11) Flatten Composite Layers for Further Processing
Press the Flatten button on Combine Image & Mosaic to close the tool. Close the 60 and 600 second exposures and mask. Place the composite in the upper left corner of the compter screen and use the 50% toolbar button (far right button on top toolbar) to display the composite.
 |
Step 12) Crop Composite
Press the Crop Image button on the top toolbar then left click and drag a rectangle on the composite to define the crop image.
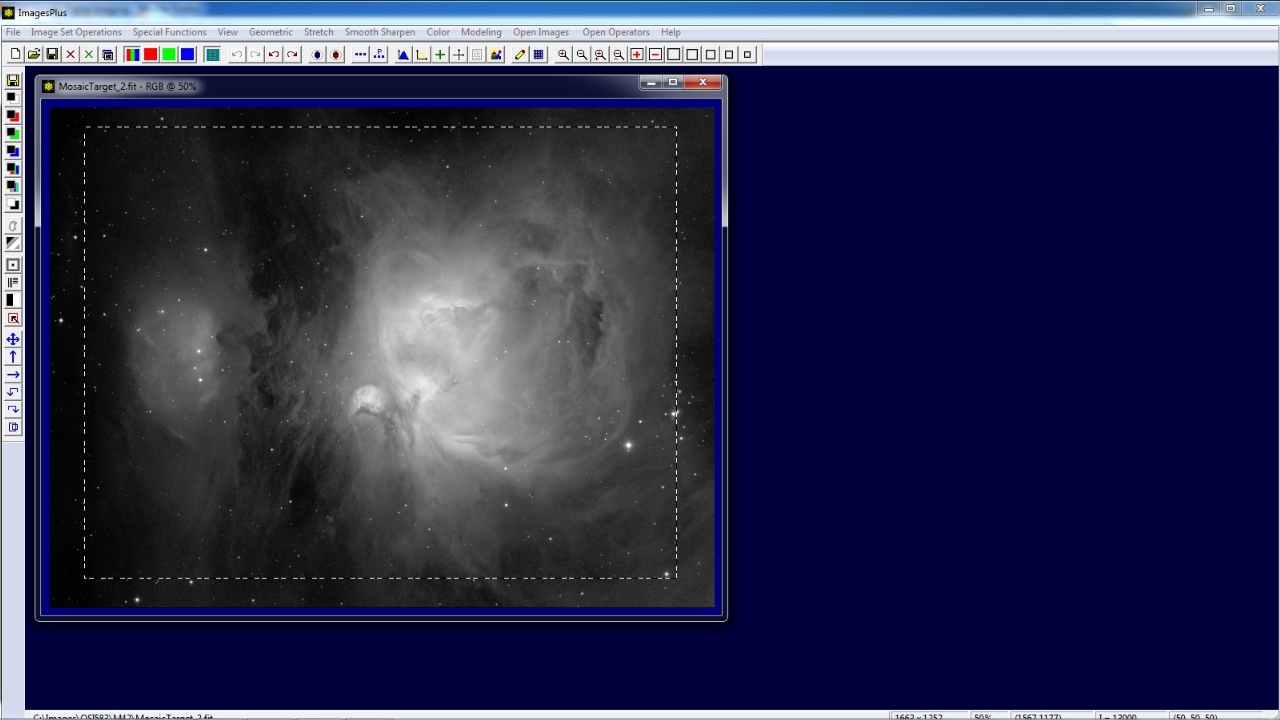 |
Crop image is created and displayed.
 |
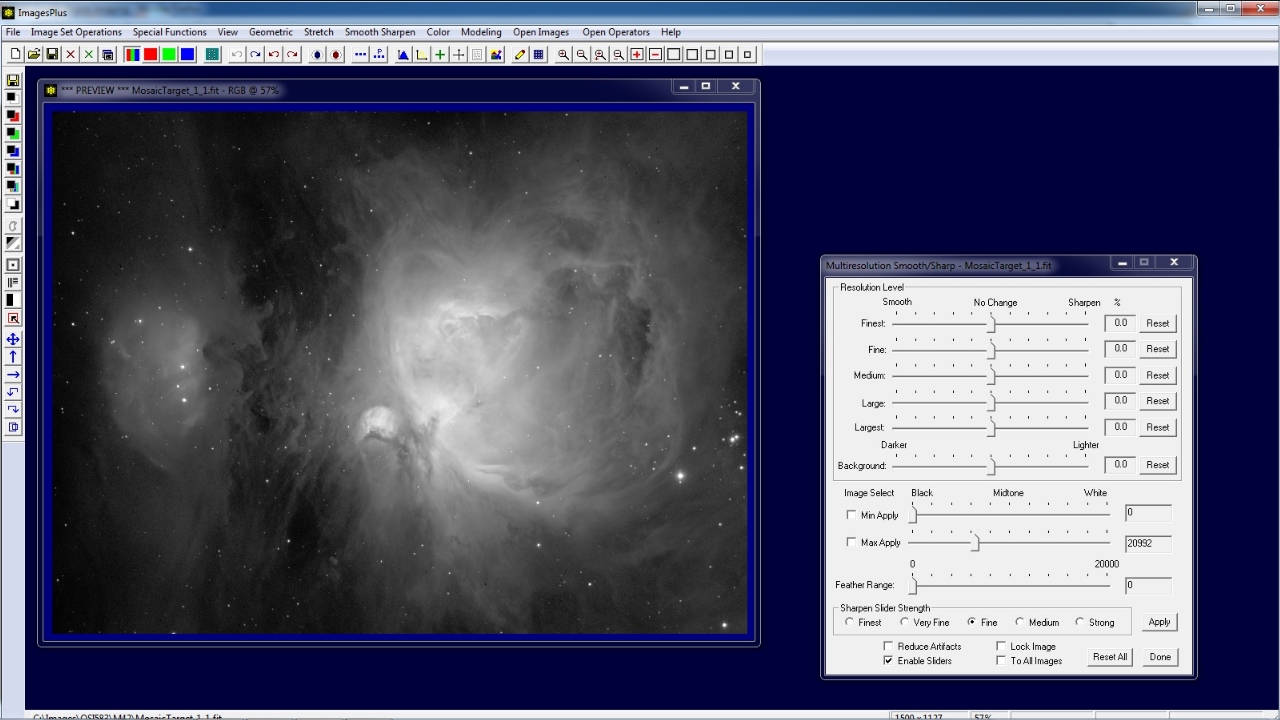
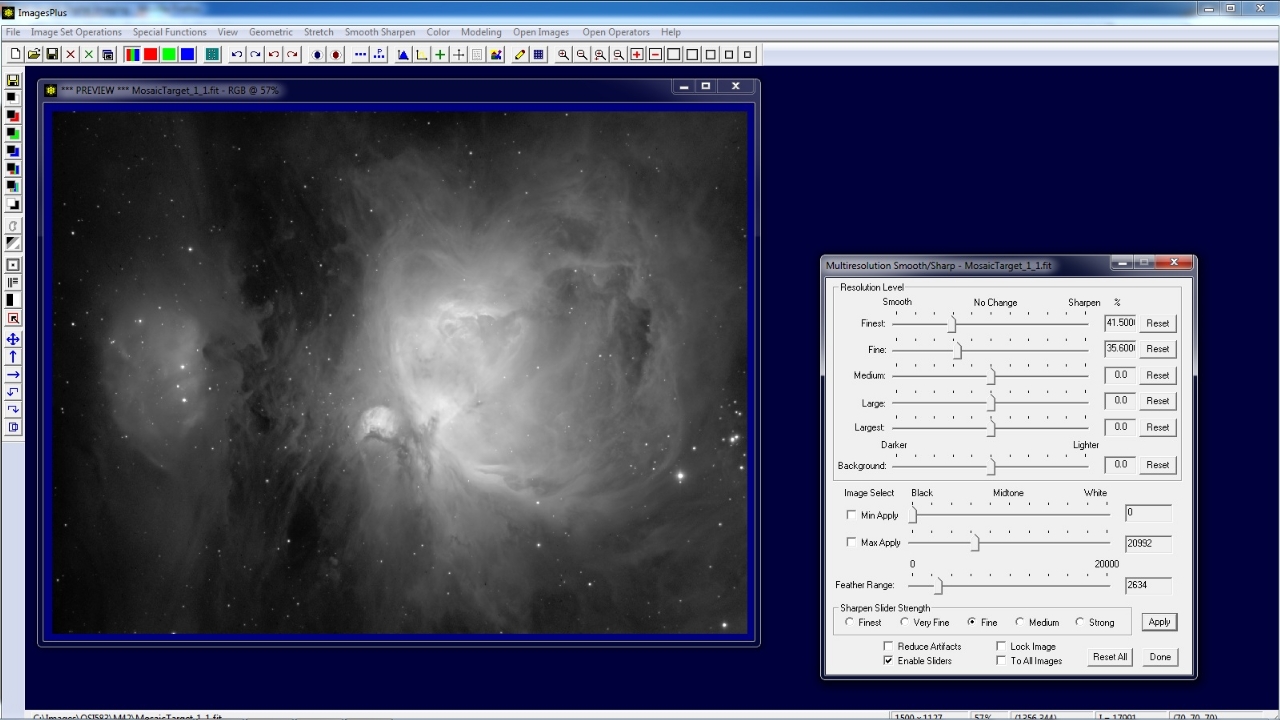
Step 13) Smooth Background
Open the Sharpen | Multiresolution (wavelet) tool then check the Max Apply box and left click on the brightest gray area to smooth. The red dot left of center shows the gray level that is used in this tutorial.
 |
The Min Apply level remains at zero or black and the Max Apply level is set to 20992 or dark gray as a result of the left click with Max Apply checked.
The Min Apply, Max Apply, and Feather Range sliders are used to define a feathered luminance range where the tool is applied. In this case all image values between [0, 20992] recieve 100% and no smoothing for values brighter than 20992 since Feather Range is 0.
 |
Adjust the Finest and Fine sliders of Multiresolution toward the left to smooth the darker background levels. Set Feather Range to 2634 to feather the smoothing from 100% at 20992 to 0% for values brighter than 20992 + 2634 = 23556.
 |
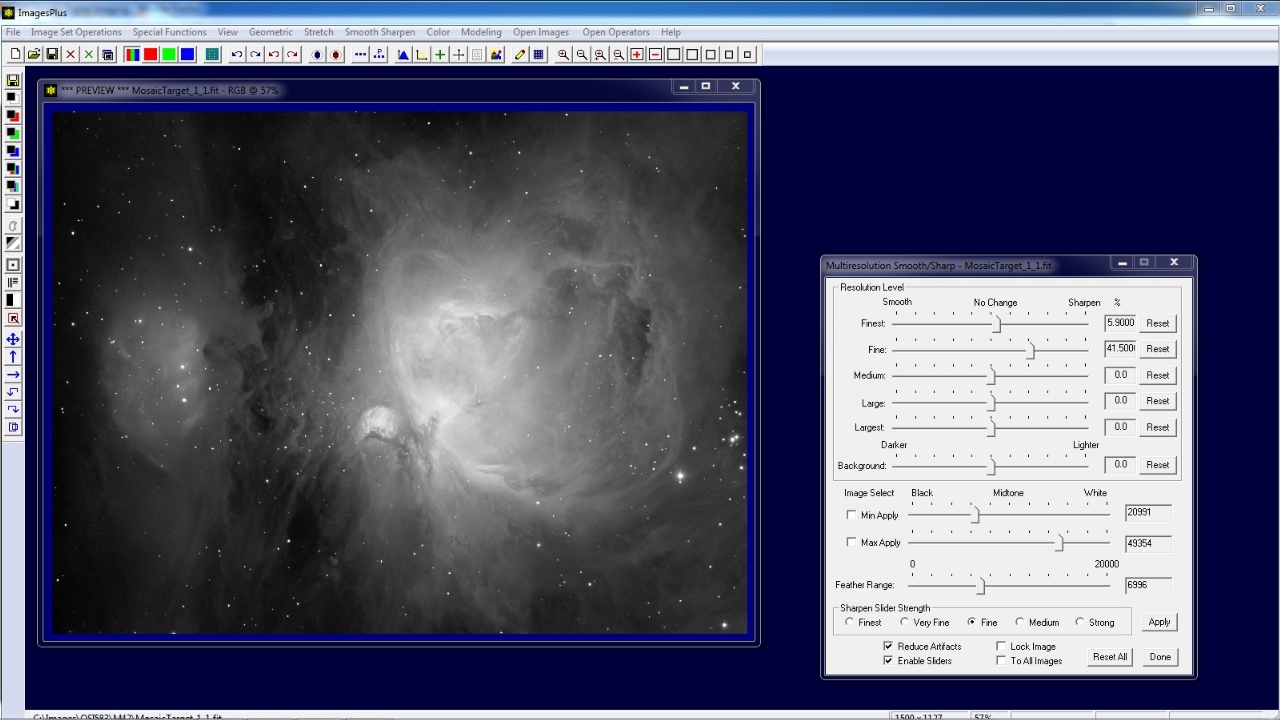
Step 14) Sharpen Highlights
Press the Set View top toolbar button to save the smoothing parameters of Multireolution then press Reset All to reset all parameters. Check the Min Apply box then left click on the same area of the image to define the minimum value to sharpen.
Move the Finest and Fine sliders to the right to apply a mild sharpen to the image. Adjust Min Apply, Max Apply, and Feather Range so that M42 is sharpened and bright stars are not sharpened much. In this case Min Apply = 20991, Max Apply = 49354, and Feather Range = 6996. As a result no image pixel darker than 20991 - 6996 = 13995 or brighter than
49354 + 6996 = 56350 are sharpened.
 |
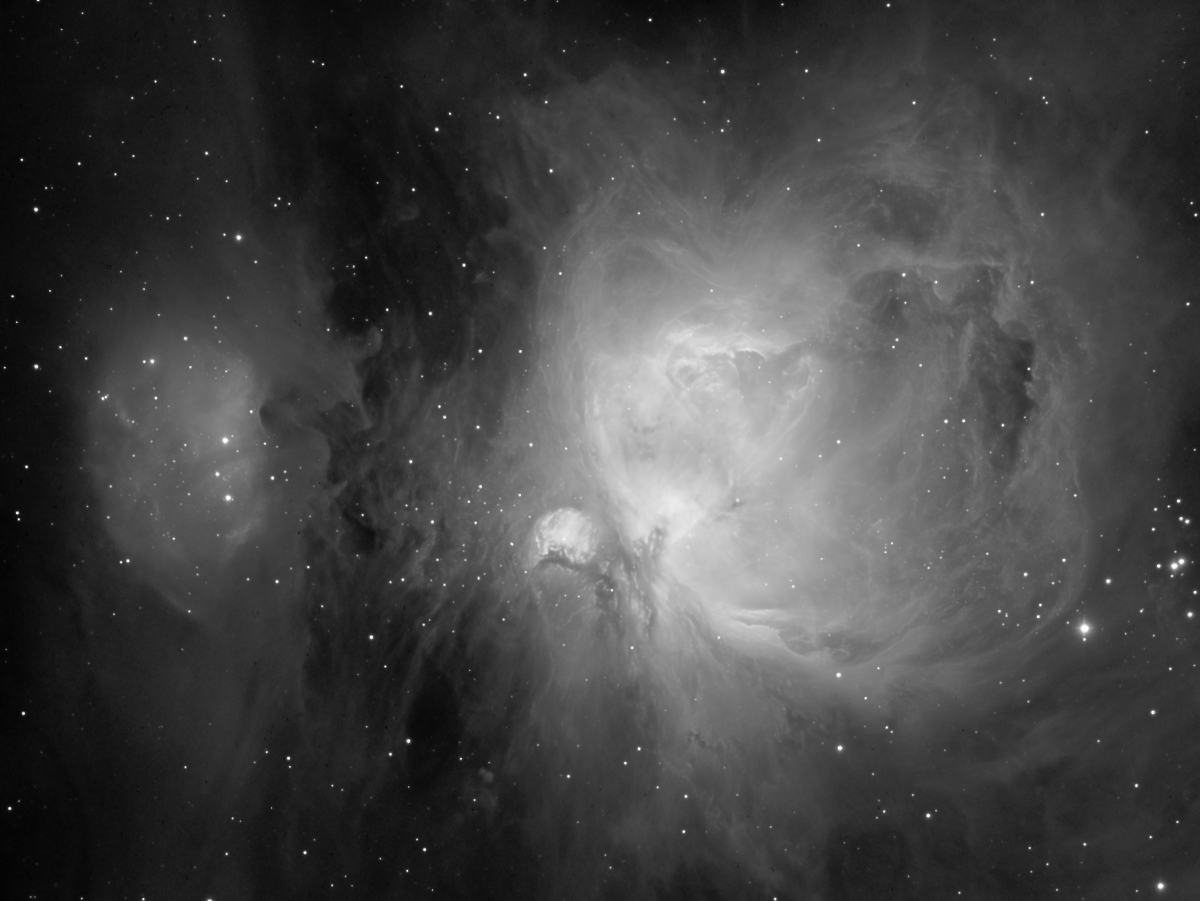
Final blend of M42 with core detail from 60 second exposure and outer detail from 600 second exposure.
 |
Copyright © 2012 MLUnsold Digital Imaging. All Rights Reserved.