Step 4) Image Window Management
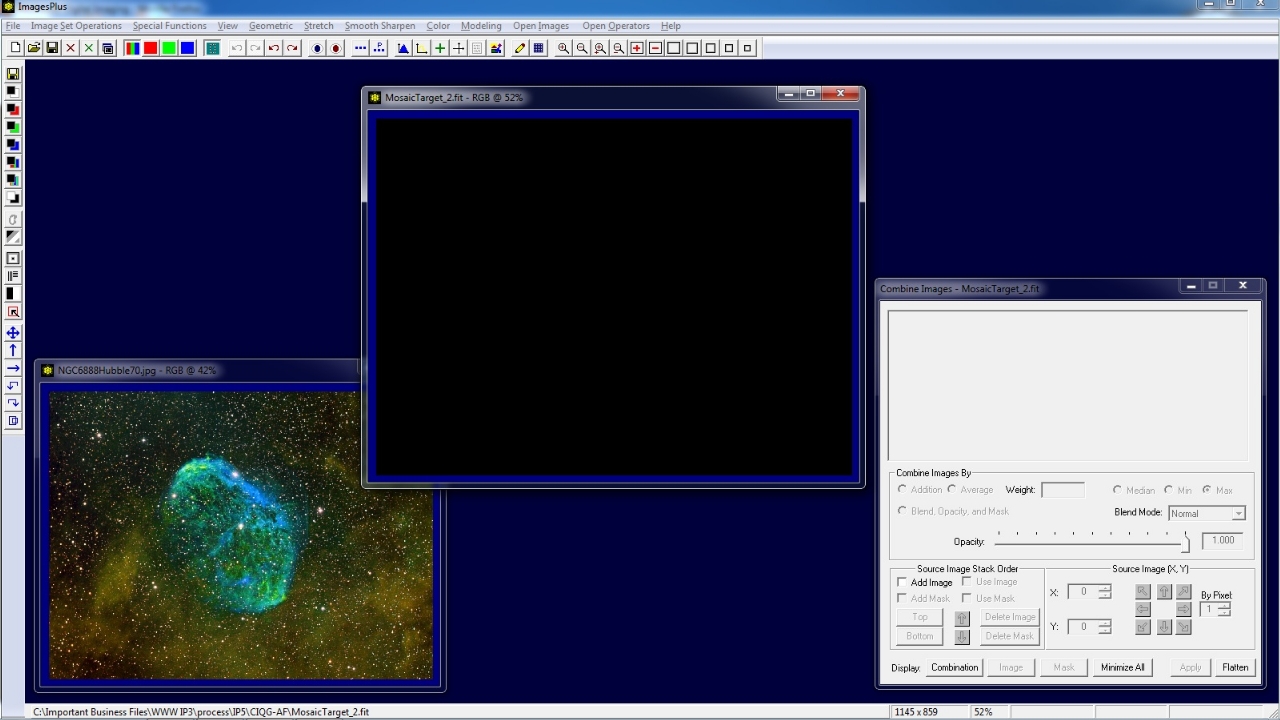
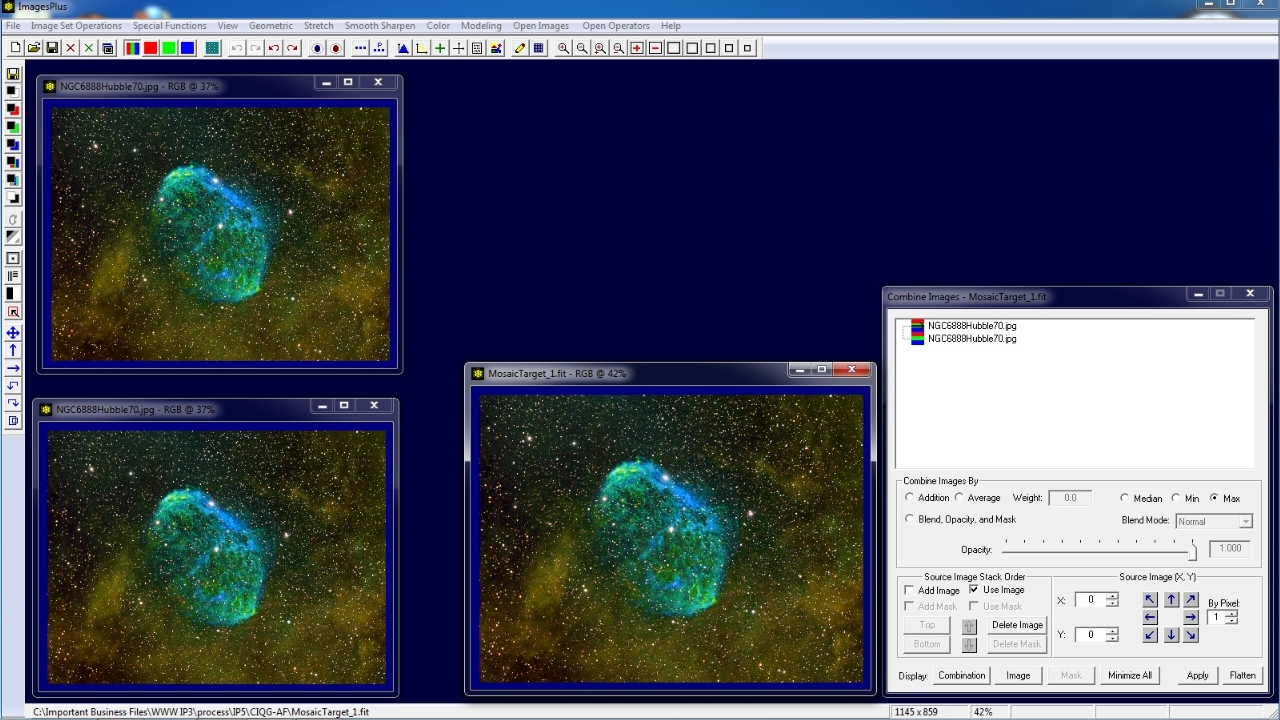
The Combine Image & Mosaic tool can be used to manage the display of the composite image and all image layers and their masks. The Open Images | Stack option can be used to move all images to the upper left corner of the computer screen and place them on top of each other.
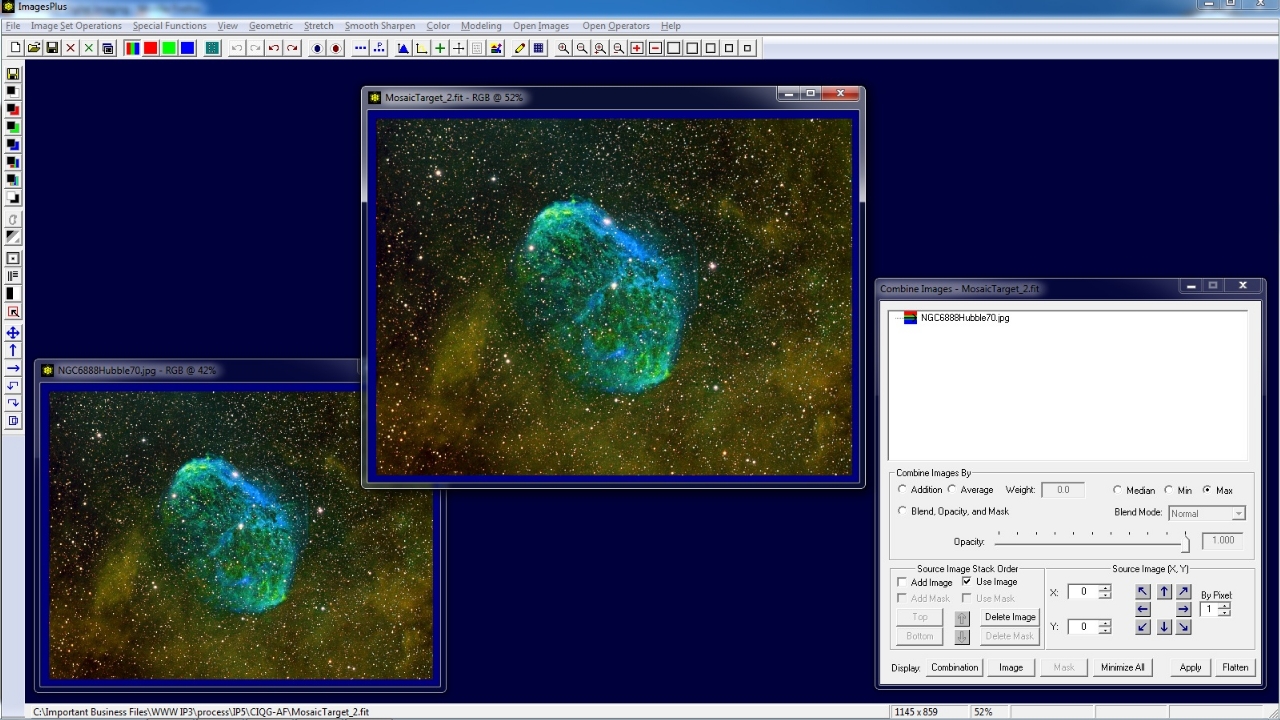
Use the Combination button on Combine Image & Mosaic to display and active the composite image window. Select an image layer in the layer tree of Combine Image & Mosaic then press the Image or Mask button to display and active the image or mask window.
Each image layer and mask can have its own unique Process History layered filter list.
 |
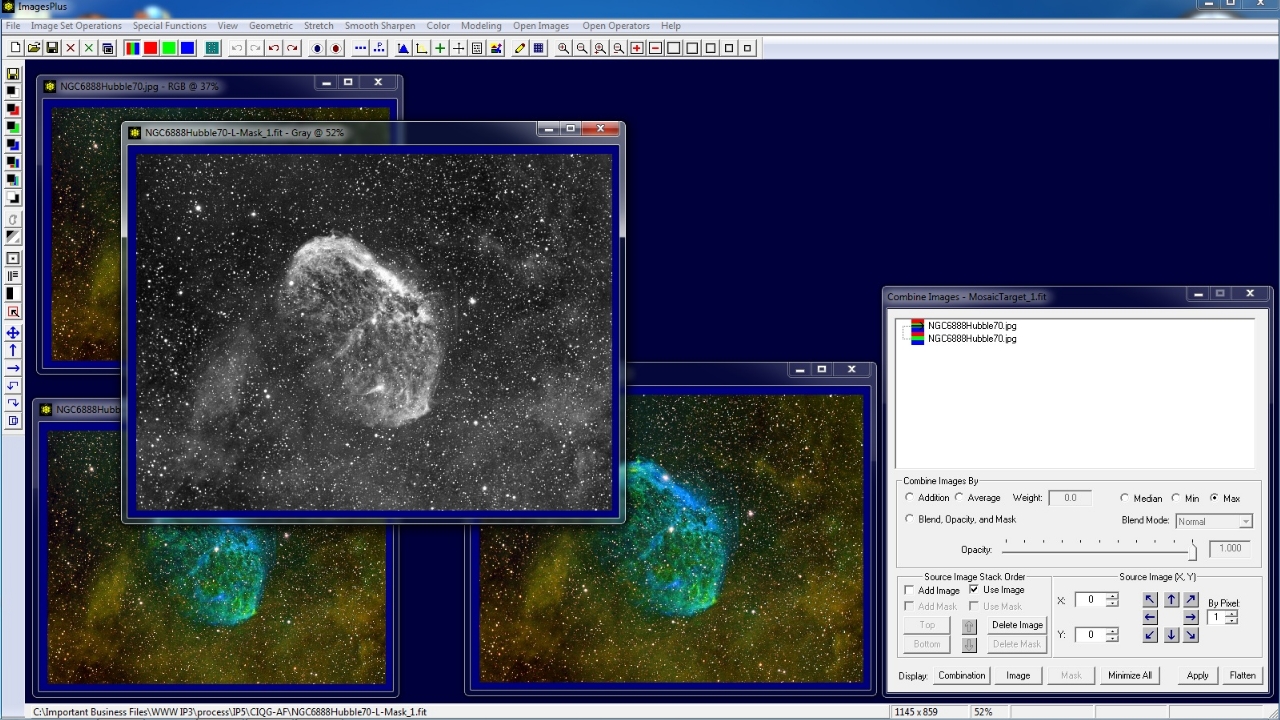
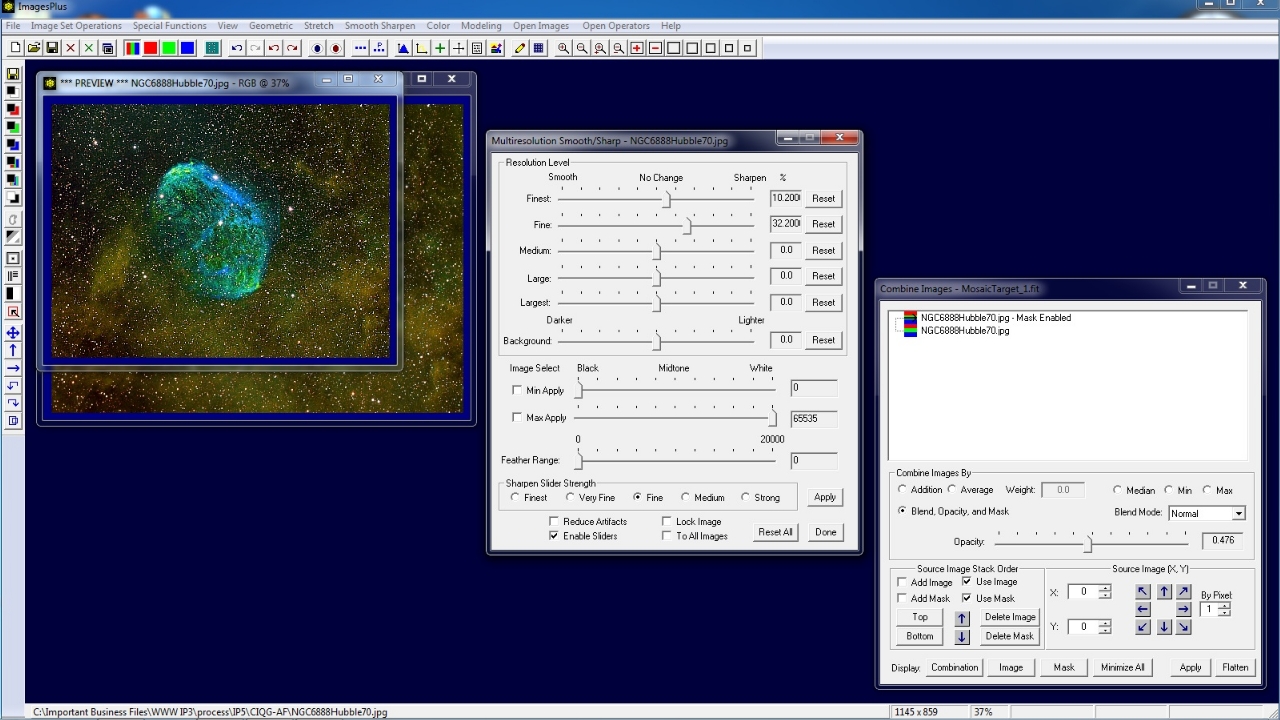
Step 5) Sharpen Top Image Layer
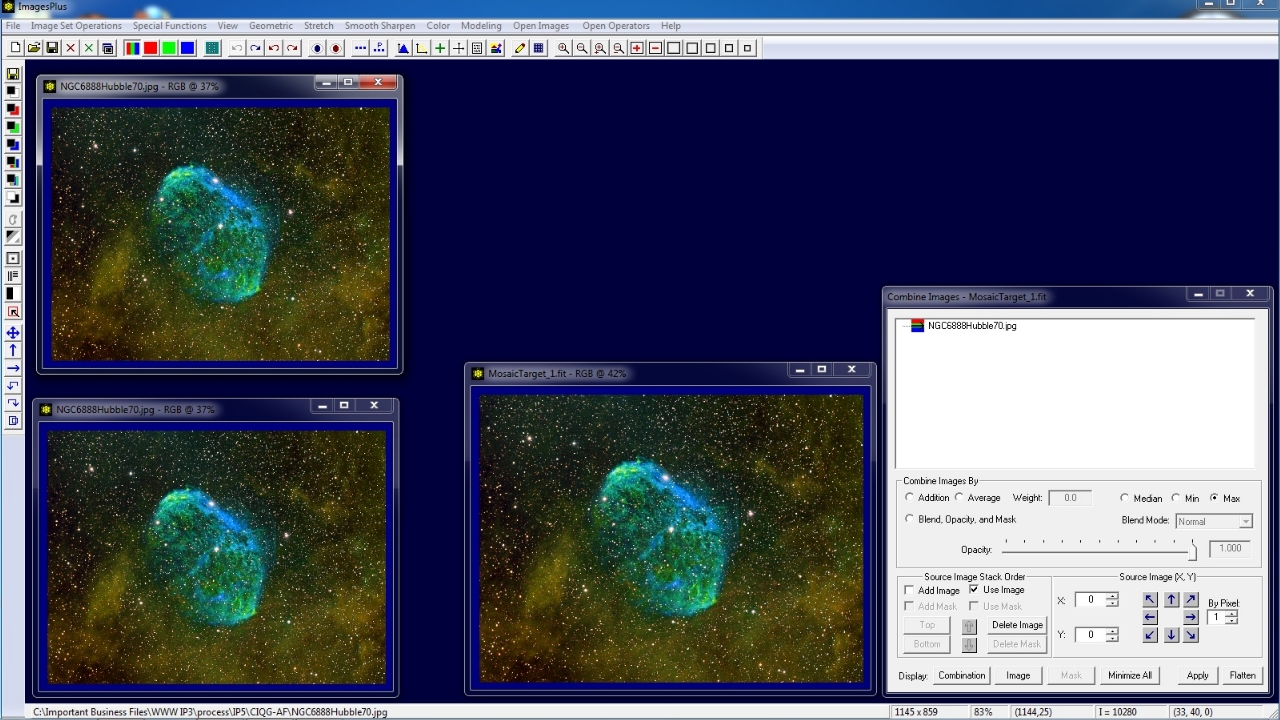
Select the top layer in the image layer tree on Combine Image & Mosaic then press the Image button to display and active the top layer image window.
Move the Finest and Fine sliders of Multiresolution (wavelets) to the right to sharpen the top image layer window. The Min Apply, Max Apply, and Feather Range sliders on Multiresolution could be used to restrict sharpening to just the background, midtones, or highlights in addition to the mask.
 |
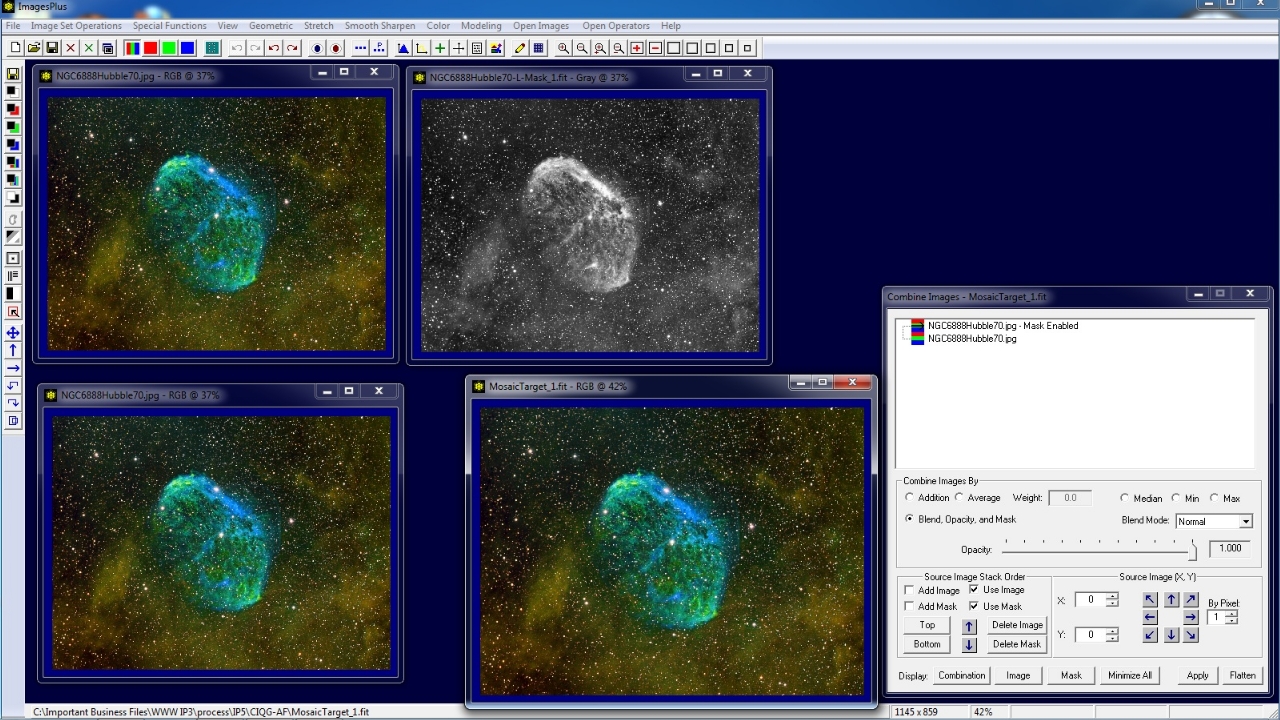
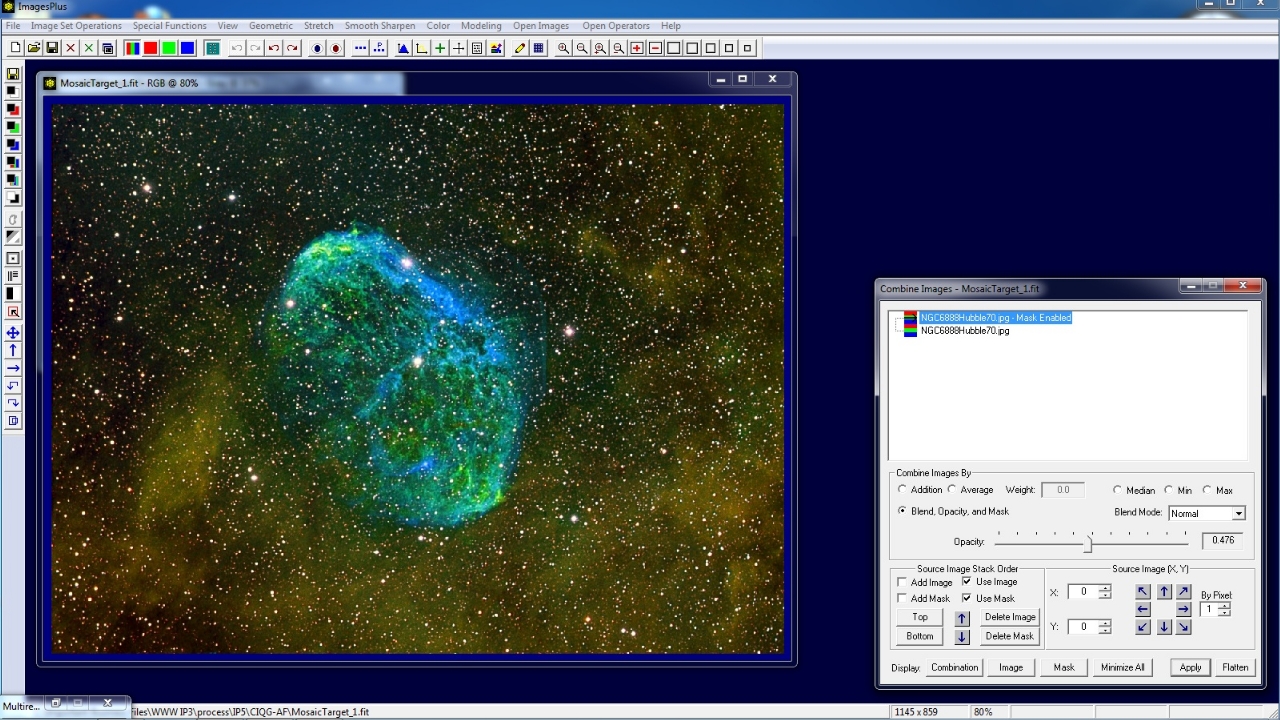
Step 6) Check Composite Image
On Combine Image & Mosaic press the Combination button to display the composite image then press the Apply button to update the composite image using the mask sharpened top image layer.
Opacity of the top image layer is reduced to 0.476 to blend the mask sharpened top image layer with the initial image. With the top image layer active in the tree check and uncheck the Use Image or Use Mask options
to alternate between sharpened and initial image. Normal blend mode is set on the top image layer so that only opacity blending is used to mix with the initial image.
 |
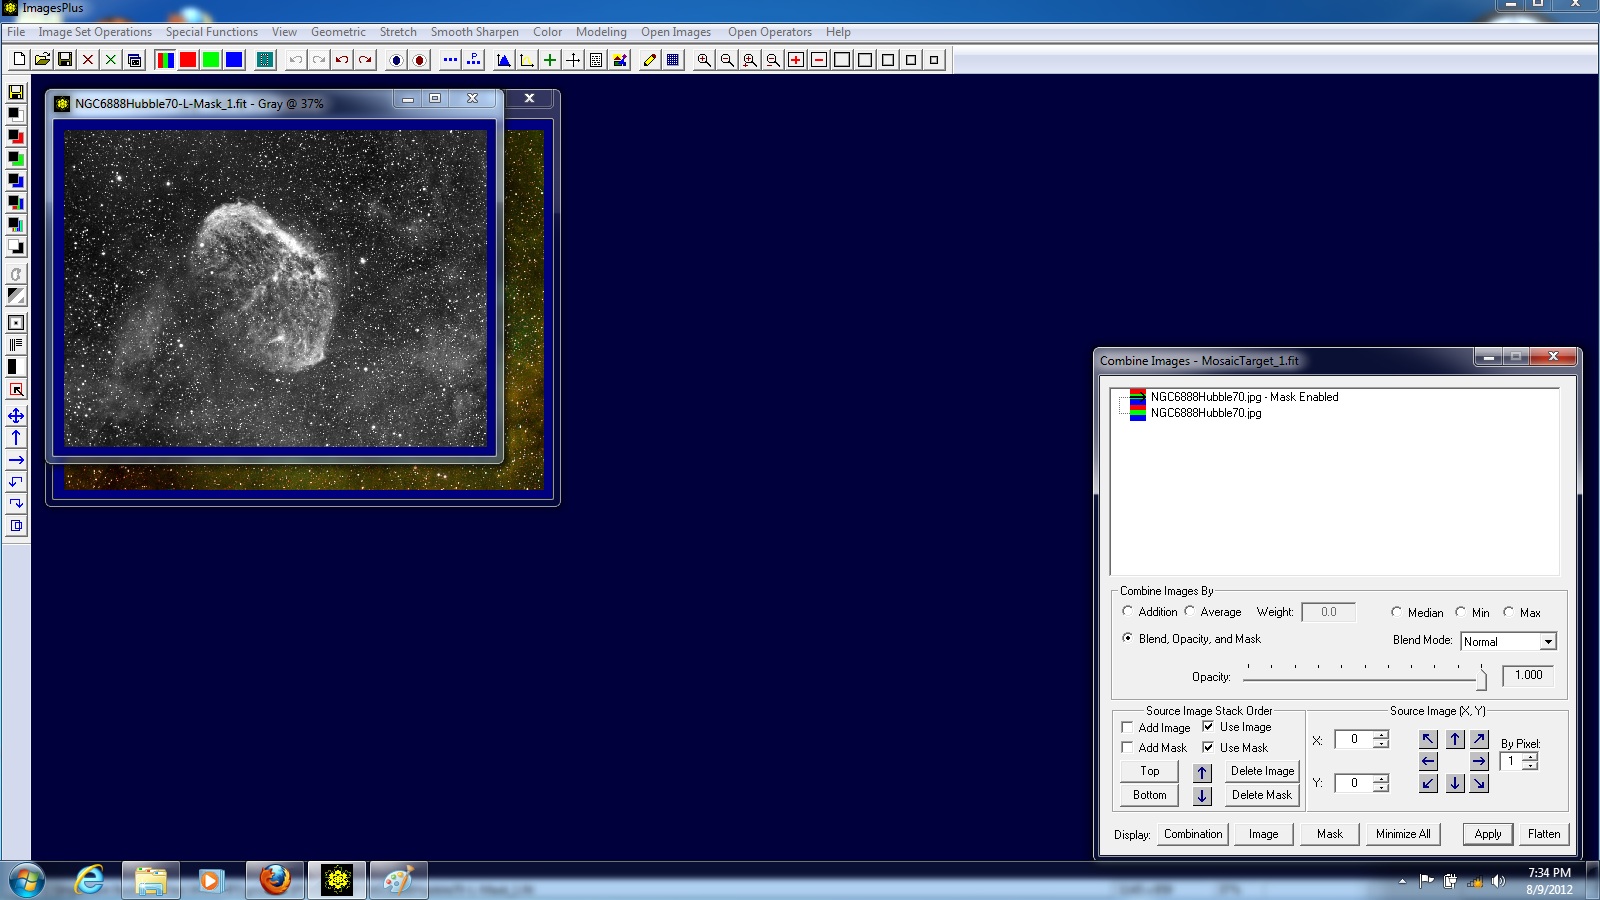
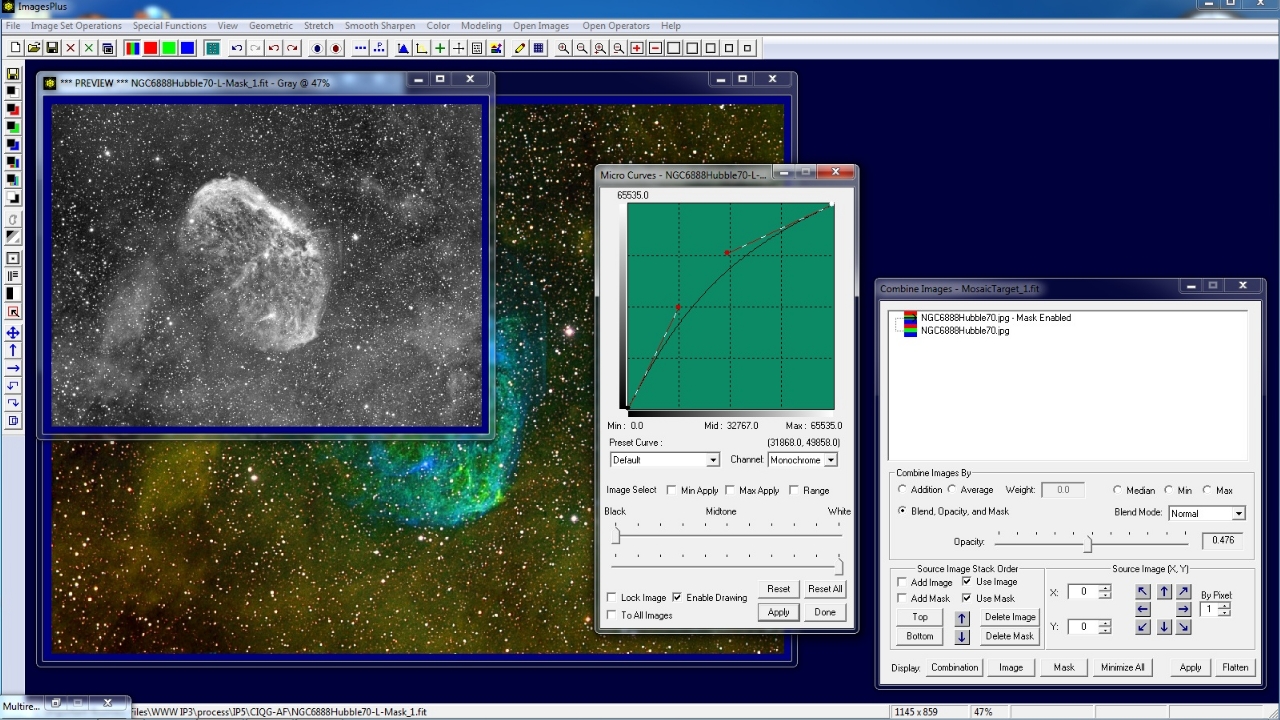
Step 7) Modify Mask
With the top image layer active in the tree press the Mask button on Combine Image & Mosaic to dispaly the mask image window.
Apply Stretch | Micro Curve to increase the brightness of the mask. Brighter mask areas will apply more sharpening to the top image layer window than darker mask areas.
 |
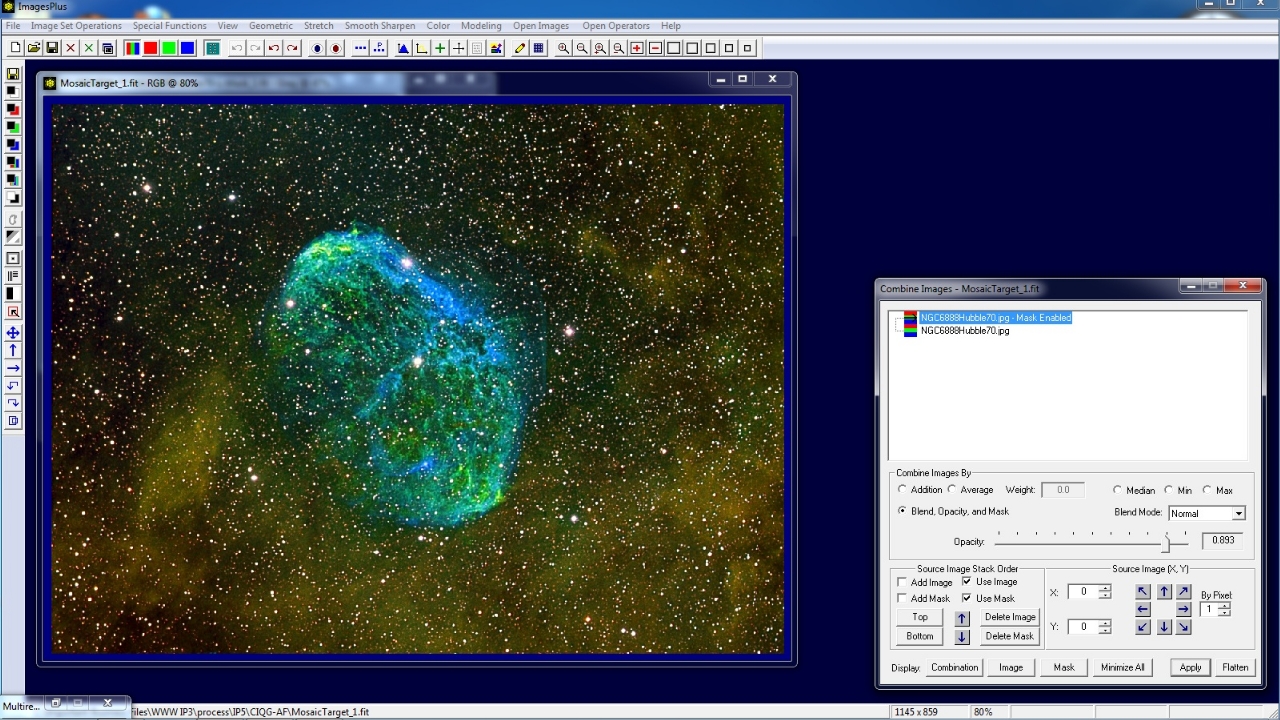
Step 8) Check Composite Image
On Combine Image & Mosaic press the Combination button to display the composite image then press the Apply button to update the composite image using the micro curve adjusted mask.
Opacity of the top image layer is increased to 0.893 to blend the mask sharpened top image layer with the initial image. With the top image layer active in the tree check and uncheck the Use Image or Use Mask options
to alternate between sharpened and initial image. Press the Flatten button to release the composite image for further processing.
 |
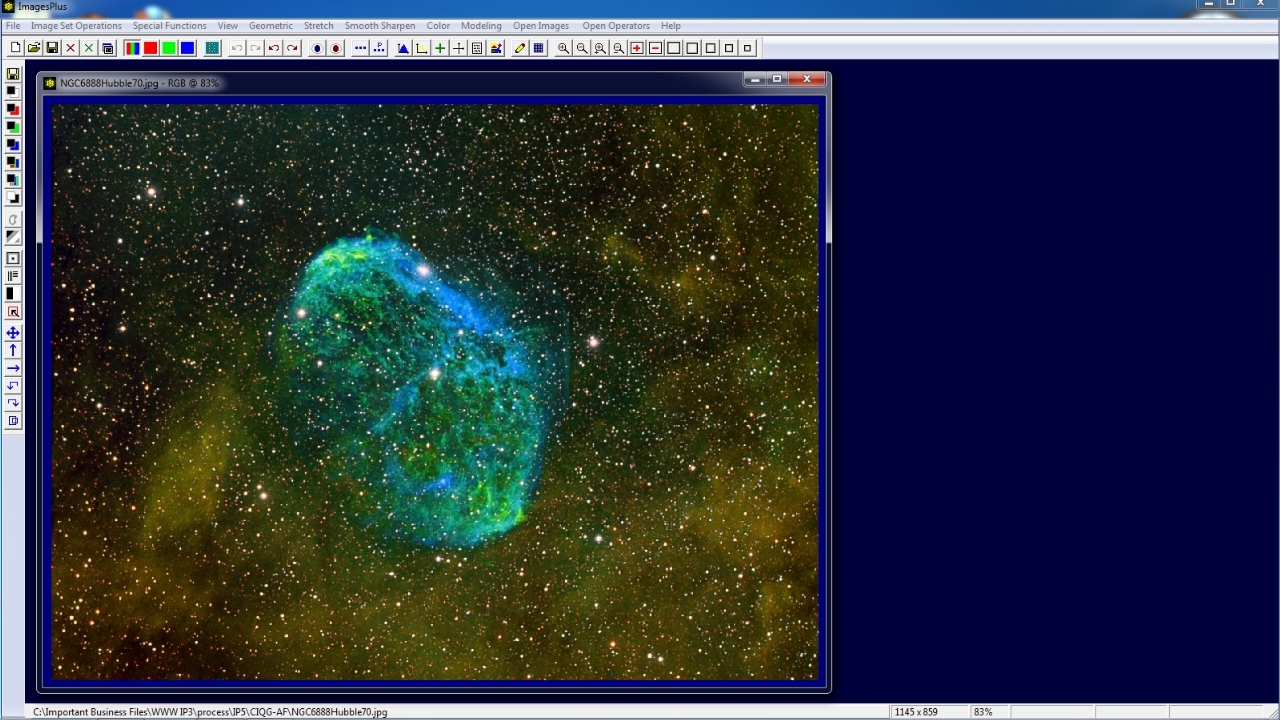
Initial NGC 6888 image before multiresolution (wavelet) sharpening with luminance mask.
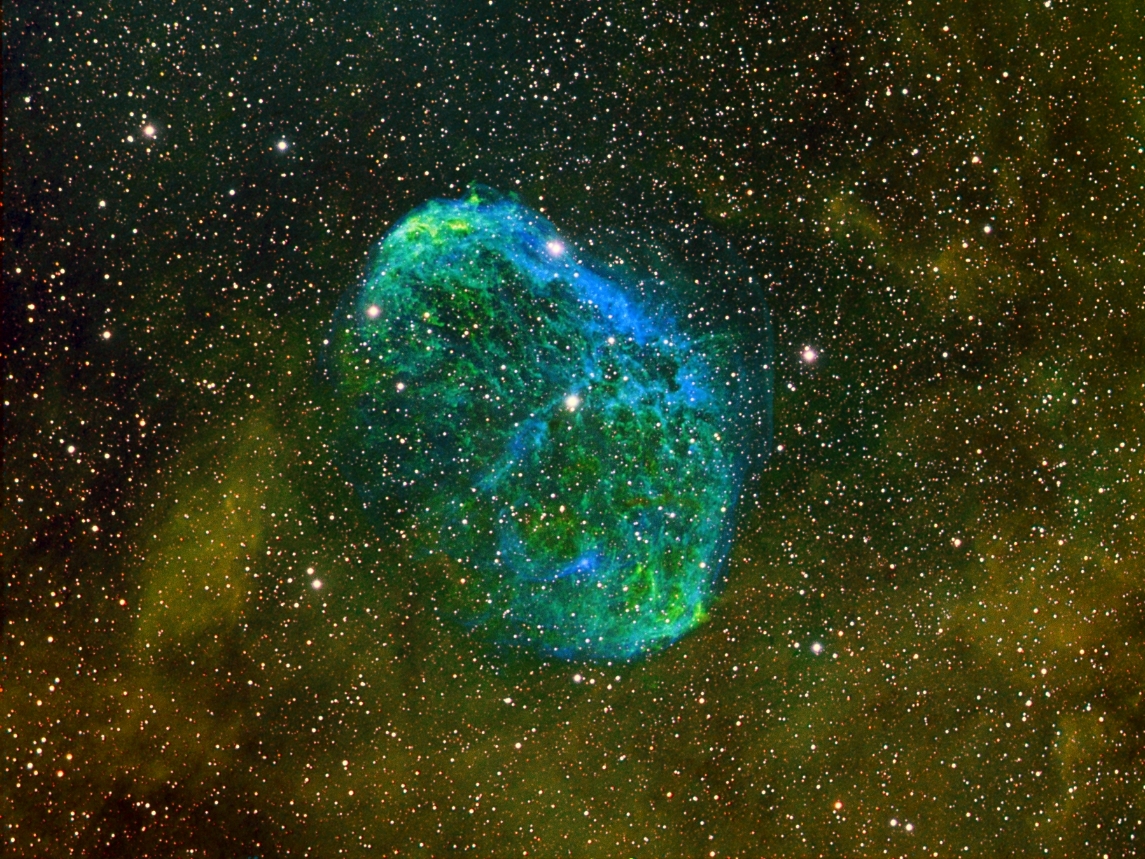 |
NGC 6888 image after multiresolution (wavelet) sharpening with Micro Curve adjusted luminance mask.
 |
Copyright © 2012 MLUnsold Digital Imaging. All Rights Reserved.