A set of 37 light frames of M1 along with 20 dark, 20 flat, 20 flat dark, and 20 bias frames were collected using a 203mm TMB APO at F7 and SBIG ST-10 with 5nm AstroDon H-alpha filter. Flat and flat dark frames were 1 second exposures. The flat frames were taken during the day using a uniform gray or blue part of the sky. Detailed processing of the initial light, flat, dark, flat dark, and bias image set is demonstrated by the CCD Automatic Image Set Processing example.
The goal is to enhance the stacked image for display on the web.
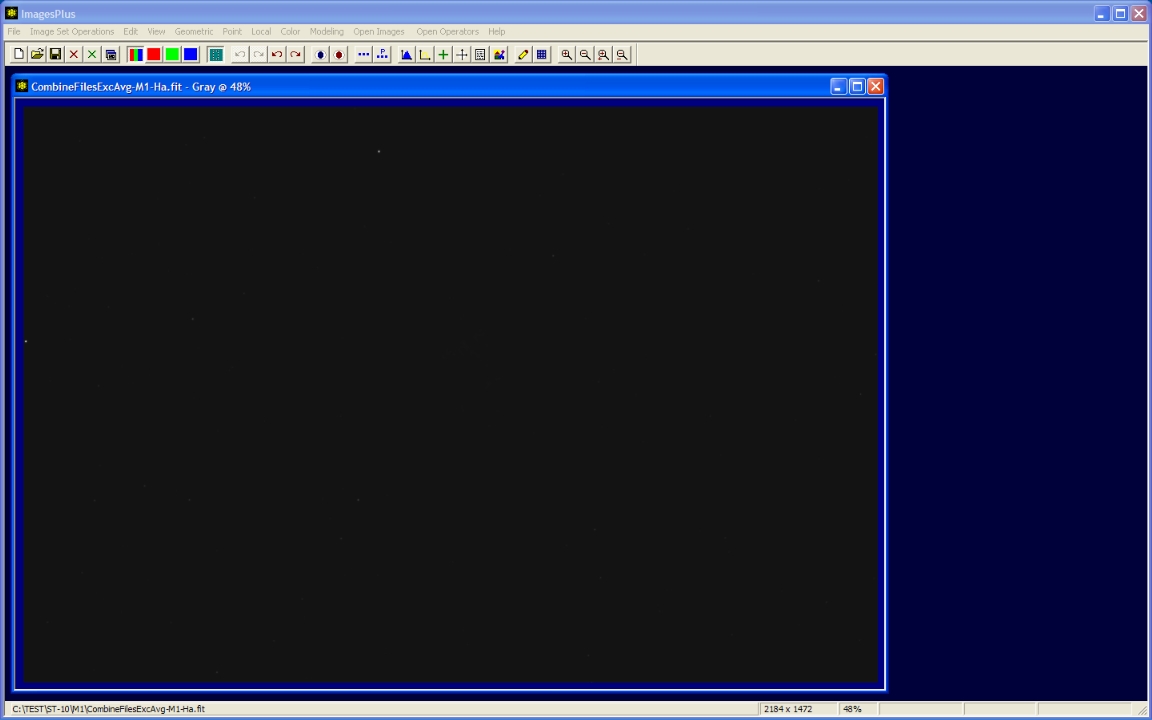
Initial stacked image
 |
Step 1
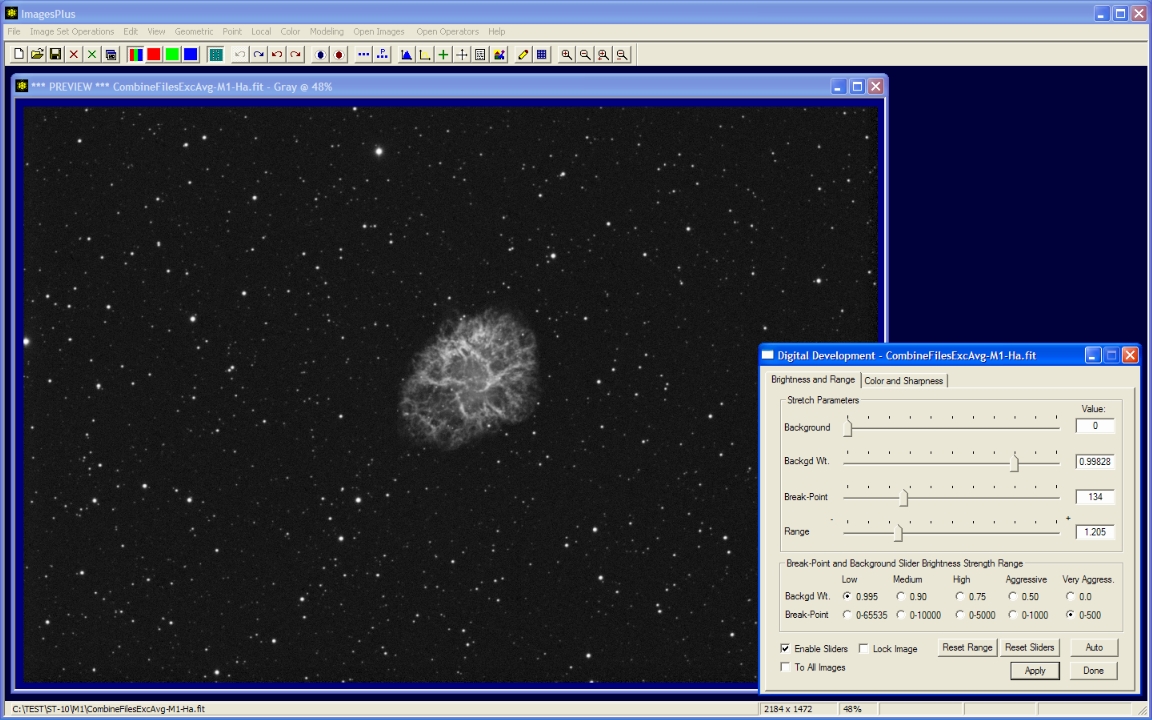
- Color | Digital Development is used to increase brightness and contrast.
- Tune the break-point and background weight sliders to match the image. The break-point and background weight slider strength is set to very aggressive and low respectively.
Digital Development brightness and contrast increase.
 |
Step 2
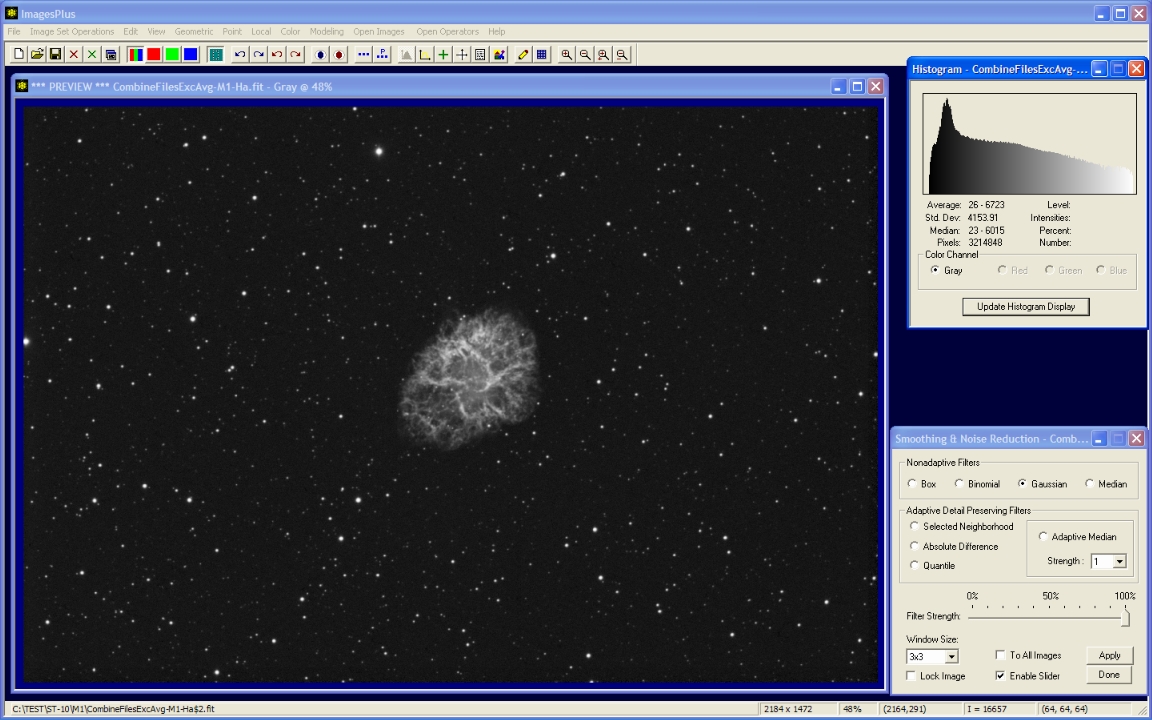
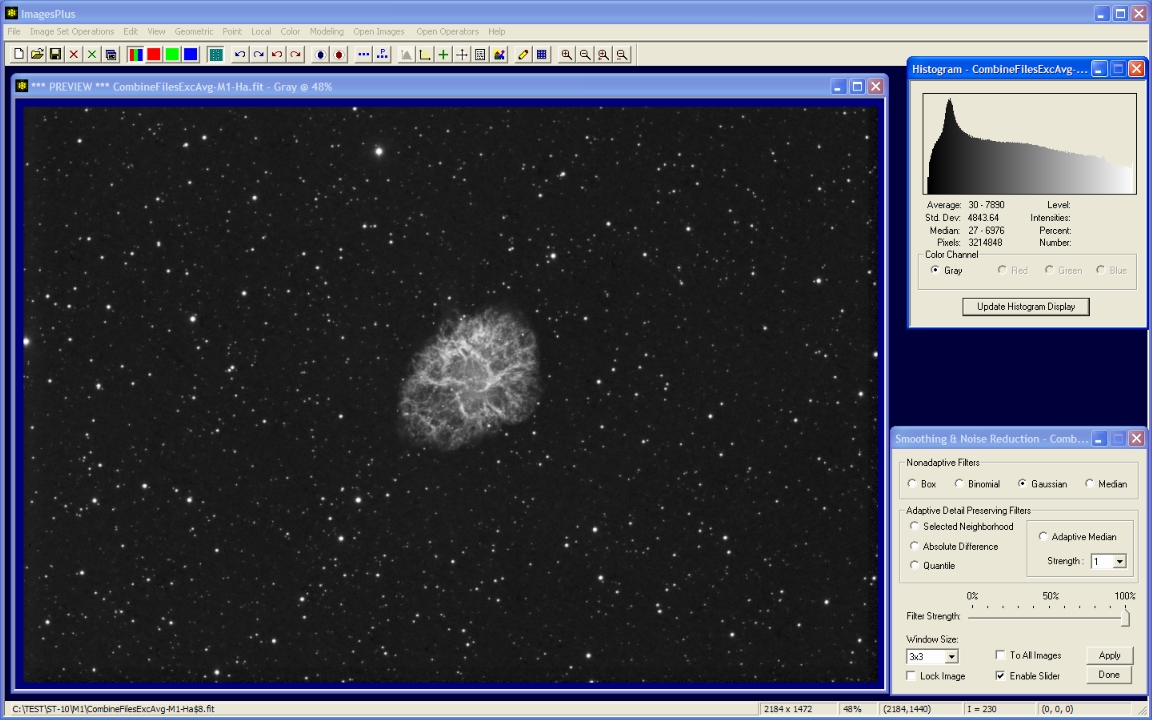
- Local | Smoothing & Noise Reduction | Gauss is used to smooth and fill the histogram.
A soft 3x3 Gaussian blur is used to smooth the image and fill the 8 bit histogram so that all gray values are displayed.
 |
Step 3
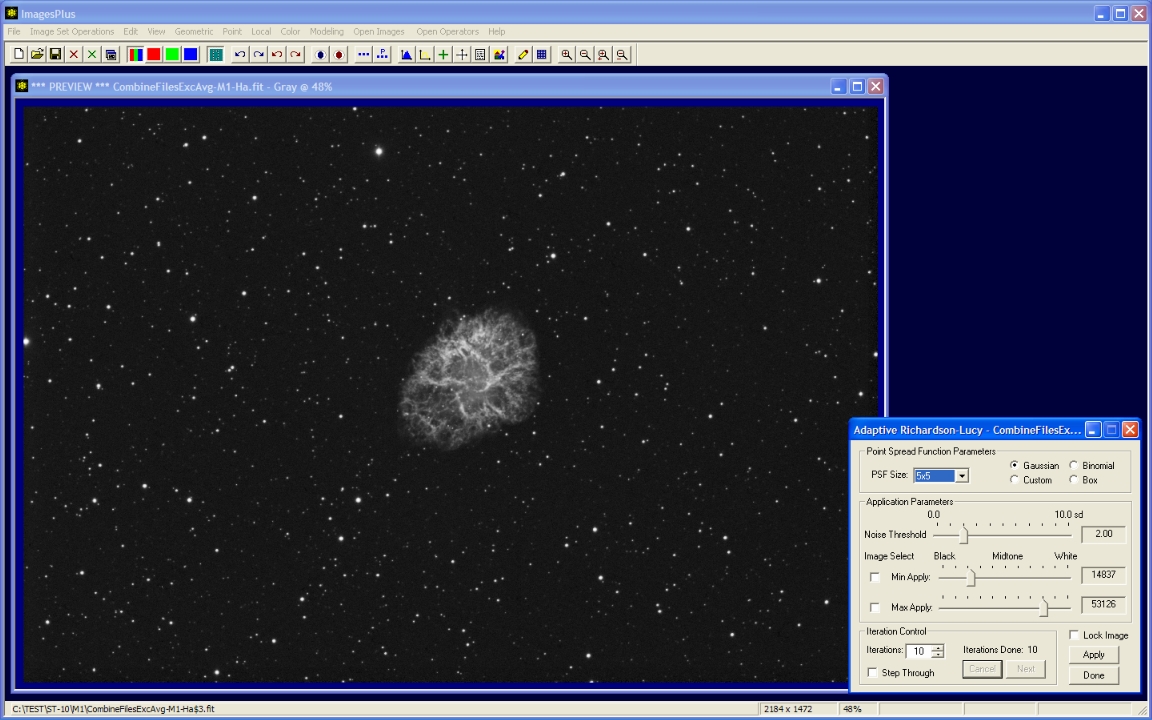
- Local | Adaptive Lucy-Richardson (ARL) deconvolution is used to sharpen the image.
- The Image Select min and max check boxes are used to left-click on the darkest and lightes part of the image where ARL is to be applied.
- The dark outer edge of M1 was used to set the min value and the brightess area of M1 was used to set the max level.
10 iterations of ARL with a 5x5 Gaussian PSF is used to sharpen the stars and M1.
 |
Step 4
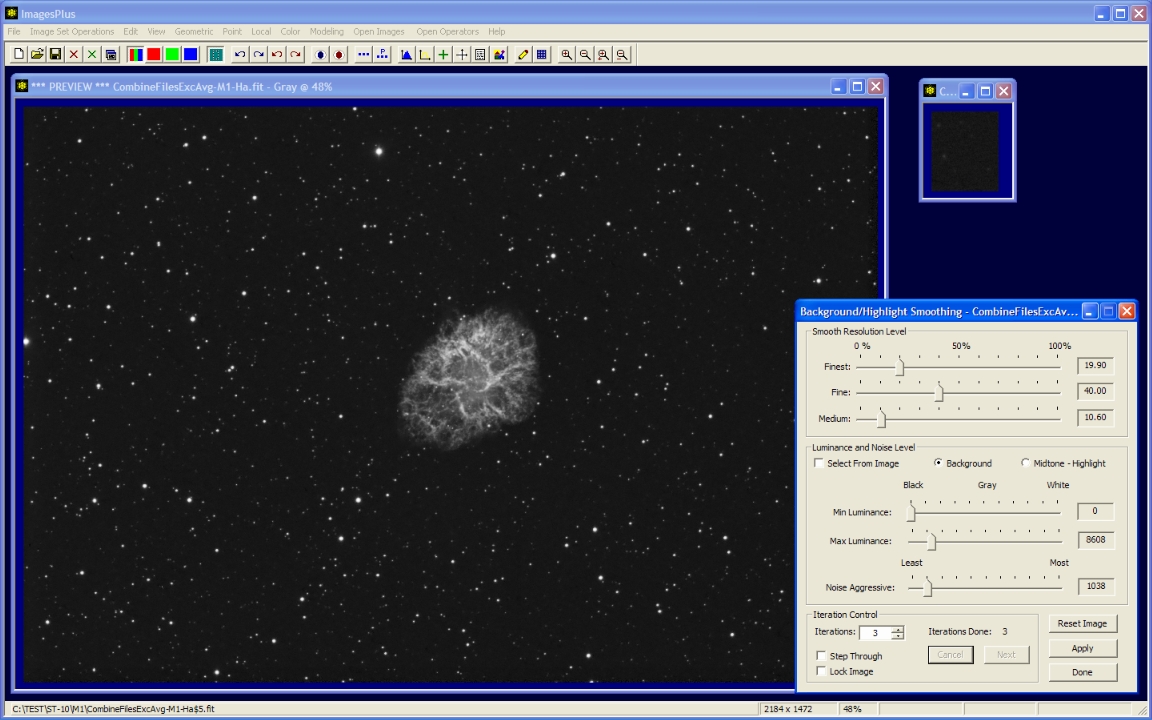
- Local | Background/Highlight Smoothing is used to smooth the dark background.
- A small preview window is first created of a typical background area using the Copy Portion toolbar button. Background smoothing parameters are first set by checking the Select From Image box then a left-click on the background area.
- Background smoothing parameters are adjusted using the preview window then applied to the full size image.
3 iterations of background smoothing.
 |
Step 5
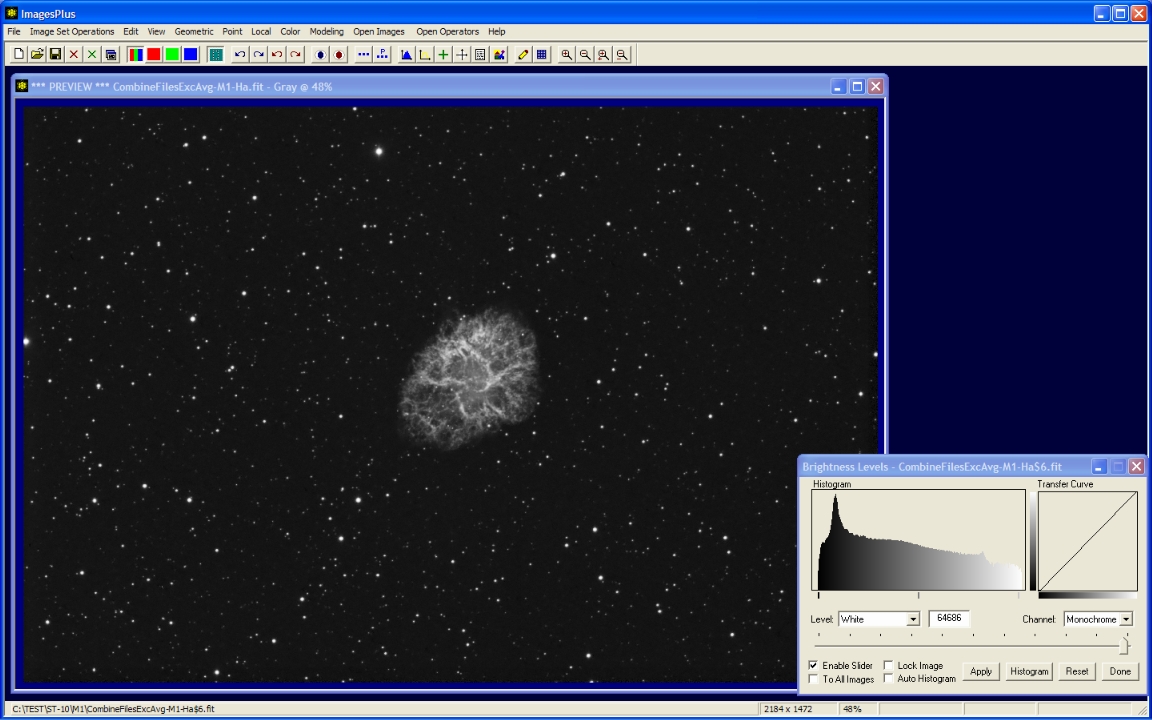
- Color | Brightness Levels is used to set the black and white points.
- Black is set to the left side of the histogram.
- White is set to the right side of the histogram.
Levels is used to set the black and white points.
 |
Step 6
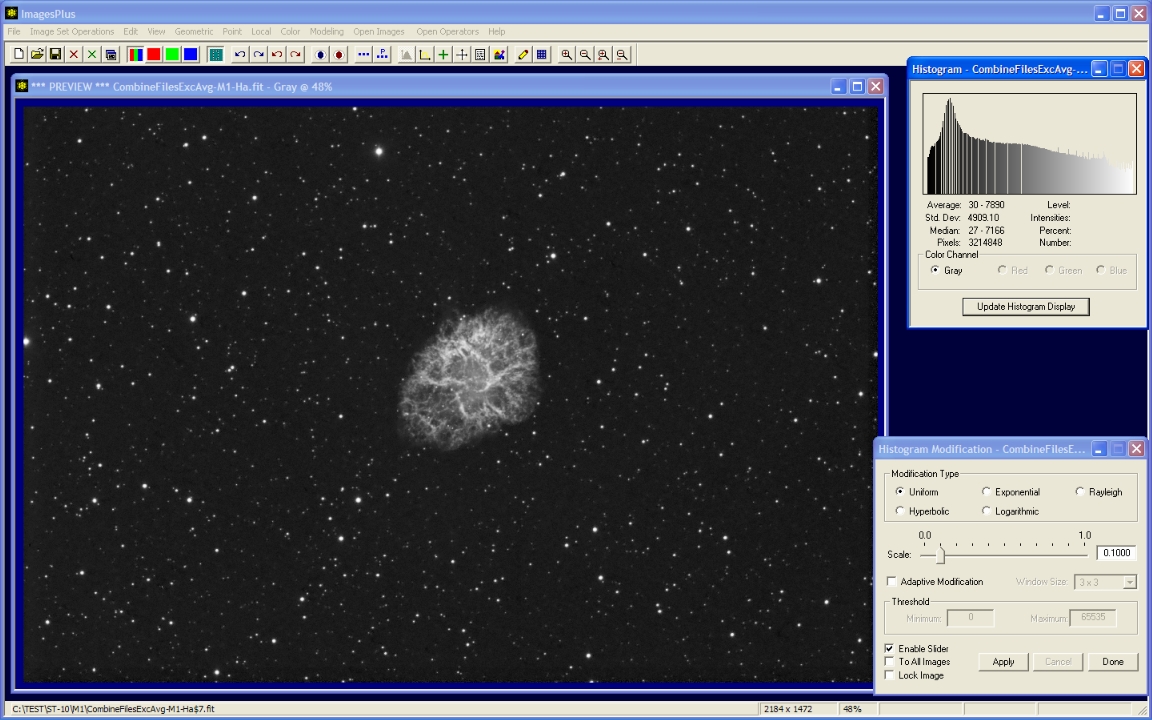
- Point | Histogram Modification | Uniform is used to expand the histogram.
The histogram is expanded using a uniform histogram modification.
 |
Step 7
- Local | Smoothing & Noise Reduction | Gauss is used to smooth and fill the histogram.
A soft 3x3 Gaussian blur is used to smooth the image and fill the 8 bit histogram so that all gray values are displayed.
 |
Step 8
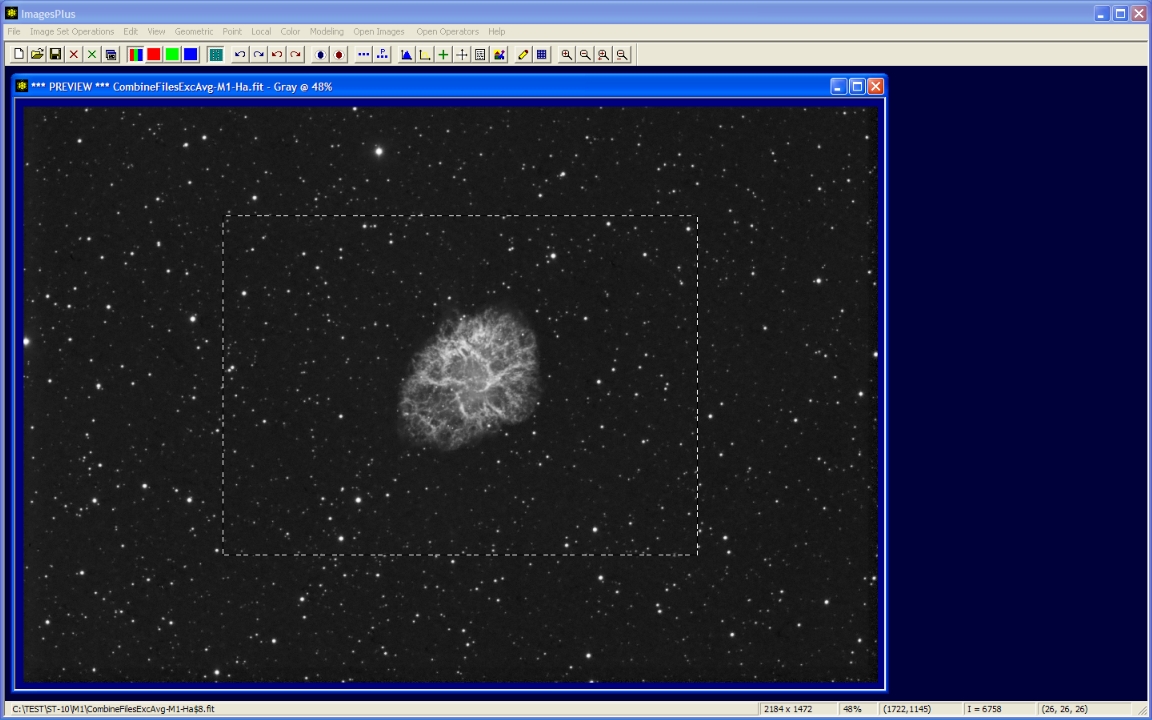
- The Copy A Portion Of An Image toolbar button is used to enable cropping.
- Left-click and drag the mouse around the object to define the crop area.
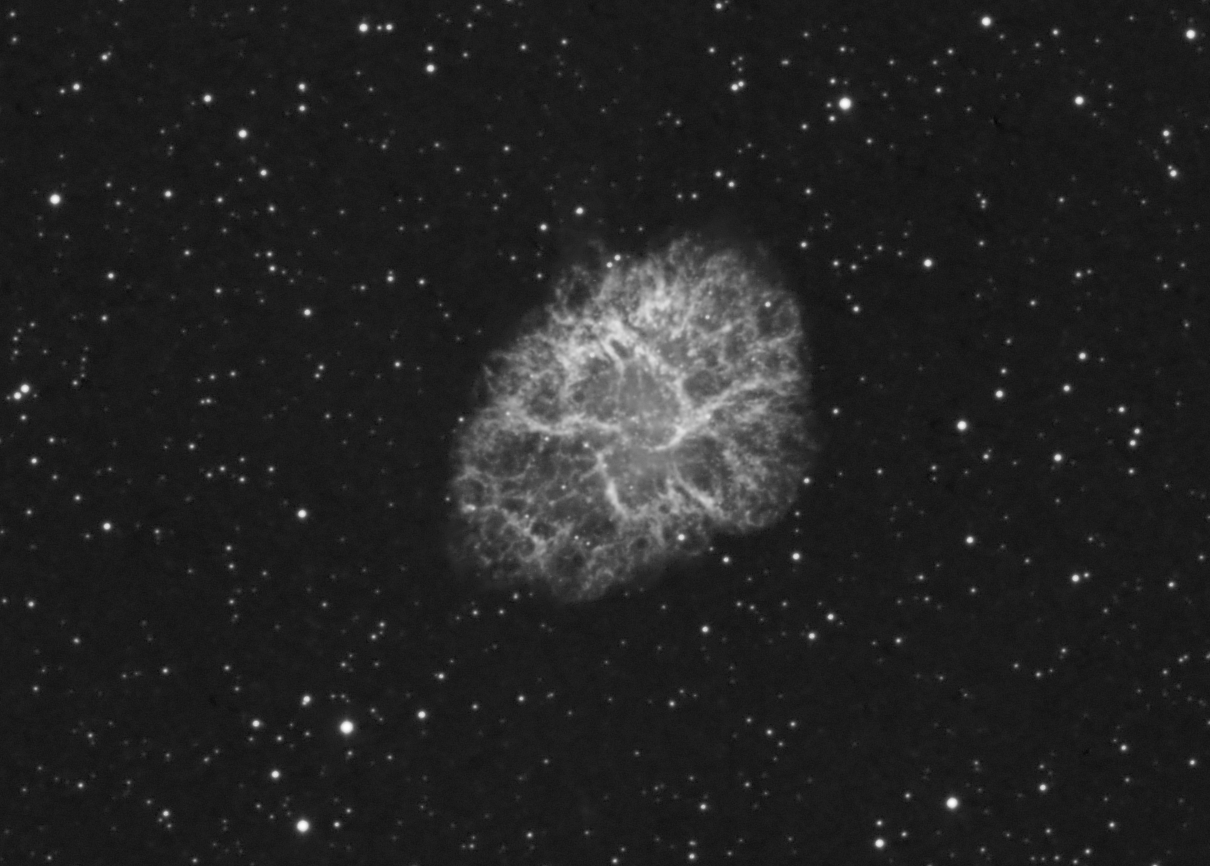
Full resolution crop of M1.
 |
M1 H-alpha full resolution crop. 31 x 8 minute with ST-10, 5nm AstroDon Ha filter, and 203mm TMB APO at F7.
 |
Step 9
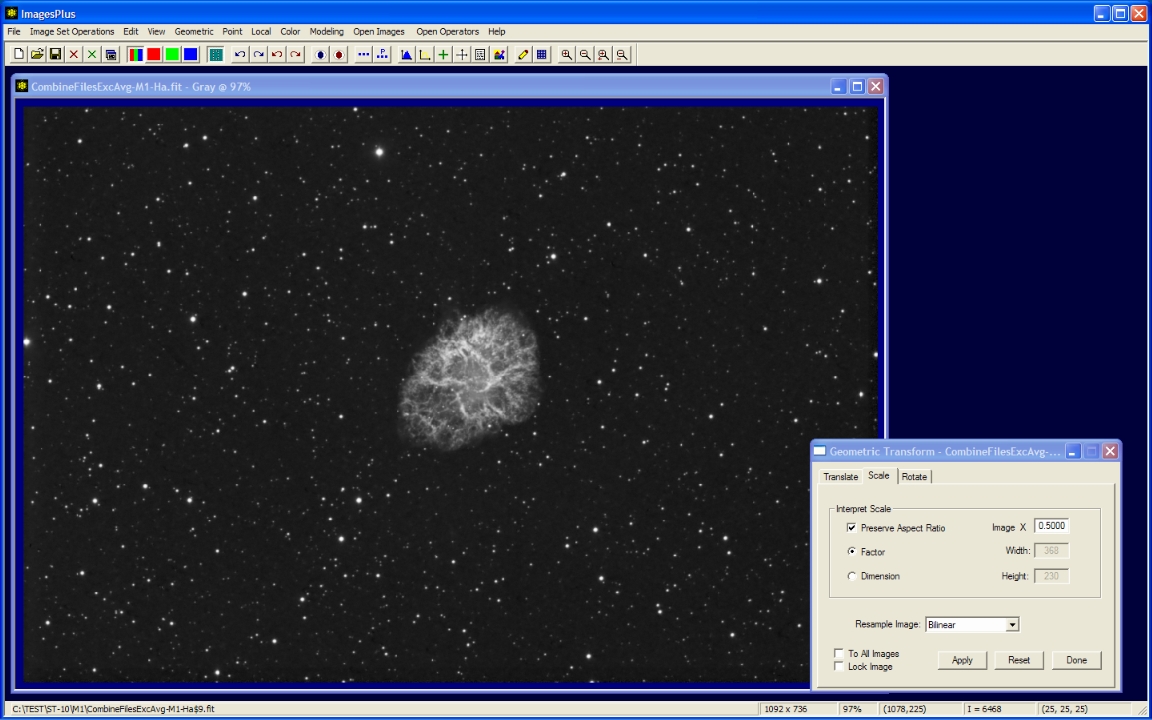
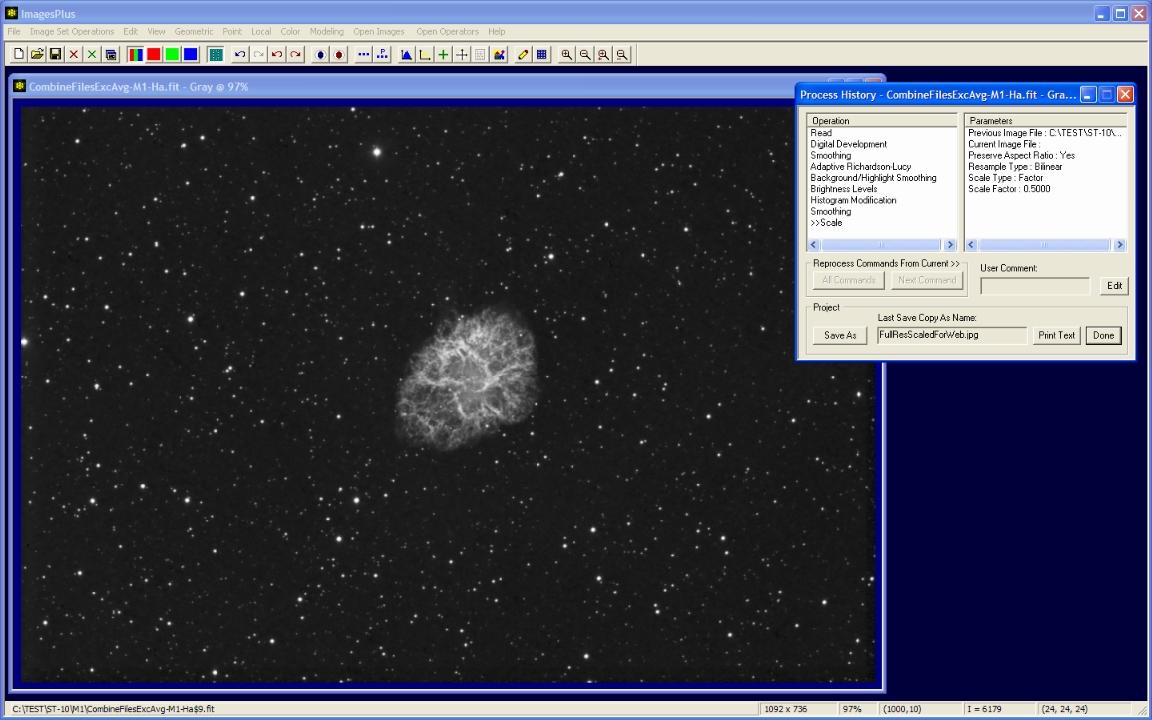
- The Geometric | Geometric Transform | Scale command is used to resize the image for display on the web.
- File | Save Copy As is used to save the FITS image as JPEG.
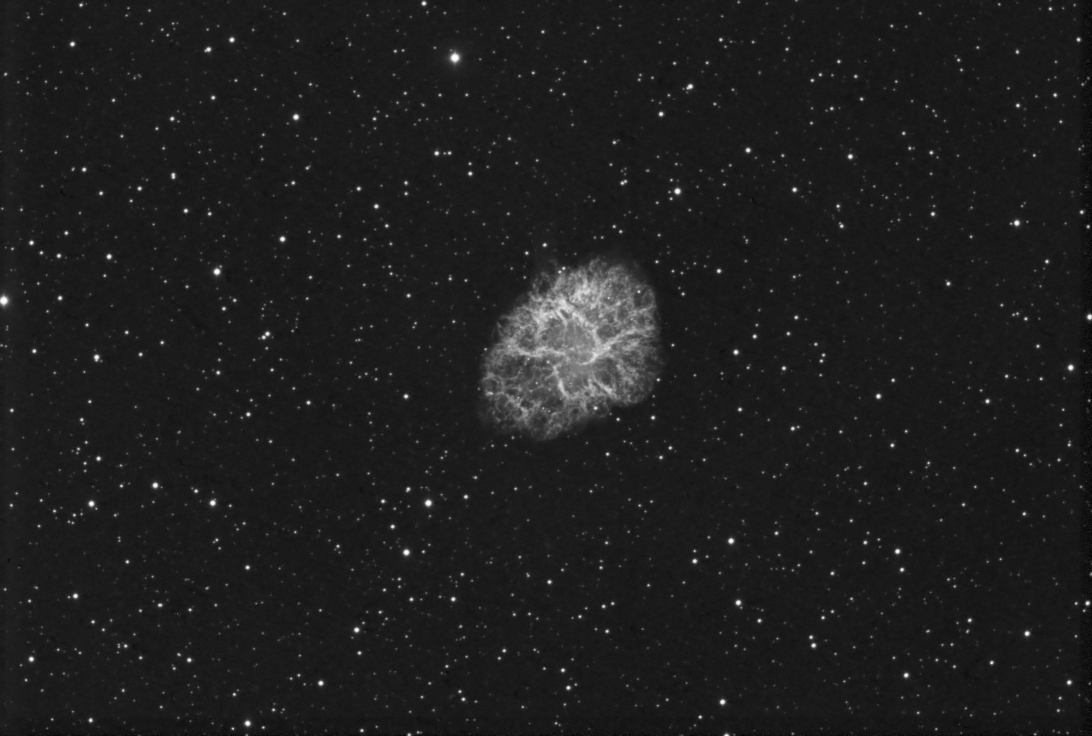
Scale the image by 0.5 for display on the web.
 |
M1 H-alpha full resolution scaled for web display.
 |
Unlimited undo redo process history of M1 H-alpha.
 |
Copyright © 2009 MLUnsold Digital Imaging. All Rights Reserved.
